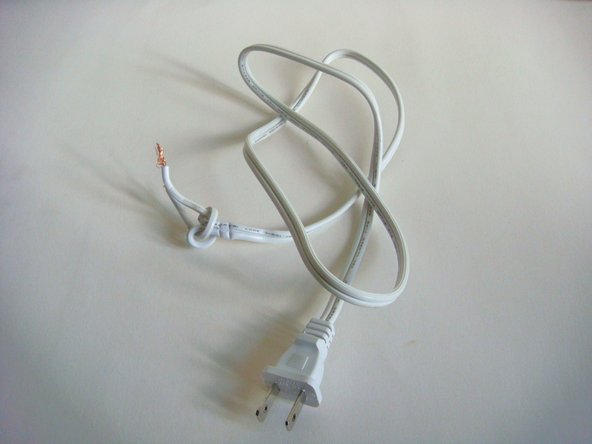
Saltar al contenido principal

XQ-673H Power Cord Replacement

Qué necesitas

  1. XQ-673H Power Cord Replacement, Power Cord: paso 1, imagen 1 de 1
    • Turn the Kitchen Gourmet upside down.

    • Make sure the device is unplugged before continuing.

  2. XQ-673H Power Cord Replacement: paso 2, imagen 1 de 3 XQ-673H Power Cord Replacement: paso 2, imagen 2 de 3 XQ-673H Power Cord Replacement: paso 2, imagen 3 de 3
    • Using a phillips #1 screwdriver, remove the six 10mm screws found on the bottom of the device.

    • Remove the bottom cover.

  3. XQ-673H Power Cord Replacement: paso 3, imagen 1 de 3 XQ-673H Power Cord Replacement: paso 3, imagen 2 de 3 XQ-673H Power Cord Replacement: paso 3, imagen 3 de 3
    • Using a Phillips #1 screwdriver, unscrew the 11mm screws.

    • Remove the plastic bar that is holding the Power Cord down.

  4. XQ-673H Power Cord Replacement: paso 4, imagen 1 de 2 XQ-673H Power Cord Replacement: paso 4, imagen 2 de 2
    • Using scissors, carefully cut the zip tie.

    • Careful not to cut the Power Cord.

  5. XQ-673H Power Cord Replacement: paso 5, imagen 1 de 3 XQ-673H Power Cord Replacement: paso 5, imagen 2 de 3 XQ-673H Power Cord Replacement: paso 5, imagen 3 de 3
    • Using small needle nose pliers, gently squeeze the side so it allows the metal clamp to open up.

    • Gently pull off the plastic cover.

    • Repeat this step with the other plastic cover.

  6. XQ-673H Power Cord Replacement: paso 6, imagen 1 de 2 XQ-673H Power Cord Replacement: paso 6, imagen 2 de 2
    • Remove the Power Cord from the device.

Conclusión

To reassemble your device, follow these instructions in reverse order.

Sean Perry

Miembro Desde 01/31/15

425 Reputación

4 Guías creadas

0 comentarios

Agregar Comentario

Ver Estadísticas:

Ultimas 24 horas: 1

Ultimos 7 días: 3

Ultimos 30 días: 3

Todo El Tiempo: 207