Saltar al contenido principal

Whirlpool WTW4800XQ2 Suspension Spring Replacement

Qué necesitas

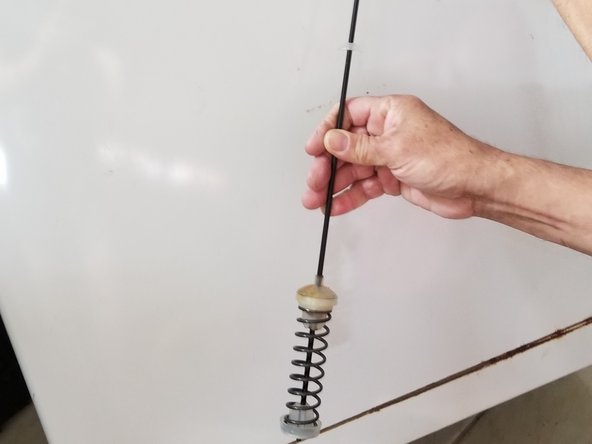
  1. Whirlpool WTW4800XQ2 Suspension Spring Replacement, Suspension Spring: paso 1, imagen 1 de 1
    • Disconnect the electrical cord from the power outlet.

  2. Whirlpool WTW4800XQ2 Suspension Spring Replacement: paso 2, imagen 1 de 2 Whirlpool WTW4800XQ2 Suspension Spring Replacement: paso 2, imagen 2 de 2
    • Turn the water hose fitting counterclockwise to unplug it from the machine.

    • Make sure you clean any water spillage to avoid electrical shock or a fall during reassembly.

  3. Whirlpool WTW4800XQ2 Suspension Spring Replacement: paso 3, imagen 1 de 2 Whirlpool WTW4800XQ2 Suspension Spring Replacement: paso 3, imagen 2 de 2
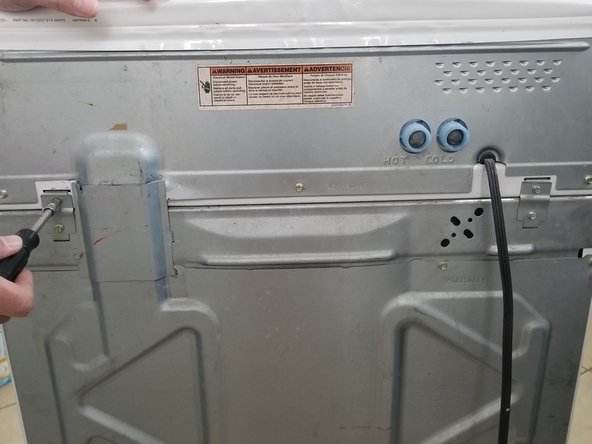
    • Use an 1/4 inch nut driver to remove the four 9.5 mm hex screws on the back of the machine that secure the upper machine loading lid and console.

  4. Whirlpool WTW4800XQ2 Suspension Spring Replacement: paso 4, imagen 1 de 1
    • Remove the two brackets on the back by tilting them slightly upwards and then outwards.

  5. Whirlpool WTW4800XQ2 Suspension Spring Replacement: paso 5, imagen 1 de 3 Whirlpool WTW4800XQ2 Suspension Spring Replacement: paso 5, imagen 2 de 3 Whirlpool WTW4800XQ2 Suspension Spring Replacement: paso 5, imagen 3 de 3
    • Remove the 9.5 mm hex screw securing the console wiring cover with an 1/4 inch nut driver.

    • Remove the wiring cover by opening by and sliding it out.

  6. Whirlpool WTW4800XQ2 Suspension Spring Replacement: paso 6, imagen 1 de 2 Whirlpool WTW4800XQ2 Suspension Spring Replacement: paso 6, imagen 2 de 2
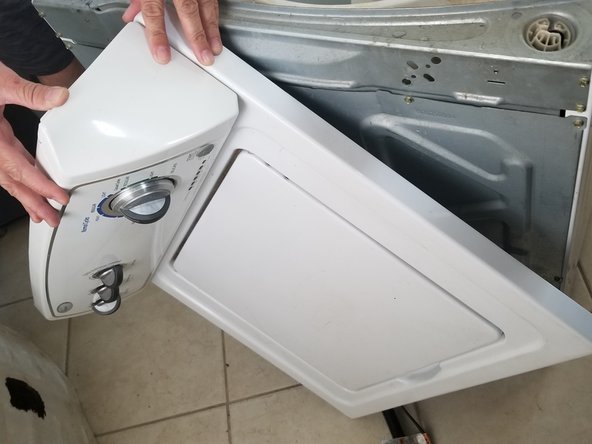
    • Gently pull the upper machine loading lid towards you to the to release the front latch mechanism.

  7. Whirlpool WTW4800XQ2 Suspension Spring Replacement: paso 7, imagen 1 de 2 Whirlpool WTW4800XQ2 Suspension Spring Replacement: paso 7, imagen 2 de 2
    • Lift the loading lid off the machine and set it down gently in a secure place.

  8. Whirlpool WTW4800XQ2 Suspension Spring Replacement: paso 8, imagen 1 de 3 Whirlpool WTW4800XQ2 Suspension Spring Replacement: paso 8, imagen 2 de 3 Whirlpool WTW4800XQ2 Suspension Spring Replacement: paso 8, imagen 3 de 3
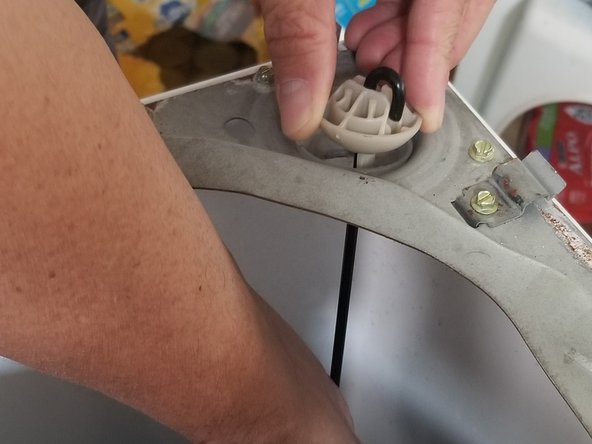
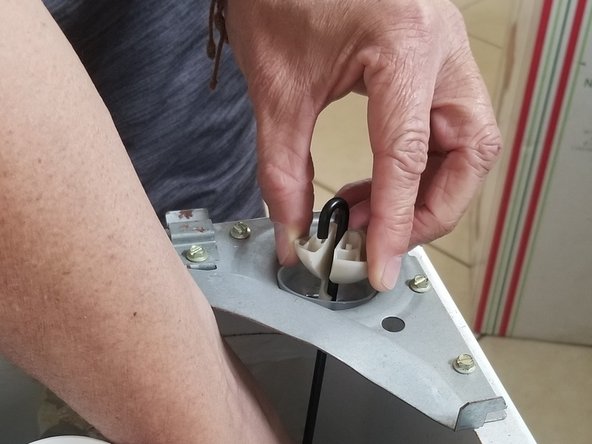
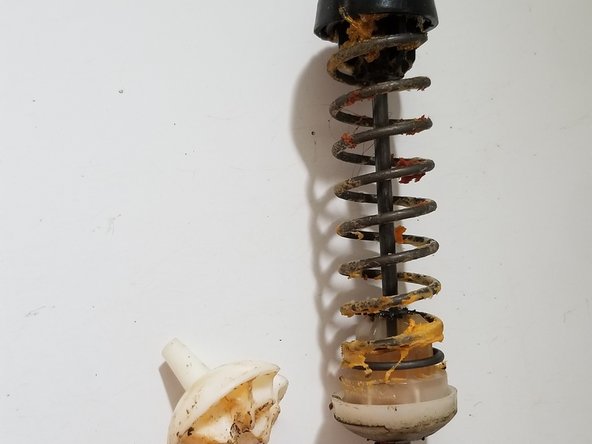
    • Hold the corner suspension spring (inside the machine) and lift it to release the end plastic joint.

    • Once the joint is in the air, rotate counterclockwise and push down to release the rod from the joint lock mechanism.

  9. Whirlpool WTW4800XQ2 Suspension Spring Replacement: paso 9, imagen 1 de 3 Whirlpool WTW4800XQ2 Suspension Spring Replacement: paso 9, imagen 2 de 3 Whirlpool WTW4800XQ2 Suspension Spring Replacement: paso 9, imagen 3 de 3
    • Lift the corner of the machine and remove the rod from the bottom of the machine.

    • Install the new rod while it's lifted up, and make sure it goes through the provided washing drum eyelid.

    • Lower the machine slowly.

  10. Whirlpool WTW4800XQ2 Suspension Spring Replacement: paso 10, imagen 1 de 3 Whirlpool WTW4800XQ2 Suspension Spring Replacement: paso 10, imagen 2 de 3 Whirlpool WTW4800XQ2 Suspension Spring Replacement: paso 10, imagen 3 de 3
    • Lift the rod and pass it through the upper joint bushing hole to secure.

    • Insert the rod through the suspension joint and make sure it locks in the correct slot.

Conclusión

To reassemble your device, follow these instructions in reverse order.

Una persona más ha completado esta guía.

2 comentarios

Es mas fácil acostar la lavadora hacia un lado

kelvin mantilla - Contestar

Yes, it's much better to set the washer on its side. There is a plastic bushing at the bottom of the washer that can be removed by pressing the locking tabs with your fingers and then the spring rod can be removed and replaced easily.

Ylberto Ruiz - Contestar

Agregar Comentario

Ver Estadísticas:

Ultimas 24 horas: 5

Ultimos 7 días: 21

Ultimos 30 días: 105

Todo El Tiempo: 2,404