Introducción
Welcome to our comprehensive guide on rescuing your Samsung Galaxy Grand Prime from water damage! If your Galaxy Grand Prime has taken an unexpected dive and is now experiencing the effects of water exposure, fear not.
This step-by-step guide is primarily designed to help you navigate through the process of reviving your Samsung Galaxy Grand Prime and preventing long-term damage by providing an effective solution for addressing water damage on your device.
Important Tips and Warnings:
Before diving into the restoration process, take note of the following crucial tips and warnings to ensure a safe and successful recovery:
- Turn off your device: Ensure that your device is shut down to avoid electrical mishaps.
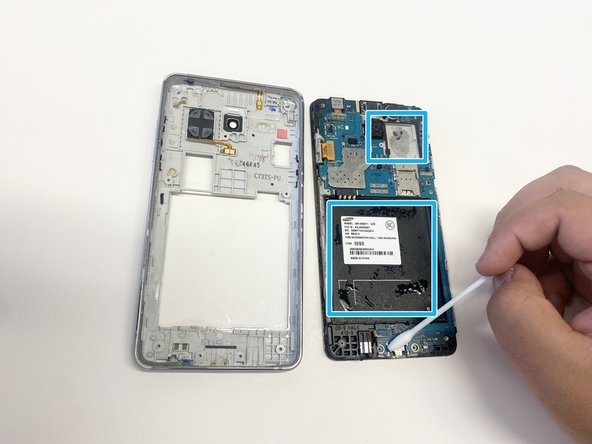
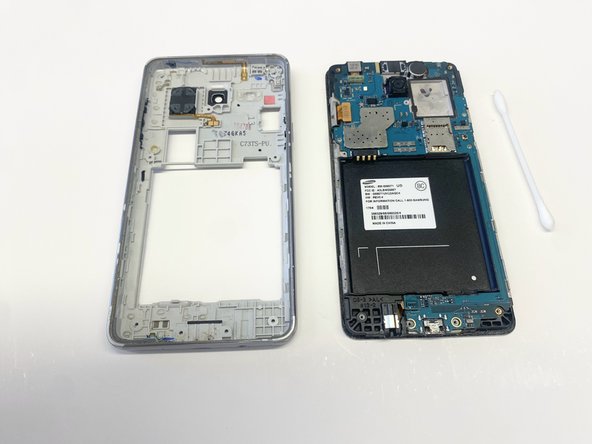
- Remove moisture: Clearing any moisture from the outside is crucial to prevent damage and increase the chances of a successful recovery.
External Resources: For additional insights and reference materials, check out the following external resources:
- How to disassemble 📱 Samsung Galaxy Grand Prime SM-G530, Take Apart, Tutorial
- What to do when Samsung smartphone dropped in the water?
Let's get started on fixing your wet Samsung Galaxy Grand Prime. Follow each step closely for the best chance of bringing it back to life. Good luck!
Qué necesitas
-
-
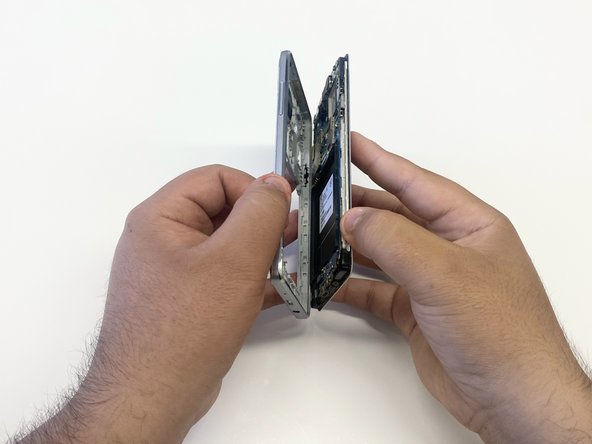
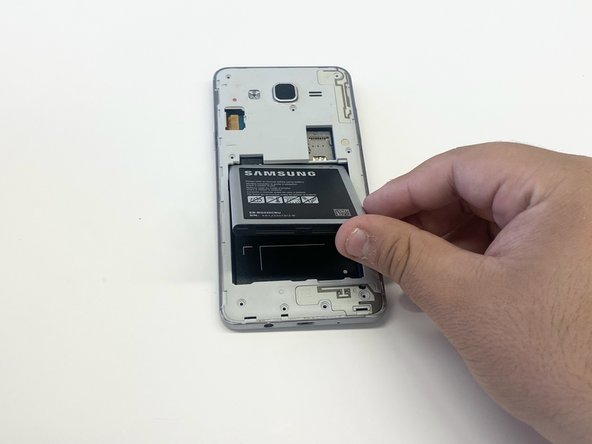
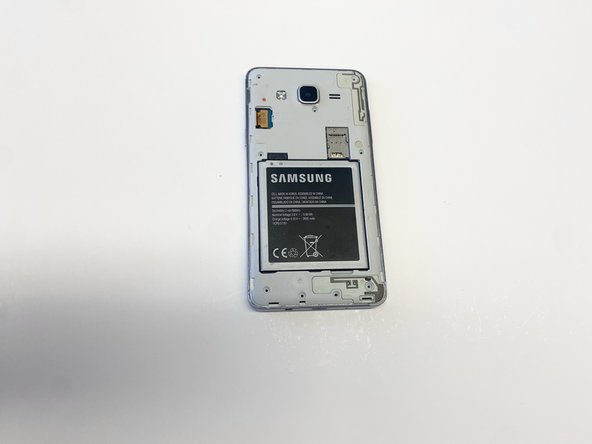
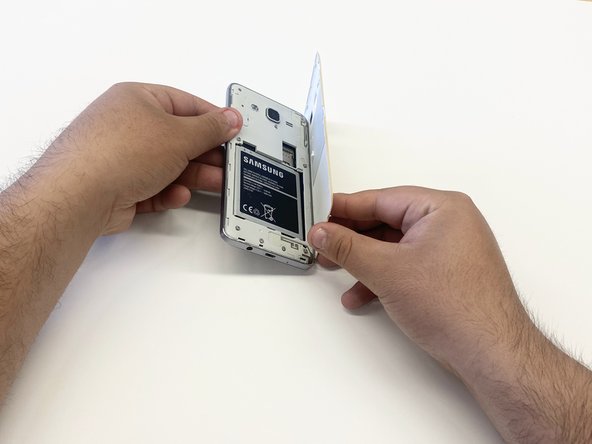
Place the phone with its screen facing the work surface
-
-


Cancelar: No complete esta guía.
3 personas más completaron esta guía.
Equipo

CSU Los Angeles, Team 9-7, Ribeiro Fall 2023 Miembro de CSU Los Angeles, Team 9-7, Ribeiro Fall 2023
CSULA-RIBEIRO-F23S9G7
3 Miembros
1 Guía escrita