Saltar al contenido principal

Reemplazo del interruptor de encendido del Vtech Touch and Swipe Baby Phone

Qué necesitas

  1. Reemplazo del interruptor de encendido del Vtech Touch and Swipe Baby Phone, Batería: paso 1, imagen 1 de 2 Reemplazo del interruptor de encendido del Vtech Touch and Swipe Baby Phone, Batería: paso 1, imagen 2 de 2
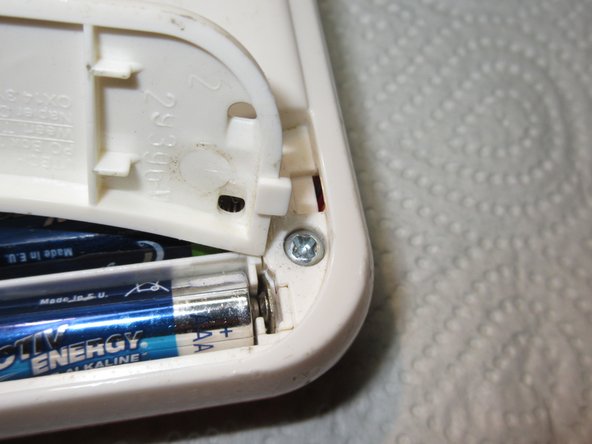
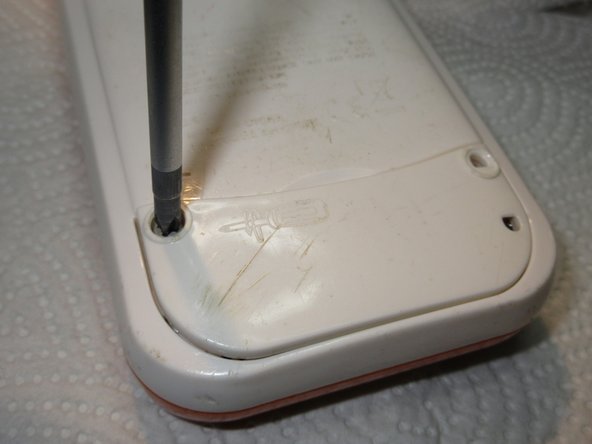
    • Con un destornillador Phillips n.º 1, retira el tornillo de 4,8 mm de la tapa de la batería girando el destornillador en el sentido contrario a las agujas del reloj.

  2. Reemplazo del interruptor de encendido del Vtech Touch and Swipe Baby Phone: paso 2, imagen 1 de 3 Reemplazo del interruptor de encendido del Vtech Touch and Swipe Baby Phone: paso 2, imagen 2 de 3 Reemplazo del interruptor de encendido del Vtech Touch and Swipe Baby Phone: paso 2, imagen 3 de 3
    • Retira las dos baterías AAA tirando de un extremo de la batería y levantándola hacia afuera.

  3. Reemplazo del interruptor de encendido del Vtech Touch and Swipe Baby Phone: paso 3, imagen 1 de 3 Reemplazo del interruptor de encendido del Vtech Touch and Swipe Baby Phone: paso 3, imagen 2 de 3 Reemplazo del interruptor de encendido del Vtech Touch and Swipe Baby Phone: paso 3, imagen 3 de 3
    • Al volver a montar, alinea la muesca del panel de la batería con la ranura del teléfono.

  4. Reemplazo del interruptor de encendido del Vtech Touch and Swipe Baby Phone, Interruptor de alimentación: paso 4, imagen 1 de 2 Reemplazo del interruptor de encendido del Vtech Touch and Swipe Baby Phone, Interruptor de alimentación: paso 4, imagen 2 de 2
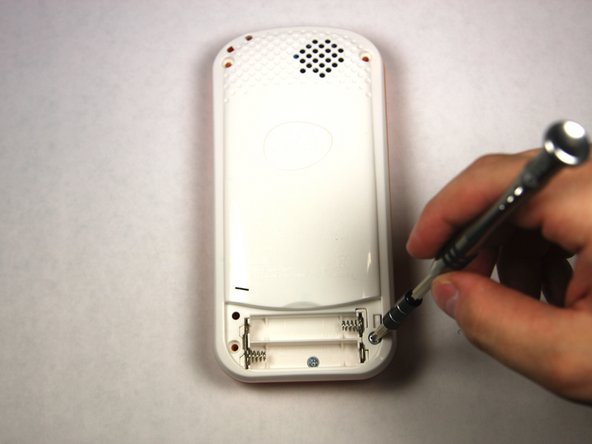
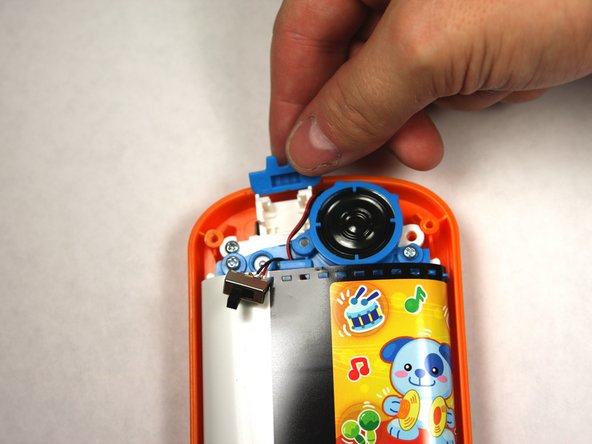
    • Retira los 4 tornillos de 13,8 mm que sujetan el dispositivo con un destornillador Phillips n.º 1.

  5. Reemplazo del interruptor de encendido del Vtech Touch and Swipe Baby Phone: paso 5, imagen 1 de 3 Reemplazo del interruptor de encendido del Vtech Touch and Swipe Baby Phone: paso 5, imagen 2 de 3 Reemplazo del interruptor de encendido del Vtech Touch and Swipe Baby Phone: paso 5, imagen 3 de 3
    • Levanta directamente para quitar el interruptor y coloca el cable a un lado.

    • Una vez que hayas sacado el interruptor, puedes quitar la carcasa del interruptor.

Conclusión

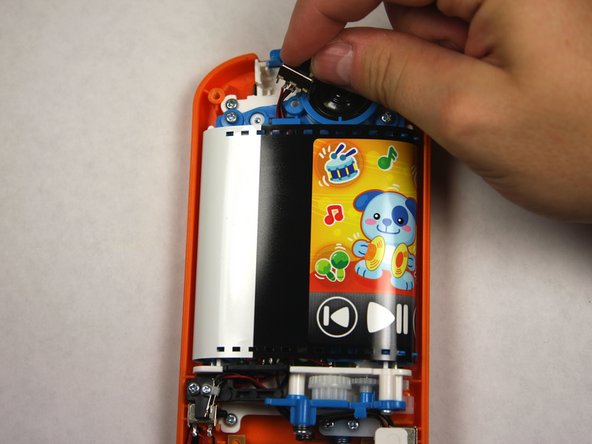
Para volver a ensamblar tu dispositivo, sigue estas instrucciones en orden inverso.

Una persona más ha completado esta guía.

Un agradecimiento especial a estos traductores:

en es

100%

¡ Francisco Javier Saiz Esteban nos está ayudando a reparar el mundo! ¿Quieres contribuir?
Empezar a traducir ›

tellocordova

Miembro Desde 09/04/15

342 Reputación

2 Guías creadas

Equipo

USF Tampa, Team 2-4, Sullivan Fall 2015 Miembro de USF Tampa, Team 2-4, Sullivan Fall 2015

USFT-SULLIVAN-F15S2G4

3 Miembros

12 Guías creadas

2 comentarios

Good work.

I have done it the same way,

the wire at the switch was bad soldered,

but it was easy to repair it and i soldered it new.

Nice.

Schwarzstein - Contestar

My baby’s phone keeps turning itself off. The switch is in the ON position but it keeps turning OFF and singing the off song. I have opened the phone and even held the switch to ON but it still keeps turning OFF even without the switch moving. Any suggestions?

shakinsher - Contestar

Agregar Comentario

Ver Estadísticas:

Ultimas 24 horas: 0

Ultimos 7 días: 0

Ultimos 30 días: 1

Todo El Tiempo: 627