Introducción
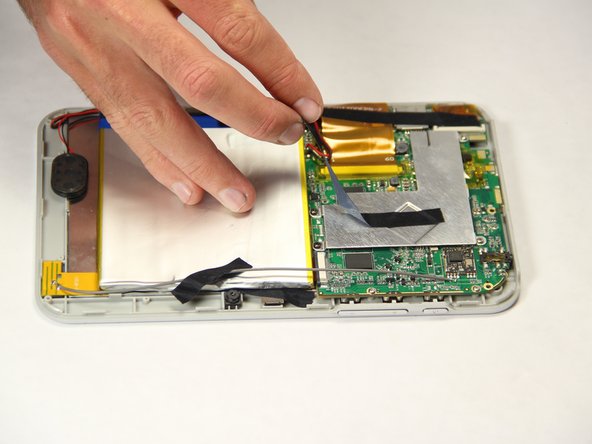
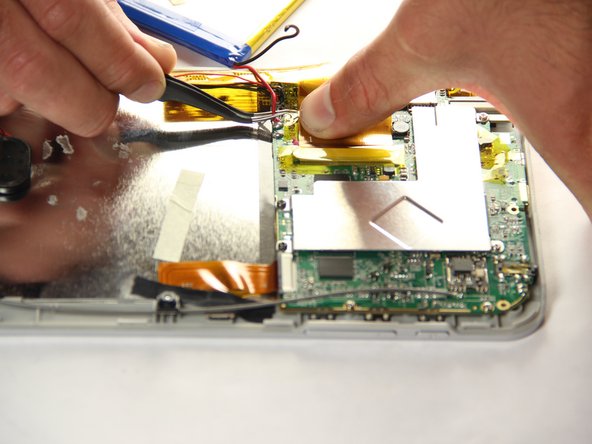
Follow these simple steps to remove the battery from your device!
Qué necesitas


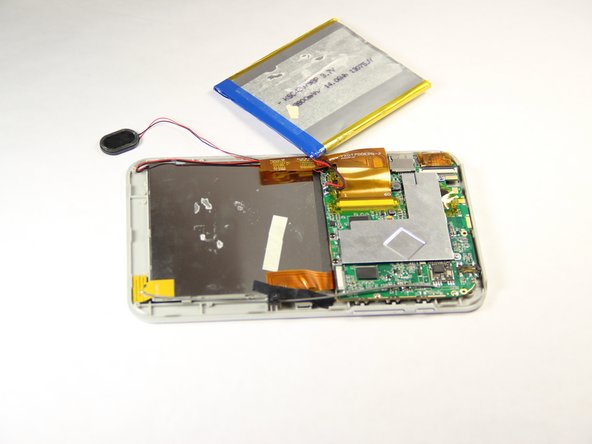


Casi Terminas!
To reassemble your device, follow these instructions in reverse order.
Conclusión
To reassemble your device, follow these instructions in reverse order.
Cancelar: No complete esta guía.
Una persona más ha completado esta guía.
Equipo

USF Tampa, Team 11-1, Blackwell Winter 2015 Miembro de USF Tampa, Team 11-1, Blackwell Winter 2015
USFT-BLACKWELL-W15S11G1
4 Miembros
10 Guías creadas