Introducción
We have had the countertop 6 bottle wine chiller VinoTemp VT6-TEDS. The "TEDS" designation indicates that it is a thermolectric cooler, that is, it doesn't have a compressor and freon/refrigerant. No moving parts (except for the cooling fans)
You need to be comfortable with electricity. There is 120 VAC when you remove the back cover. And the AC to DC conversion exposes 160 VDC, so BE CAREFUL.
Qué necesitas
Documento destacado
-
-
There are 10 philips screws holding the sheet metal back cover.
-
3 screws along the top, 2 on 2 sides. And there are 3 on the bottom but the bottom is recessed, and one of them is covered by the factory sticker listing model information.
-
-
-
At the top middle of the back of the VinoTemp is the circuit board. On the right side is the high voltage (120 VAC, 160 VDC).
-
On the left side of the circuit board is the low voltage, 12VDC. But the voltages can be around 10 or 11 VDC
-
The picture is of the left side, which is where the VinoTemp troubleshooting guide says to do your checking, using a Voltmeter.
-
-
-
-
In the troubleshooting guide says, if the voltages look good (10 V to 12 VDC) you should to move on to the the Control circuit board. My voltages looked correct so I moved on.
-
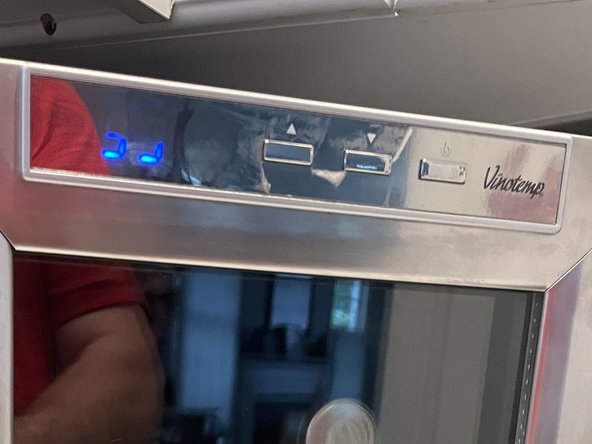
But the Temperature Control circuit board is in the front, in the door of the VinoTemp. The small temperatue display is part of the temperature control circuit board.
-
To continue troubleshooting, you open the front door and disassemble it from the inside. But that is not what fixed my VinoTemp.
-
-
-
The whole time I wwas troubleshooting, the VinoTemp had been plugged in and powered on. It had to be so that I could test the voltages.
-
I listed this as a "technique" on iFixit because I stumbled into getting my VinoTemp to work.
-
I realized I had not tested one of the voltages, the "cold" voltage, in the back on the main circuit board.
-
The voltage I didn't check is circled in Red. (the Blue circle is the ground side of the same circuit). When I pulled off the red tab, I heard a click (a relay) and the Hot side fan started running, and I heard the quiet buzzing inside the 'fridge. It's working!
-
I put the red wire back on and it kept working. I don't know why this reset the fridge but it did, and it's been working for 3 days now.
-



Attached is the 12 bottle VinoTemp service manual. I have not found the specific manual for the 6 bottle model. But the two models are very similar. I used this manual to guide me with my VinoTemp.
To reassemble your device, follow these instructions in reverse order.
Attached is the 12 bottle VinoTemp service manual. I have not found the specific manual for the 6 bottle model. But the two models are very similar. I used this manual to guide me with my VinoTemp.
To reassemble your device, follow these instructions in reverse order.
Cancelar: No complete esta guía.
Una persona más ha completado esta guía.



