Qué necesitas
-
-
Open SIM card flap and remove SIM card. Use a pair of tweezers to get the SIM card out.
-
-
-
Use a guitar pick to open the cover of the tablet. For most effective results, start at the corner of the tablet and continue.
-
**BE SURE NOT TO DAMAGE THE SIM CARD OR SD CARD SLOTS**
-
-
-
-
Continue opening the cover now using a metal spudger and wiggle it to pry the cover open.
-
You can look at the picture of the rear cover to see where the snaps are located.
-
-
-
Remove the screws attached to the circuit board on the battery using a Phillips 00 screw head and remove the battery.
-
There was no adhesive on the back of the battery, just along the sides.
-
-
-
Be careful when removing the ribbon cables as there is adhesive on the back of them. To remove the cables flip up the rear part of the connector to slide the cable out - *gently*.
-
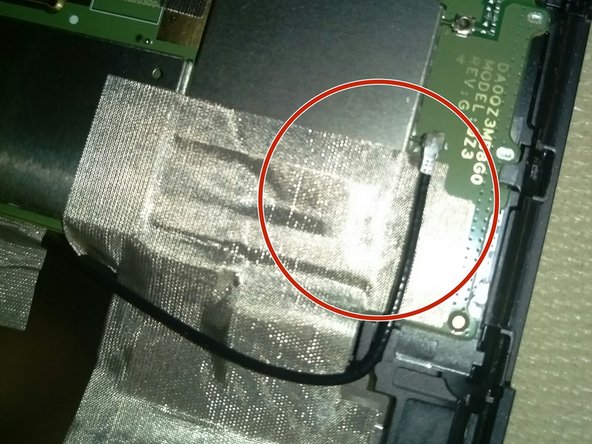
The USB Charging Connector and the Antenna Board both have adhesive on the back. Remove the screws and carefully lift up on the boards to remove them.
-
**Be careful with the antenna cable!**
-
-
-
Remove the 5 screws holding the Mainboard and Speakers in to place. *One of the screws is under the ribbon cable*
-
There was no adhesive holding this board in and the whole assembly lifted out as one piece.
-


To reassemble your device, follow these instructions in reverse order.
To reassemble your device, follow these instructions in reverse order.
Cancelar: No complete esta guía.
30 personas más completaron esta guía.
4 comentarios
My tablet is on, when I press to Open , it doesn't do anything
My tablet is on working, when I press to get is frozen, it doesn't let me in