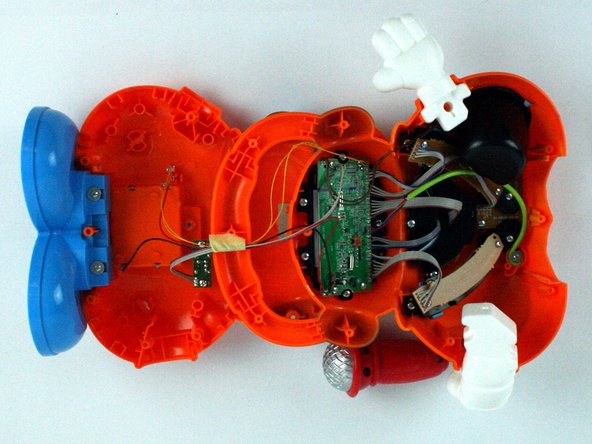
Saltar al contenido principal

VTech Learning Tunes Karaoke LCD Screen Replacement

Qué necesitas

  1. VTech Learning Tunes Karaoke LCD Screen Replacement, LCD Screen: paso 1, imagen 1 de 1
    • To remove the battery door, loosen the screw using a Flathead screwdriver.

    • A coin can also be used to loosen the screw.

  2. VTech Learning Tunes Karaoke LCD Screen Replacement: paso 2, imagen 1 de 2 VTech Learning Tunes Karaoke LCD Screen Replacement: paso 2, imagen 2 de 2
    • Remove the battery door and take out the batteries.

  3. VTech Learning Tunes Karaoke LCD Screen Replacement: paso 3, imagen 1 de 1
    • Remove the six 9.5 mm Phillips #2 screws.

    • Remove the six 6.0 mm Phillips #2 screws.

  4. VTech Learning Tunes Karaoke LCD Screen Replacement: paso 4, imagen 1 de 2 VTech Learning Tunes Karaoke LCD Screen Replacement: paso 4, imagen 2 de 2
    • Gently pull up on the rear panel.

    • Be careful to not pull on the wire connections.

    • Gently place the back panel underneath the top panel with the tops facing each other, as shown in the picture.

  5. VTech Learning Tunes Karaoke LCD Screen Replacement: paso 5, imagen 1 de 1
  6. VTech Learning Tunes Karaoke LCD Screen Replacement: paso 6, imagen 1 de 1
    • Using Phillips #1 screwdriver, remove the four 7.9 mm LCD board screws.

  7. VTech Learning Tunes Karaoke LCD Screen Replacement: paso 7, imagen 1 de 1
    • Remove old board and screen.

Conclusión

To reassemble your device, follow these instructions in reverse order.

Gregory Timmins

Miembro Desde 02/09/16

101 Reputación

1 Guía escrita

Equipo

USF Tampa, Team 7-2, Cheng Spring 2016 Miembro de USF Tampa, Team 7-2, Cheng Spring 2016

USFT-CHENG-S16S7G2

4 Miembros

10 Guías creadas

0 comentarios

Agregar Comentario

Ver Estadísticas:

Ultimas 24 horas: 0

Ultimos 7 días: 0

Ultimos 30 días: 0

Todo El Tiempo: 310