Saltar al contenido principal

Upgrading the SSD

Guía Archivada
Esta guía se mantiene únicamente para fines históricos. Utiliza la última versión de la guía para llevar a cabo tu reparación.

Qué necesitas

  1. Upgrading the SSD, Battery: paso 1, imagen 1 de 3 Upgrading the SSD, Battery: paso 1, imagen 2 de 3 Upgrading the SSD, Battery: paso 1, imagen 3 de 3
    • Open the latch on the right side that secures the battery in place.

    • Open the latch on the left side that secures the battery in place.

    • Now remove the battery.

  2. Upgrading the SSD, Main access cover: paso 2, imagen 1 de 3 Upgrading the SSD, Main access cover: paso 2, imagen 2 de 3 Upgrading the SSD, Main access cover: paso 2, imagen 3 de 3
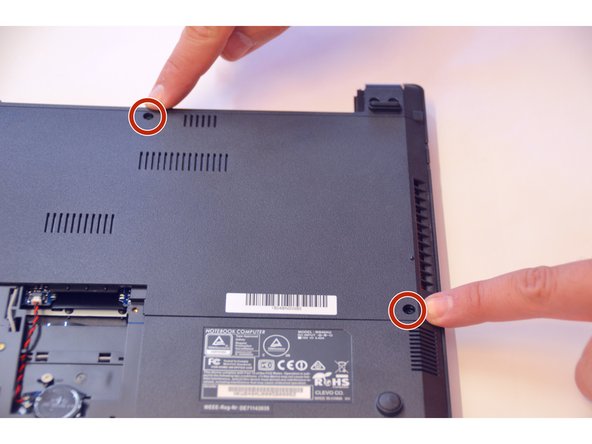
    • Using a Philips-head screwdriver remove highlighted screws.

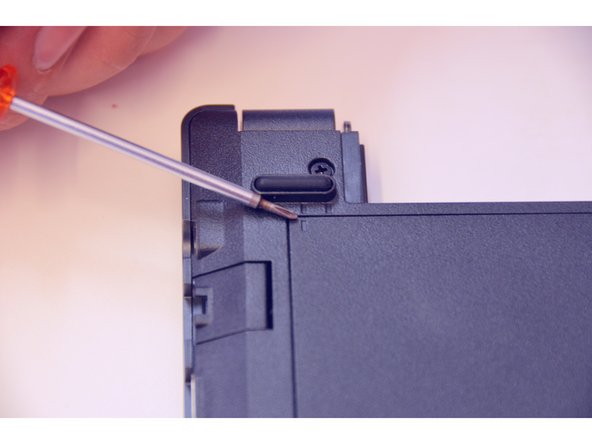
    • Look at the marking to see how to remove the access cover.

    • Remove the access cover as shown by the marker.

  3. Upgrading the SSD: paso 3, imagen 1 de 1
    • You now have access to all components of this laptop.

  4. Upgrading the SSD, PCIe SSD: paso 4, imagen 1 de 3 Upgrading the SSD, PCIe SSD: paso 4, imagen 2 de 3 Upgrading the SSD, PCIe SSD: paso 4, imagen 3 de 3
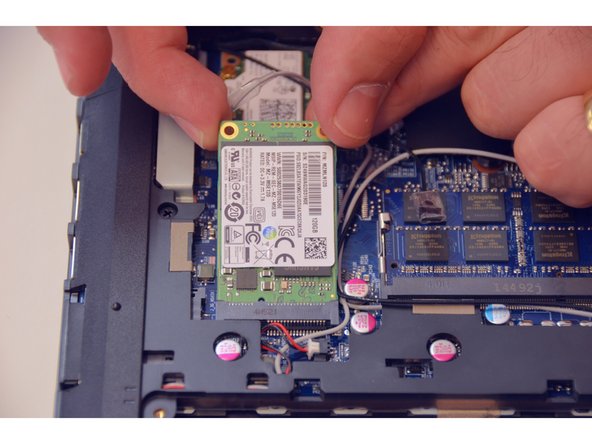
    • This is where you'll find the PCIe SSD.

    • Remove the fastening screw with the Philips-head screwdriver.

    • Remove the PCIe SSD.

  5. Upgrading the SSD: paso 5, imagen 1 de 1
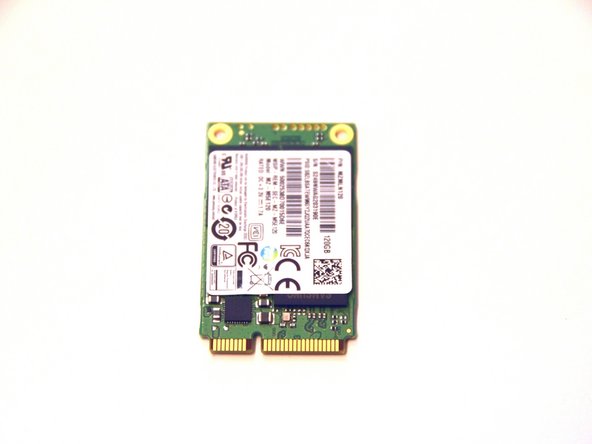
    • This is what the PCIe SSD looks like.

Conclusión

To put the device back together, follow the steps in reverse order.

Un agradecimiento especial a estos traductores:

de en

100%

¡ Alex Niculescu nos está ayudando a reparar el mundo! ¿Quieres contribuir?
Empezar a traducir ›

Felice Suglia

Miembro Desde 06/15/13

30,884 Reputación

264 Guías creadas

0 comentarios

Agregar Comentario

Ver Estadísticas:

Ultimas 24 horas: 0

Ultimos 7 días: 0

Ultimos 30 días: 2

Todo El Tiempo: 204