Esta versión puede contener ediciones incorrectas. Cambie a la última instantánea verificada.
Qué necesitas
-
Este paso está sin traducir. Ayuda a traducirlo
-
Place the phone facedown on a cleared work area
-
Remove the back case by applying moderate force to the indentation in the lower left corner of the case.
-
-
Este paso está sin traducir. Ayuda a traducirlo
-
Grip the top right corner of the battery.
-
Remove the battery by pulling it outwards.
-
-
Este paso está sin traducir. Ayuda a traducirlo
-
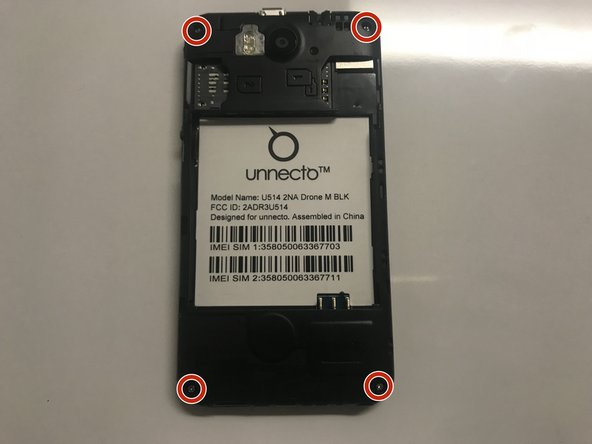
Remove the four screws on the back of the phone using a Philips 000 screwdriver
-
-
-
Este paso está sin traducir. Ayuda a traducirlo
-
Separate the frame evenly using a plastic opening tool.
-
-
Este paso está sin traducir. Ayuda a traducirlo
-
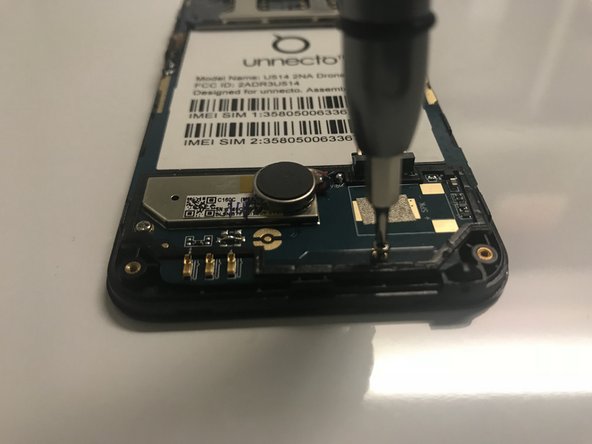
Use a Phillips #000 screwdriver to remove the four screws that secure the motherboard.
-
-
Este paso está sin traducir. Ayuda a traducirlo
-
Disconnect the ribbon cable from the motherboard using rounded, spade-tipped tweezers.
-
-
Este paso está sin traducir. Ayuda a traducirlo
-
Peel the white circuit on left side of the frame by inserting fine-tipped tweezers between it and the frame.
-
-
Este paso está sin traducir. Ayuda a traducirlo
-
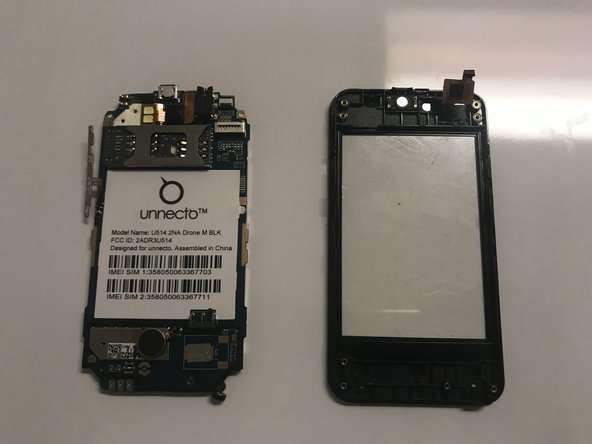
Set aside the circuit board from the screen protector.
-


Equipo

University of North Texas, Team S6-G4, Thomas Spring 2018 Miembro de University of North Texas, Team S6-G4, Thomas Spring 2018
UNT-THOMAS-S18S6G4
4 Miembros
10 Guías creadas