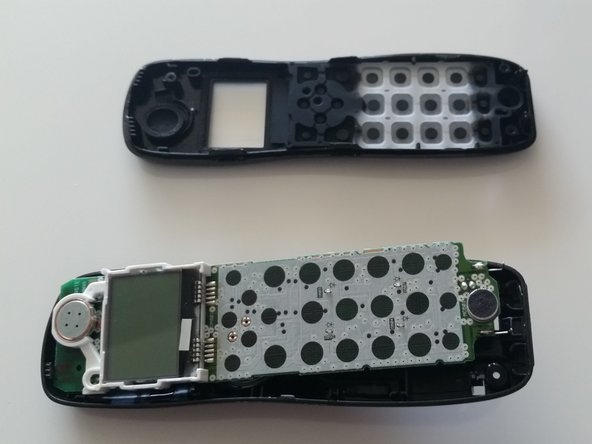
Saltar al contenido principal

Uniden D1483-3BK Handset Keypad Replacement

Qué necesitas

  1. Uniden D1483-3BK Handset Keypad Replacement, Battery: paso 1, imagen 1 de 1
    • Set the phone with dial keys facing downward.

  2. Uniden D1483-3BK Handset Keypad Replacement: paso 2, imagen 1 de 2 Uniden D1483-3BK Handset Keypad Replacement: paso 2, imagen 2 de 2
    • Slide the battery cover toward the bottom of the phone.

    • Lift and remove the back cover from the phone.

  3. Uniden D1483-3BK Handset Keypad Replacement: paso 3, imagen 1 de 1
    • Remove the battery from its compartment.

    • Pinch the end of cord where the battery is attached to the phone and pull up gently.

  4. Uniden D1483-3BK Handset Keypad Replacement, Handset Case: paso 4, imagen 1 de 2 Uniden D1483-3BK Handset Keypad Replacement, Handset Case: paso 4, imagen 2 de 2
    • Remove the two 9mm Phillips #1 screws in the battery compartment.

  5. Uniden D1483-3BK Handset Keypad Replacement: paso 5, imagen 1 de 3 Uniden D1483-3BK Handset Keypad Replacement: paso 5, imagen 2 de 3 Uniden D1483-3BK Handset Keypad Replacement: paso 5, imagen 3 de 3
    • Use the plastic opening tool to carefully separate the two halves of the case.

    • Slowly work around the entire case to fully separate the halves before pulling them apart.

    • Wires inside the case hold the two halves together, tearing these wires will lead to a need for additional repair.

  6. Uniden D1483-3BK Handset Keypad Replacement: paso 6, imagen 1 de 2 Uniden D1483-3BK Handset Keypad Replacement: paso 6, imagen 2 de 2
    • Carefully remove the 9mm Phillips #1 screw from the top corner of the circuit board.

  7. Uniden D1483-3BK Handset Keypad Replacement: paso 7, imagen 1 de 2 Uniden D1483-3BK Handset Keypad Replacement: paso 7, imagen 2 de 2
    • Carefully grasp either side of the circuit board and lift it straight out of the front half of the case.

    • Set the board in the lower half of the case.

  8. Uniden D1483-3BK Handset Keypad Replacement, Handset Keypad: paso 8, imagen 1 de 1
    • Remove the rubber keypad from the front half of the handset case.

    • The keypad comes in two separate pieces.

Conclusión

To reassemble your device, follow these instructions in reverse order.

6 personas más completaron esta guía.

Arbitrary Name

Miembro Desde 01/28/15

1,083 Reputación

4 Guías creadas

Equipo

Penn State, Team 1-8, Kaschak Winter 2015 Miembro de Penn State, Team 1-8, Kaschak Winter 2015

PSU-KASCHAK-W15S1G8

4 Miembros

8 Guías creadas

0 comentarios

Agregar Comentario

Ver Estadísticas:

Ultimas 24 horas: 0

Ultimos 7 días: 0

Ultimos 30 días: 0

Todo El Tiempo: 203