Introducción
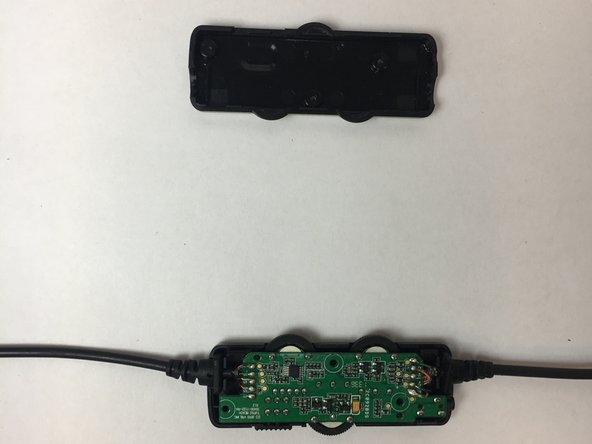
This guide is for the audio jack casing of the Turtle Beach Ear Force X12 gaming headphones. These headphones can be paired with gaming controllers through an auxiliary cord. The casing refers to the protective cover of the audio jack control board which is used to raise or lower the volume. If the casing becomes cracked or broken, you may not have the ability to adjust the volume. If you discover that your audio jack case is broken, then this guide will show you how to replace the case and restore function.
Check that your headphones are removed from power before changing the case.
Qué necesitas


To reassemble your device, follow these instructions in reverse order.
To reassemble your device, follow these instructions in reverse order.
Equipo

USF Tampa, Team S1-G3, Thompson Fall 2017 Miembro de USF Tampa, Team S1-G3, Thompson Fall 2017
USFT-THOMPSON-F17S1G3
3 Miembros
5 Guías creadas