Esta versión puede contener ediciones incorrectas. Cambie a la última instantánea verificada.
Qué necesitas
-
Este paso está sin traducir. Ayuda a traducirlo
-
Simply grab and pull off the pads of each earpiece
-
You will expose the 8 clip hinges, which are covered with foamy tape.
-
-
Este paso está sin traducir. Ayuda a traducirlo
-
Carefully peel off the stickers to get to the clips.
-
-
-
Este paso está sin traducir. Ayuda a traducirlo
-
Pry around the edges with a prying tool and unhook the hinges with a sturdy metal prying tool.
-
Once all the 4 hinges are unclipped open the headset.
-
-
Este paso está sin traducir. Ayuda a traducirlo
-
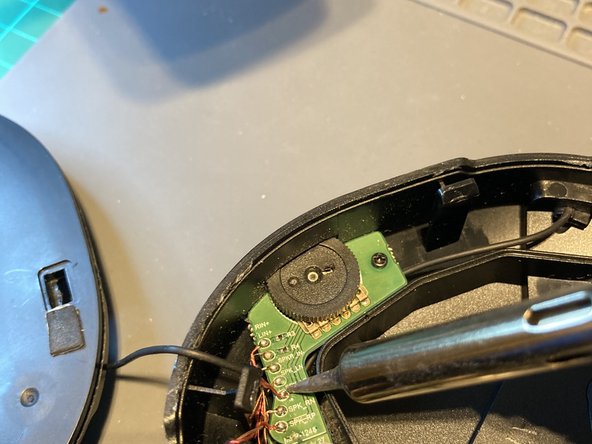
Desolder the top 3 connections. RIN+, LIN+, SPKR_IN
-
And the MIN_IN, and mic ground.
-
-
Este paso está sin traducir. Ayuda a traducirlo
-
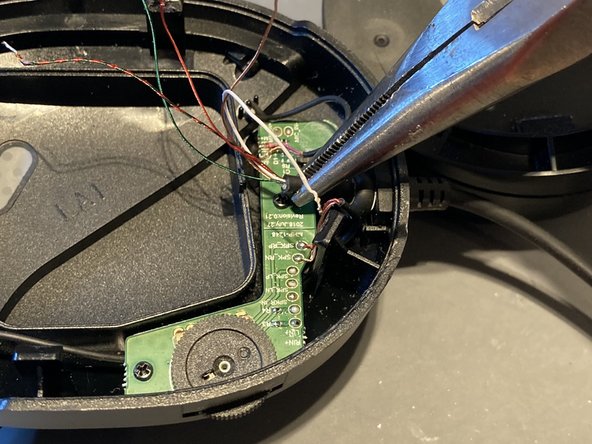
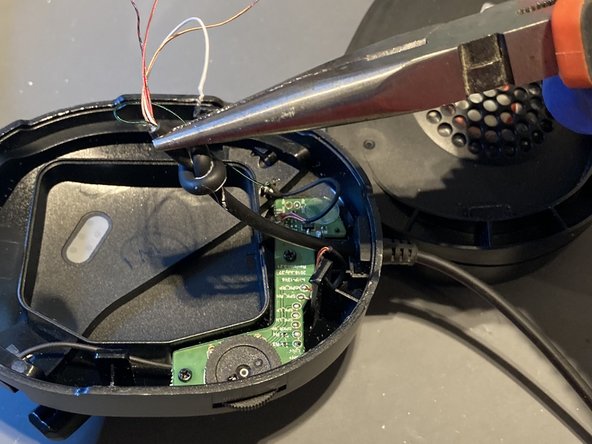
Now all the wires should be free.
-
Grab the end of the wire at the knot and pull a bit of slack through so you can untie the knot.
-


Cancelar: No complete esta guía.
2 personas más completaron esta guía.

5 comentarios
Hi. Thanks for this guide. Any idea where to obtain the correct replacement cable, and which wires correspond to which positions on the jack plug? Thanks.
I bought replacement cable on ebay. Look for 4 core cables (shielded if possible to reduce interference). Just use the continuity setting on your DMM to make sure you connect the new wire back the correct order.
On the ones I fixed the colouring was as below
RIN+ red
LIN+ green
SPKR_IN orange (ground)
MIC_IN+ white
MIC_IN- red+green striped (ground)
If you get a cable with a jack plug already mounted the correct connection from the tip of the jack plug to the cable side is as follows
LIN+
RIN+
SPKR_IN
MIC_IN+
Hope it helps!
Fantastic - thanks so much for this. I will give it a try.
Perfect thanks. Worked a treat - headphones working again now. Thanks so much.
Glad to hear that! Well done!