Introducción
This Motherboard you will be fixing/replacing will contain sensitive electronic parts, so be very careful!
Qué necesitas
-
-
-
To replace your battery, you must reinsert the Battery leads into the Motherboard, being sure that the Red wire goes into the + (positive) terminal and the Black wire goes into the - (negative) terminal.
-
Apply heat and solder to each lead individually.
-
Remove any excess solder if flooding occurs.
-
-
-
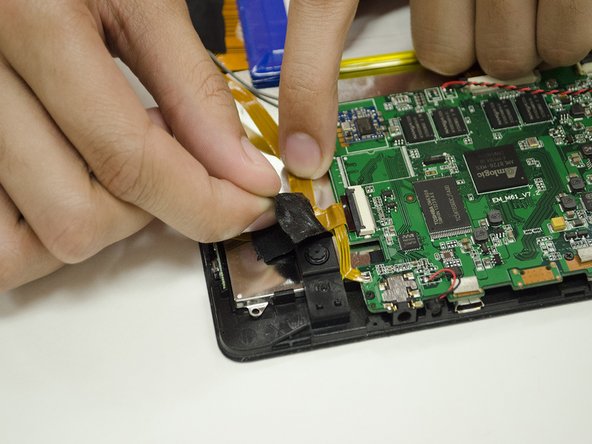
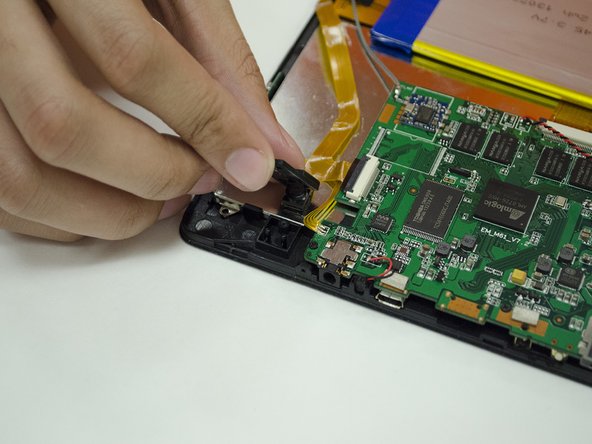
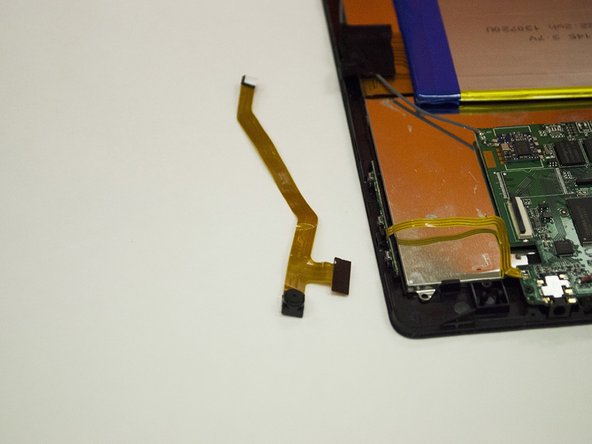
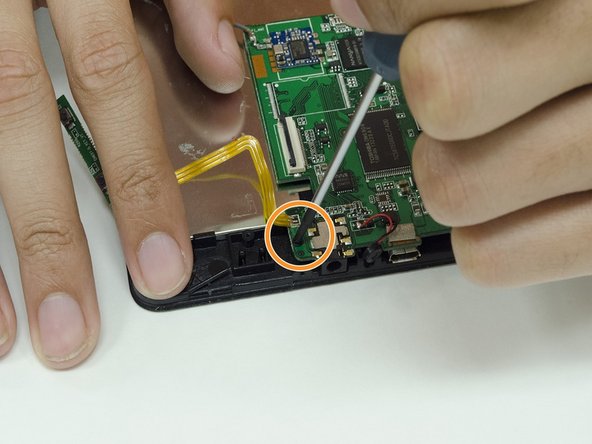
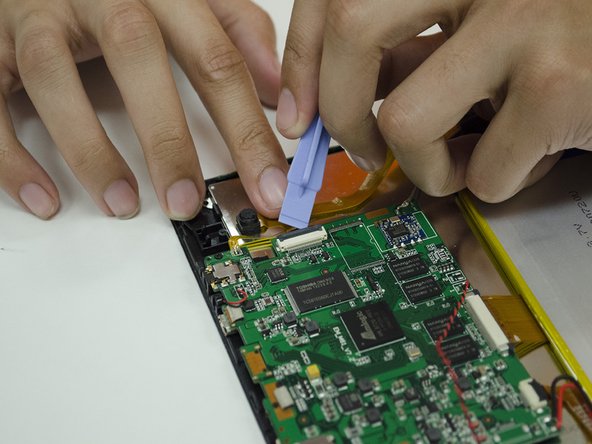
Slowly remove the two pieces of electrical tape holding down the Camera ribbon cable.
-
-
-
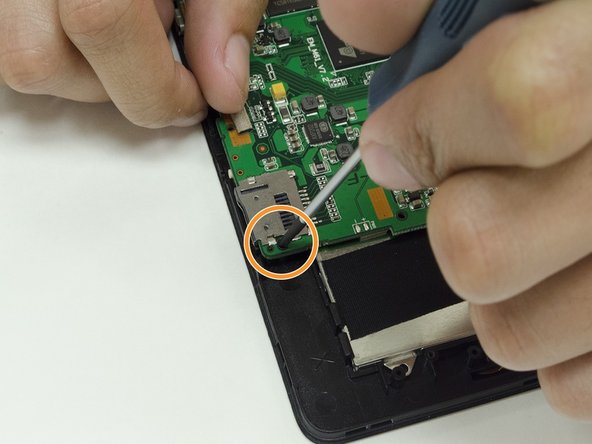
Prepare your Desoldering Tools. Remove the grey wire attached to the Motherboard.
-
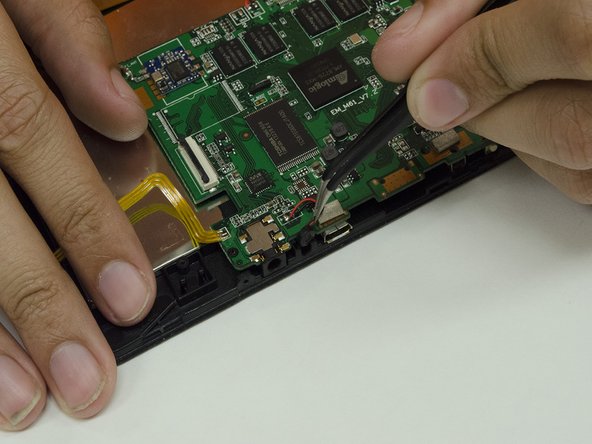
Remove any excess solder as needed.
-


To reassemble your device, follow these instructions in reverse order while being careful with the electronics on your repaired/replaced Motherboard.
To reassemble your device, follow these instructions in reverse order while being careful with the electronics on your repaired/replaced Motherboard.
Cancelar: No complete esta guía.
2 personas más completaron esta guía.
Equipo

Clemson, Team 15-5, Shirley Winter 2015 Miembro de Clemson, Team 15-5, Shirley Winter 2015
CLEM-SHIRLEY-W15S15G5
4 Miembros
4 Guías creadas