Saltar al contenido principal

Toyota Tundra 2nd generation (2007-2013) Tailgate Handle Replacement

Qué necesitas

  1. Toyota Tundra 2nd generation (2007-2013) Tailgate Handle Replacement, Tailgate Handle: paso 1, imagen 1 de 2 Toyota Tundra 2nd generation (2007-2013) Tailgate Handle Replacement, Tailgate Handle: paso 1, imagen 2 de 2
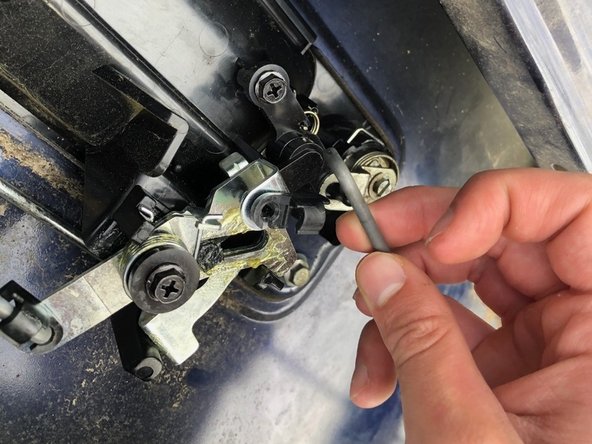
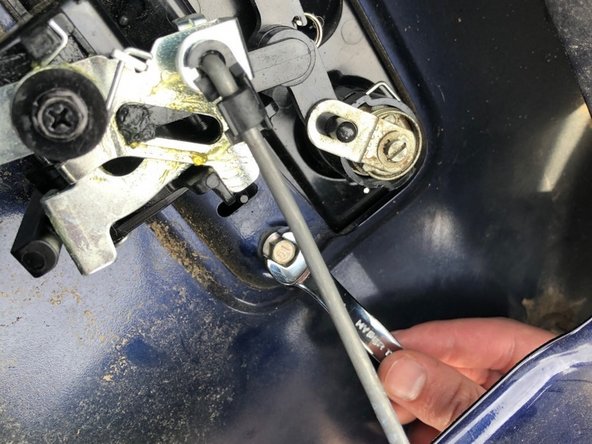
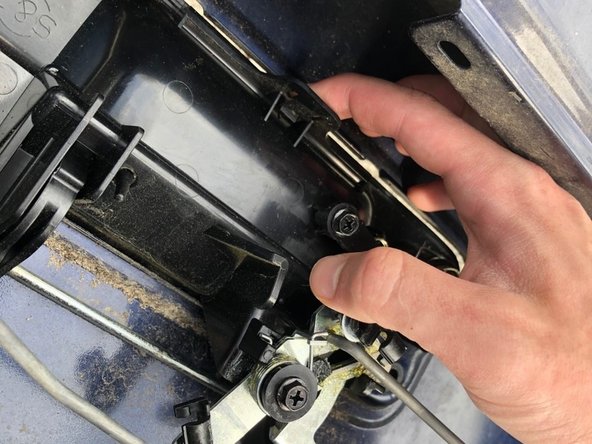
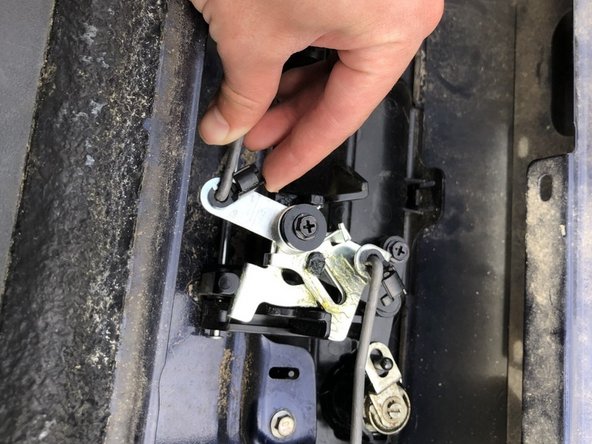
    • Remove the Torx-head screws (23.2mm) on the inside panel of the tailgate, using the torx T25 screwdriver.

  2. Toyota Tundra 2nd generation (2007-2013) Tailgate Handle Replacement: paso 2, imagen 1 de 2 Toyota Tundra 2nd generation (2007-2013) Tailgate Handle Replacement: paso 2, imagen 2 de 2
    • Pull off the panel and then pull cables inward, causing tailgate to release and go down.

  3. Toyota Tundra 2nd generation (2007-2013) Tailgate Handle Replacement: paso 3, imagen 1 de 2 Toyota Tundra 2nd generation (2007-2013) Tailgate Handle Replacement: paso 3, imagen 2 de 2
    • Remove rubber pieces from cable and pull cable from insert.

  4. Toyota Tundra 2nd generation (2007-2013) Tailgate Handle Replacement: paso 4, imagen 1 de 2 Toyota Tundra 2nd generation (2007-2013) Tailgate Handle Replacement: paso 4, imagen 2 de 2
    • Use your 5/16th-in. wrench to turn bolt counter clockwise and remove the bolts (18.5mm).

  5. Toyota Tundra 2nd generation (2007-2013) Tailgate Handle Replacement: paso 5, imagen 1 de 2 Toyota Tundra 2nd generation (2007-2013) Tailgate Handle Replacement: paso 5, imagen 2 de 2
    • Push in black clip to let handle fall out.

  6. Toyota Tundra 2nd generation (2007-2013) Tailgate Handle Replacement: paso 6, imagen 1 de 1
    • Put new tailgate handle back in.

  7. Toyota Tundra 2nd generation (2007-2013) Tailgate Handle Replacement: paso 7, imagen 1 de 1
    • Hand twist in bolts; then tighten with wrench.

  8. Toyota Tundra 2nd generation (2007-2013) Tailgate Handle Replacement: paso 8, imagen 1 de 1
    • Insert cable back into socket and press rubber lock onto cable.

  9. Toyota Tundra 2nd generation (2007-2013) Tailgate Handle Replacement: paso 9, imagen 1 de 1
    • Put panel back into place and screw in using your torx -T25 screwdriver.

Conclusión

This Device is a medium hardness fix but, with hard-work it can be achieved in only about 30 minutes

Brandon Gibson

Miembro Desde 03/26/20

169 Reputación

1 Guía escrita

2 comentarios

You skipped the problematic part about changing the lock.

Declan Haptism - Contestar

I’m about to replace my handle.. I also need the 4 white clips that help align the latch rods. Mine were old brittle and all broken. Any chance you have a part number for those small clips?

Ryan Rodriguez - Contestar

Agregar Comentario

Ver Estadísticas:

Ultimas 24 horas: 5

Ultimos 7 días: 29

Ultimos 30 días: 179

Todo El Tiempo: 9,952