Esta versión puede contener ediciones incorrectas. Cambie a la última instantánea verificada.
Qué necesitas
-
Este paso está sin traducir. Ayuda a traducirlo
-
Open the laptop and locate the plastic strip just above the keyboard.
-
With care, slide the prying tool into an end and lift it up until you hear an audible click, meaning it has separated.
-
Slowly slide a finger or the prying tool under and follow the strip to the opposite end, completely detaching the strip.
-
-
Este paso está sin traducir. Ayuda a traducirlo
-
Remove the four screws using the Phillips #1 screwdriver.
-
-
-
Este paso está sin traducir. Ayuda a traducirlo
-
Gently push the clip back as you lift the top of the keyboard towards you.
-
-
Este paso está sin traducir. Ayuda a traducirlo
-
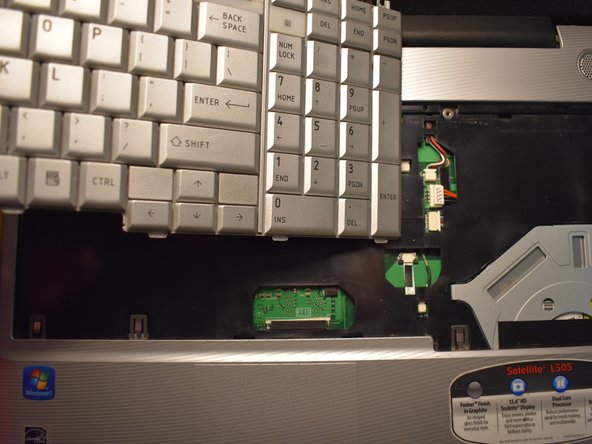
Gently disconnect the connector strip by pushing the white clips forward.
-
Carefully pull the strip out of its port.
-
Remove the keyboard from the device.
-


Cancelar: No complete esta guía.
Una persona más ha completado esta guía.
Equipo

University of North Texas, Team S7-G1, Thompson Fall 2018 Miembro de University of North Texas, Team S7-G1, Thompson Fall 2018
UNT-THOMPSON-F18S7G1
4 Miembros
9 Guías creadas