Introducción
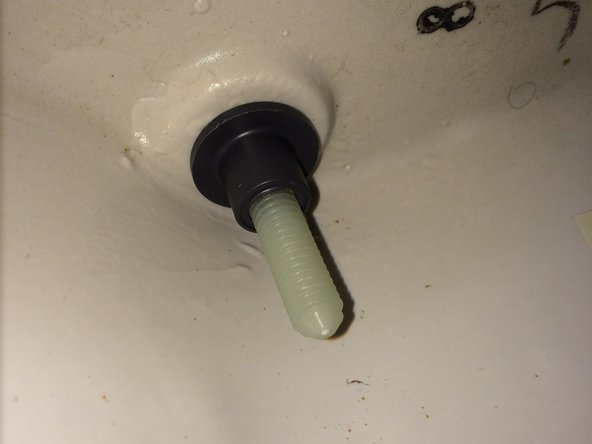
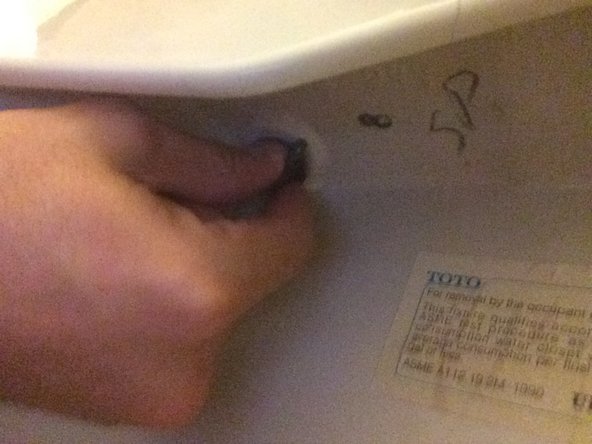
Is your toilet seat getting old or broken? Use this guide to learn how to replace your old toilet seat with a new one.
Qué necesitas


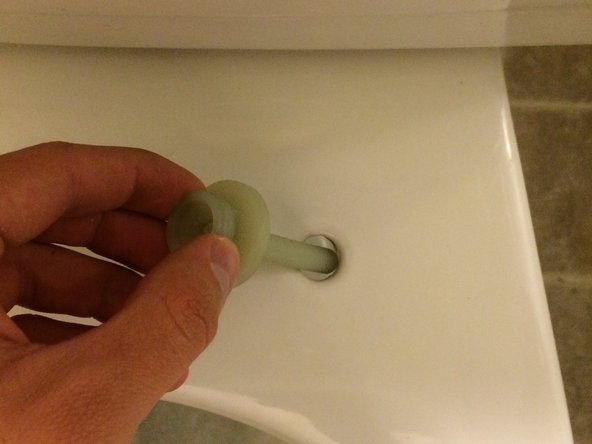


Casi Terminas!
To re-install your previous seat, follow these instructions in reverse order.
Conclusión
To re-install your previous seat, follow these instructions in reverse order.
Cancelar: No complete esta guía.
2 personas más completaron esta guía.
Equipo

Cal Poly, Team 24-5, Green Winter 2015 Miembro de Cal Poly, Team 24-5, Green Winter 2015
CPSU-GREEN-W15S24G5
3 Miembros
4 Guías creadas