Introducción
The Tineco FLOOR ONE S3 (model no. FW007600US) may exhibit erratic behavior or complete system failure. This is usually caused by failure of the motherboard. Follow these steps to replace the motherboard.
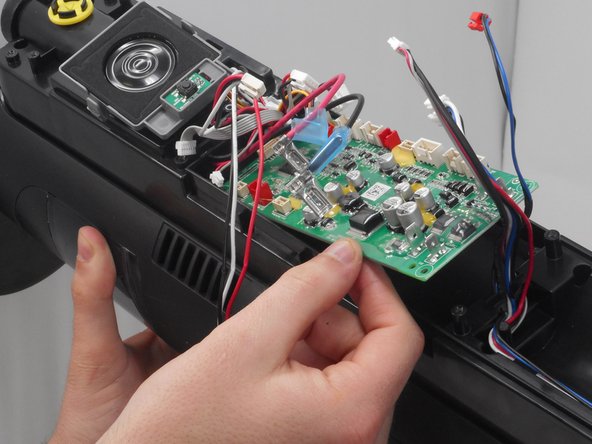
The motherboard is an essential component to this floor cleaning machine. It is the main computer that tells the motors to go when certain buttons are activated. The vacuum would not be able to operate without the motherboard.
Qué necesitas
-
-
Remove six 10.6 mm screws from the back of the vacuum with a Phillips #1 screwdriver.
-
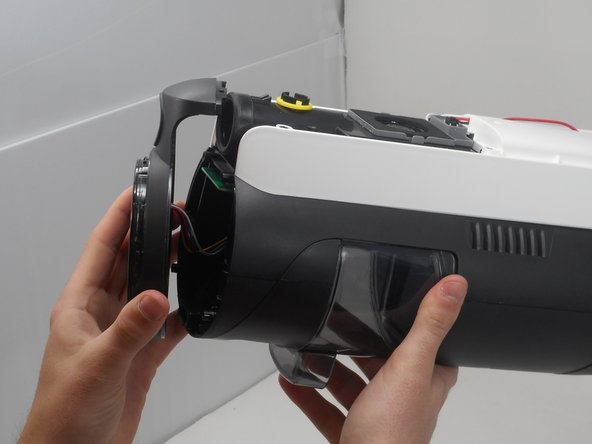
Remove the entire back piece.
-
-


To reassemble your device, follow these instructions in reverse order.
To reassemble your device, follow these instructions in reverse order.
Equipo

University of Memphis, Team 3-5, Sneed Spring 2024 Miembro de University of Memphis, Team 3-5, Sneed Spring 2024
UM-SNEED-S24S3G5
4 Miembros
6 Guías creadas