Saltar al contenido principal

Thrustmaster T Flight Hotas 4 Trigger Replacement

Qué necesitas

  1. Thrustmaster T Flight Hotas 4 Trigger Replacement, J1 Screws on Joystick Handle: paso 1, imagen 1 de 2 Thrustmaster T Flight Hotas 4 Trigger Replacement, J1 Screws on Joystick Handle: paso 1, imagen 2 de 2
    • Be sure to disconnect the controller from the power source before disassembling.

    • Remove the four 15 mm J1 JIS head screws from the exterior of the joystick.

  2. Thrustmaster T Flight Hotas 4 Trigger Replacement, Trigger: paso 2, imagen 1 de 3 Thrustmaster T Flight Hotas 4 Trigger Replacement, Trigger: paso 2, imagen 2 de 3 Thrustmaster T Flight Hotas 4 Trigger Replacement, Trigger: paso 2, imagen 3 de 3
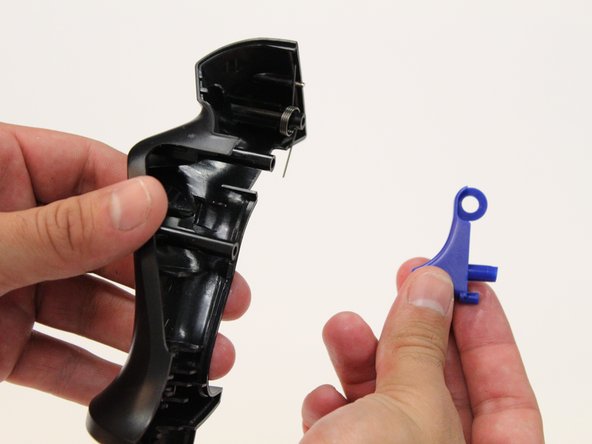
    • Carefully remove the paneling of the joystick using your hands to pull the panels apart.

    • Be aware that the panels will fall apart when the screws are removed unless they are held together.

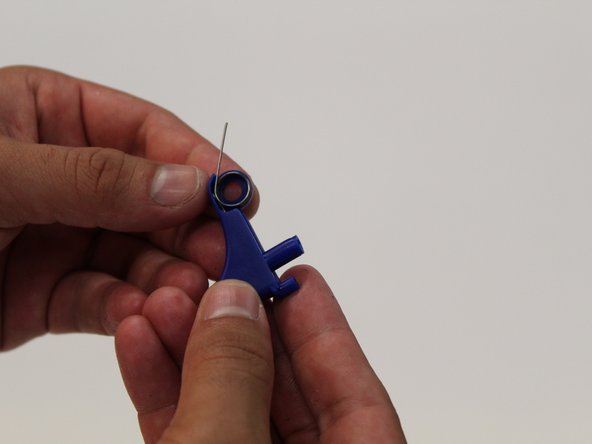
    • This metal piece must be put back into its correct position. If not it will impair the movement of the joystick's rudder mechanism.

  3. Thrustmaster T Flight Hotas 4 Trigger Replacement: paso 3, imagen 1 de 1
    • Remove the 8 mm J1 JIS head screw that is holding the trigger in place.

  4. Thrustmaster T Flight Hotas 4 Trigger Replacement: paso 4, imagen 1 de 3 Thrustmaster T Flight Hotas 4 Trigger Replacement: paso 4, imagen 2 de 3 Thrustmaster T Flight Hotas 4 Trigger Replacement: paso 4, imagen 3 de 3
    • Remove trigger and metal spring.

    • Remember to position the metal spring in the exact same place.

Conclusión

To reassemble your device, follow these instructions in reverse order.

Aaron Banaga

Miembro Desde 09/11/17

526 Reputación

4 Guías creadas

Equipo

CSU Fullerton, Team S2-G1, Bruce Fall 2017 Miembro de CSU Fullerton, Team S2-G1, Bruce Fall 2017

CSUF-BRUCE-F17S2G1

3 Miembros

13 Guías creadas

0 comentarios

Agregar Comentario

Ver Estadísticas:

Ultimas 24 horas: 0

Ultimos 7 días: 3

Ultimos 30 días: 11

Todo El Tiempo: 3,370