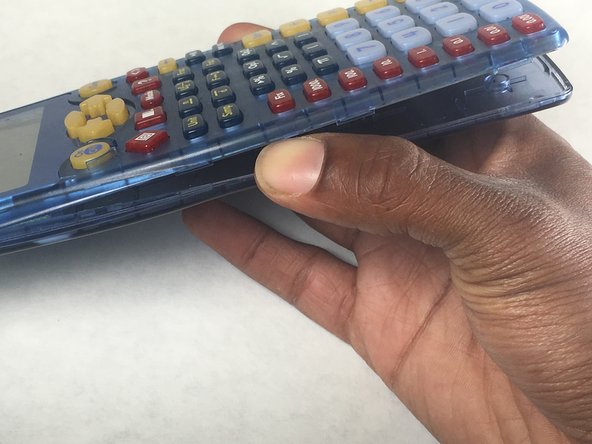
Saltar al contenido principal

Texas Instruments TI-15 Battery Replacement

Qué necesitas

  1. Texas Instruments TI-15 Battery Replacement, Battery: paso 1, imagen 1 de 3 Texas Instruments TI-15 Battery Replacement, Battery: paso 1, imagen 2 de 3 Texas Instruments TI-15 Battery Replacement, Battery: paso 1, imagen 3 de 3
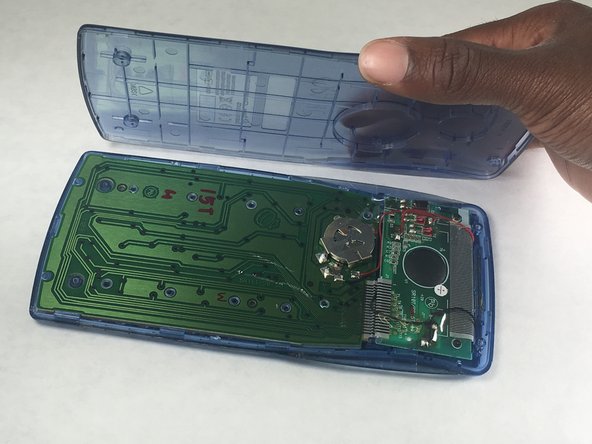
    • With a Y000 screwdriver, loosen the four 1mm Phillips head screws and set them aside.

  2. Texas Instruments TI-15 Battery Replacement: paso 2, imagen 1 de 3 Texas Instruments TI-15 Battery Replacement: paso 2, imagen 2 de 3 Texas Instruments TI-15 Battery Replacement: paso 2, imagen 3 de 3
    • With an iFixit opening tool, pry apart a total of 3 notches on the top and bottom of the calculator.

  3. Texas Instruments TI-15 Battery Replacement: paso 3, imagen 1 de 3 Texas Instruments TI-15 Battery Replacement: paso 3, imagen 2 de 3 Texas Instruments TI-15 Battery Replacement: paso 3, imagen 3 de 3
    • Separate the two panels to reveal the calculator's green circuit board.

  4. Texas Instruments TI-15 Battery Replacement: paso 4, imagen 1 de 2 Texas Instruments TI-15 Battery Replacement: paso 4, imagen 2 de 2
    • Using the iFixit opening tool , slide underneath the battery cover until the battery comes out.

  5. Texas Instruments TI-15 Battery Replacement: paso 5, imagen 1 de 3 Texas Instruments TI-15 Battery Replacement: paso 5, imagen 2 de 3 Texas Instruments TI-15 Battery Replacement: paso 5, imagen 3 de 3
    • Remove the old battery and insert the new battery.

    • Properly dispose or recycle the old battery.

Linea de Meta

3 personas más completaron esta guía.

0 comentarios

Agregar Comentario

Ver Estadísticas:

Ultimas 24 horas: 1

Ultimos 7 días: 2

Ultimos 30 días: 16

Todo El Tiempo: 2,555