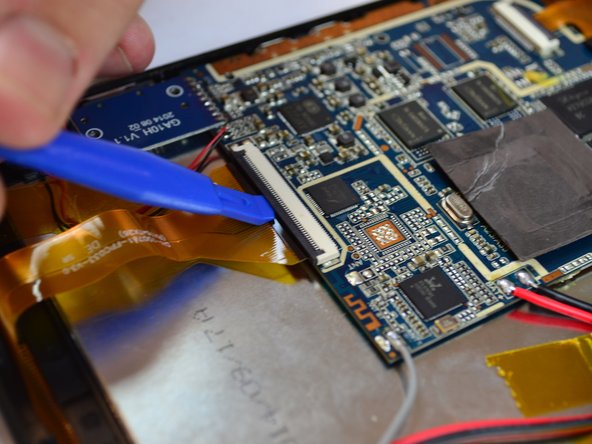
Saltar al contenido principal

Tagital T10 Touch Screen Replacement

Qué necesitas

  1. Tagital T10 Touch Screen Replacement, Touch Screen: paso 1, imagen 1 de 1
    • Always make sure your device is completely powered off before performing repairs

    • Remove the two 4mm screws at the top of the device.

    • Set these aside and be careful not to lose them, as well as all other screws that you remove.

  2. Tagital T10 Touch Screen Replacement: paso 2, imagen 1 de 1
    • Carefully remove the back cover by using a plastic prying tool, moving all the way around the perimeter of the tablet.

    • Set the back cover aside

    • The speakers are attached to the inside back cover, and are connected by wires to the motherboard of the tablet. Carefully set the back cover aside so that you do not rip the wires free.

  3. Tagital T10 Touch Screen Replacement: paso 3, imagen 1 de 1
    • The display screen is the silver box that the battery and motherboard sit on. It sits snugly against the underside of the touch screen.

    • Remove all of the 4mm screws that attach the display screen to the back of the touch screen with brackets.

  4. Tagital T10 Touch Screen Replacement: paso 4, imagen 1 de 2 Tagital T10 Touch Screen Replacement: paso 4, imagen 2 de 2
    • Remove all of the 4mm screws that attach the motherboard to the rest of the device.

    • One screw is located beneath the black tape that holds the rear-facing camera in place. Peel the tape up to access it.

  5. Tagital T10 Touch Screen Replacement: paso 5, imagen 1 de 2 Tagital T10 Touch Screen Replacement: paso 5, imagen 2 de 2
    • Locate the 2 ZIF connectors.

    • Flip up the black tab to release the two filaments, so that they are no longer connected to the motherboard.

  6. Tagital T10 Touch Screen Replacement: paso 6, imagen 1 de 2 Tagital T10 Touch Screen Replacement: paso 6, imagen 2 de 2
    • Locate the notification light on the upper left corner of the device.

    • Gently pull on the wires to remove the light from its housing.

  7. Tagital T10 Touch Screen Replacement: paso 7, imagen 1 de 1
    • Remove the motherboard from the back of the display screen.

    • Some wires are still attached to the device so carefully set it to the side

  8. Tagital T10 Touch Screen Replacement: paso 8, imagen 1 de 2 Tagital T10 Touch Screen Replacement: paso 8, imagen 2 de 2
    • Begin lifting the display screen out of its housing with a plastic prying tool, sliding it around the perimeter of the screen.

    • It may be helpful to use two prying tools at the same time.

  9. Tagital T10 Touch Screen Replacement: paso 9, imagen 1 de 1
    • Completely remove the display screen from the touchscreen.

Conclusión

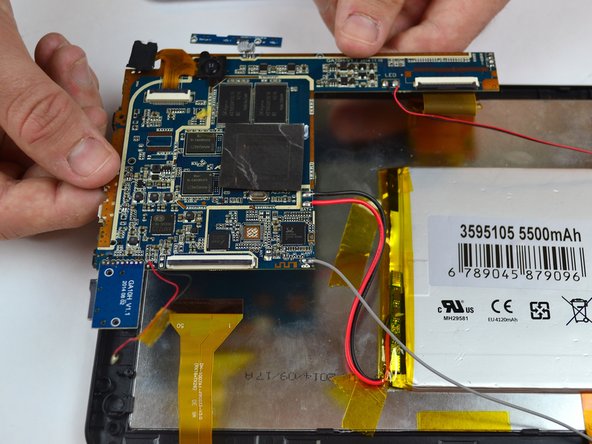
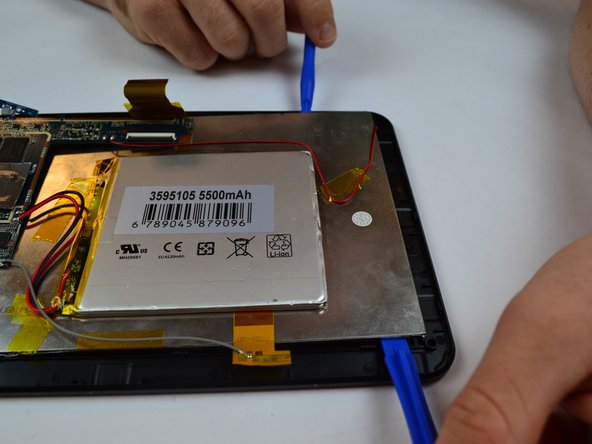
To reassemble your device, follow these instructions in reverse order.

2 personas más completaron esta guía.

Jessalyn Aretz

Miembro Desde 09/26/16

212 Reputación

1 Guía escrita

Equipo

USF Tampa, Team 14-5, Eyestone Fall 2016 Miembro de USF Tampa, Team 14-5, Eyestone Fall 2016

USFT-EYESTONE-F16S14G5

4 Miembros

10 Guías creadas

0 comentarios

Agregar Comentario

Ver Estadísticas:

Ultimas 24 horas: 0

Ultimos 7 días: 1

Ultimos 30 días: 15

Todo El Tiempo: 1,189