Introducción
This guide will show you how to replace the gyroscope component of your SwagTron T1. This may be necessary if the self-balancing function of your hoverboard is not working correctly. Before attempting this replacement, recalibrate your SwagTron. If the problem persists, continue with this replacement. This replacement can be done for the gyroscope component on either side of your SwagTron T1.
Qué necesitas
-
-
Unscrew the eighteen 10mm screws that secure the back panels using a Phillips #2 screwdriver.
-
Carefully lift the panels off
The panels don’t come off after removing the screws. Could they be also glued in place?
Same issue here with the T882. Resorted to trying to pry the shell off but haven’t been able to yet. The closer I get to the center, the harder it is.
FYI - there are stickers over two of the screws (one on each side). Once the stickers are removed, and the screws taken out, the shell came off easily.
THANK YOU! The screws were under the stickers near the center.
-
-
-
-
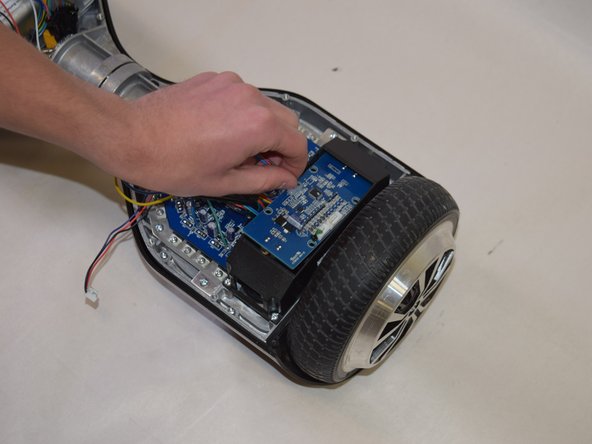
Follow the wires from the panels to the motherboard.
-
You may need to cut any zip ties that are holding the wires together.
-
There is one connection on the battery side and three on the other side that must be removed.
-
Your back panels are now completely removed.
Where can I buy the shell
Where can I buy the battery?
-
-
-
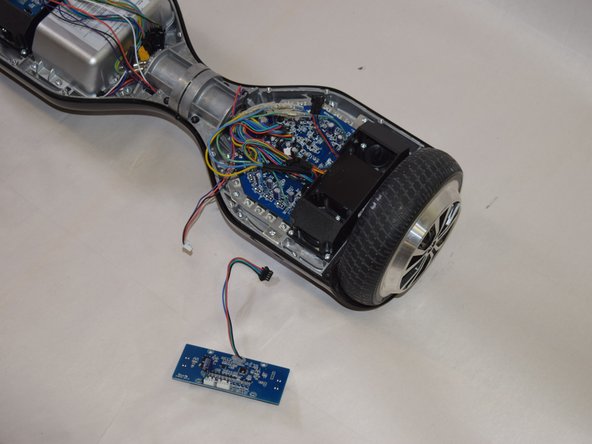
Disconnect the gyroscope by disconnecting the wires attached to it. These wires are black, green, blue and red.
-


To reassemble your device, follow these instructions in reverse order.
To reassemble your device, follow these instructions in reverse order.
Cancelar: No complete esta guía.
9 personas más completaron esta guía.
Equipo

Cal Poly, Team S17-G5, Banghart Spring 2017 Miembro de Cal Poly, Team S17-G5, Banghart Spring 2017
CPSU-BANGHART-S17S17G5
4 Miembros
5 Guías creadas
5 comentarios
I cannot find a Swagtron T1 replacement gyroscope anywhere on the internet. Any help would be extremely appreciated!! Thank you!
Amazon.com Keyword: CertiCable
Where do you get the replacement?
Can’t find gyroscope for a t5 hover board please help.