Saltar al contenido principal

Sunbeam 2-Slice Extra Wide Slot Toaster Latch Spring Replacement

Qué necesitas

  1. Sunbeam 2-Slice Extra Wide Slot Toaster Latch Spring Replacement, Latch Spring: paso 1, imagen 1 de 1
    • Unplug the toaster from electrical outlet.

    • Never disassemble the toaster while it is plugged in. Doing so may result in an electric shock.

  2. Sunbeam 2-Slice Extra Wide Slot Toaster Latch Spring Replacement: paso 2, imagen 1 de 1
    • Dump out any crumbs into a garbage to prevent crumbs from getting everywhere.

  3. Sunbeam 2-Slice Extra Wide Slot Toaster Latch Spring Replacement: paso 3, imagen 1 de 1
    • Flip the toaster so the back of the toaster is showing.

    • Using the Phillips screwdriver, remove the four screws.

  4. Sunbeam 2-Slice Extra Wide Slot Toaster Latch Spring Replacement: paso 4, imagen 1 de 1
    • Remove the handle from the latch.

    • This will require some force to pull off.

  5. Sunbeam 2-Slice Extra Wide Slot Toaster Latch Spring Replacement: paso 5, imagen 1 de 1
    • Disconnect the wire shown in the picture. After disconnecting the wire, proceed to take the cover off.

  6. Sunbeam 2-Slice Extra Wide Slot Toaster Latch Spring Replacement: paso 6, imagen 1 de 1
    • After taking the cover off of the toaster, this is how the toaster should appear.

    • Avoid touching any of the electrical parts of the toaster. The electrical parts are vulnerable to small static charge which may damage your toaster.

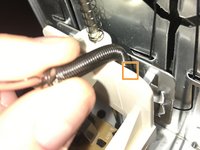
  7. Sunbeam 2-Slice Extra Wide Slot Toaster Latch Spring Replacement: paso 7, imagen 1 de 3 Sunbeam 2-Slice Extra Wide Slot Toaster Latch Spring Replacement: paso 7, imagen 2 de 3 Sunbeam 2-Slice Extra Wide Slot Toaster Latch Spring Replacement: paso 7, imagen 3 de 3
    • Be sure to remember where the spring is attached to prevent frustration putting the new spring on.

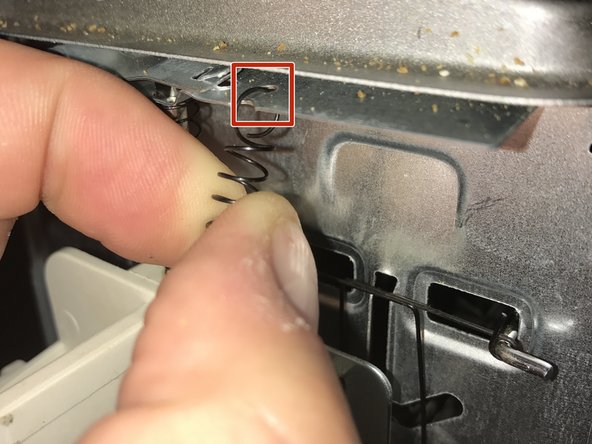
    • Locate the spring shown in the first picture.

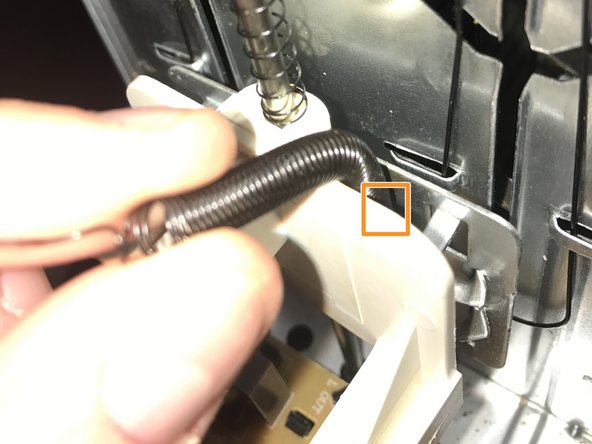
    • After locating the spring, remove the top part of the spring first. The top part of the spring can be seen in the second picture.

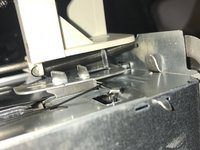
    • After locating the bottom part of the spring, this can be seen from the third picture, remove the bottom part of the spring.

Conclusión

To reassemble the toaster after the spring is replaced, follow steps 3 through 7 in reverse. Place the new spring where you took the old spring off. Then add the cover, the handle, and the screws back to the toaster. After you have reassembled your toaster, to check if you put it back correctly, plug in your toaster and press down the latch. If the latch stays down you have successfully reassembled your toaster.

0 comentarios

Agregar Comentario

Ver Estadísticas:

Ultimas 24 horas: 0

Ultimos 7 días: 9

Ultimos 30 días: 26

Todo El Tiempo: 1,368