Introducción
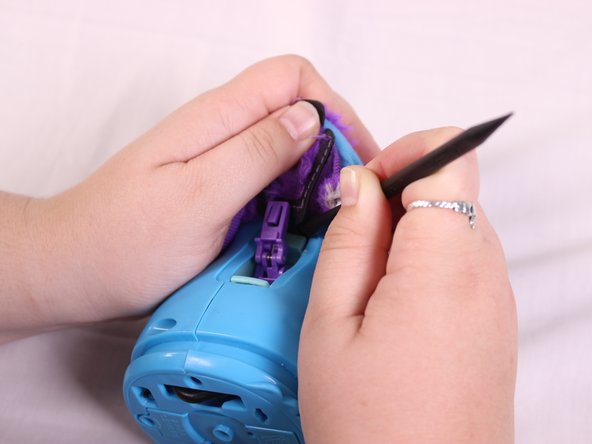
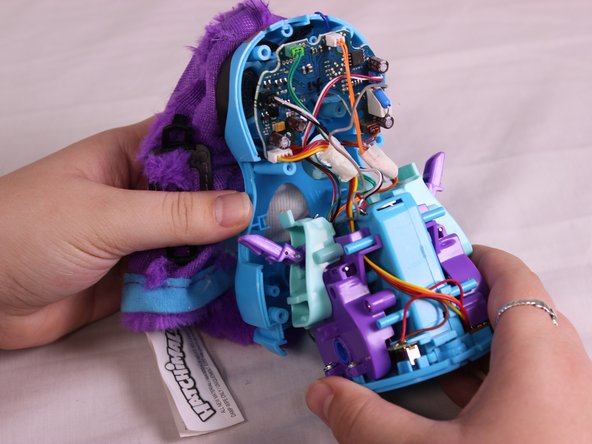
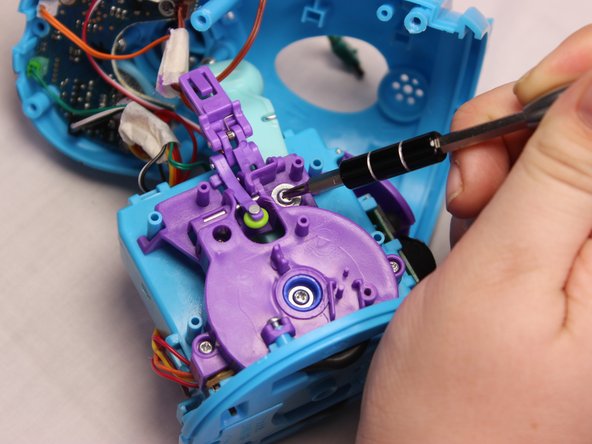
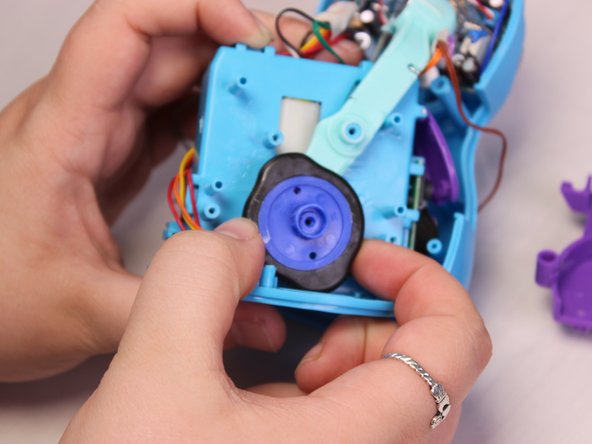
Sometimes rough play can cause the wheel to break or not spin anymore. This guide will show you how to remove the wheel.
Qué necesitas


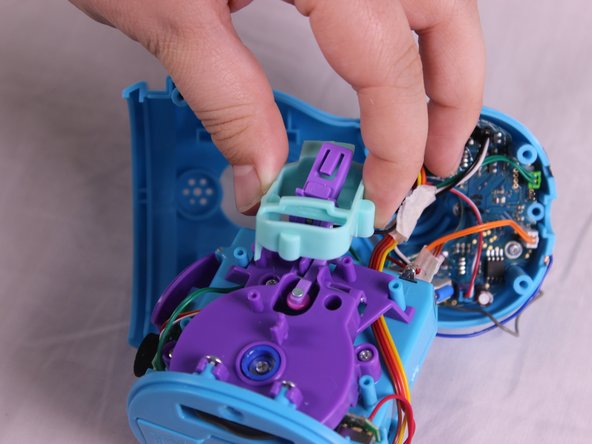


Casi Terminas!
To reassemble your device, follow these instructions in reverse order.
Conclusión
To reassemble your device, follow these instructions in reverse order.
Cancelar: No complete esta guía.
2 personas más completaron esta guía.
Equipo

USF Tampa, Team S1-G5, Nance Spring 2018 Miembro de USF Tampa, Team S1-G5, Nance Spring 2018
USFT-NANCE-S18S1G5
3 Miembros
10 Guías creadas