Esta versión puede contener ediciones incorrectas. Cambie a la última instantánea verificada.
Qué necesitas
-
Este paso está sin traducir. Ayuda a traducirlo
-
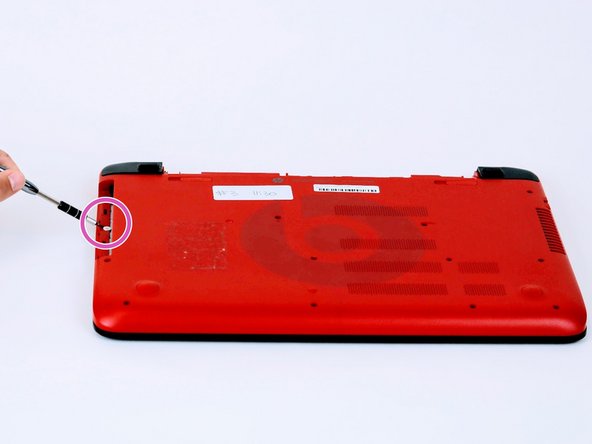
Turn computer over and begin removing noticeable 8mm screws with a Phillips #0 screwdriver.
-
-
Este paso está sin traducir. Ayuda a traducirlo
-
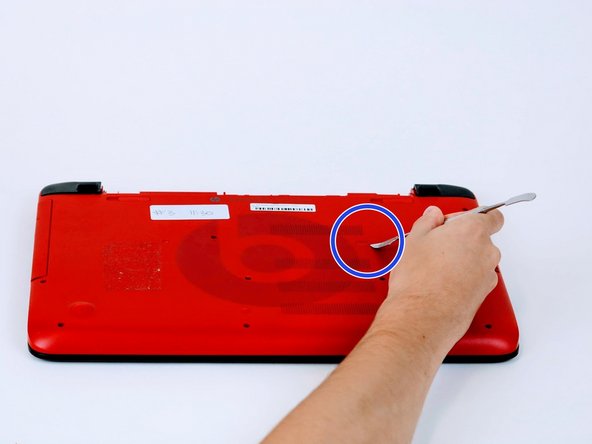
Simply use a metal spudger to pop off the screw cover to unveil the hidden 8mm screw.
-
-
Este paso está sin traducir. Ayuda a traducirlo
-
Once screws are removed you may now remove the optical drive.
-
Remove the hidden 3mm screw in the optical drive port.
-
-
Este paso está sin traducir. Ayuda a traducirlo
-
Remove the rubberized feet located on the left and right shoulder of the computer to uncover hidden 8mm screws.
-
The shoulder caps are removable. Underneath there are 2 additional screws.
-
-
-
Este paso está sin traducir. Ayuda a traducirlo
-
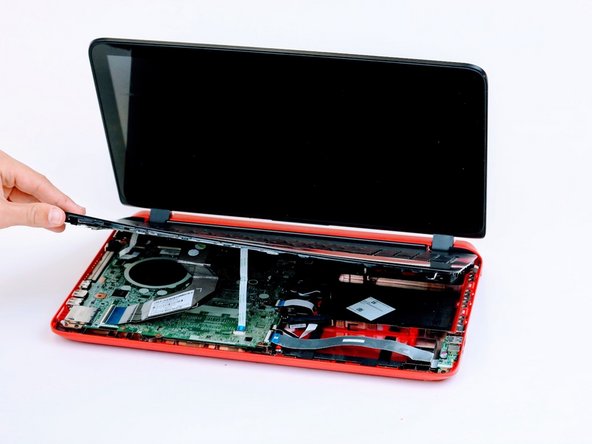
Flip computer over and wedge metal spudger along the computer to pop off keyboard panel
-
-
Este paso está sin traducir. Ayuda a traducirlo
-
Unclip wires connected to the motherboard and remove keyboard from the device.
-
-
Este paso está sin traducir. Ayuda a traducirlo
-
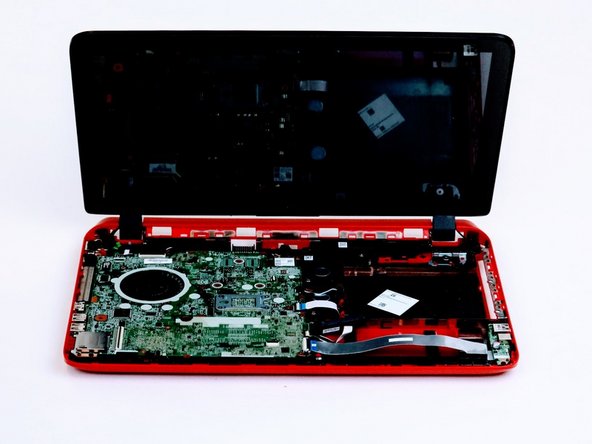
Detach by lifting the motherboard up and flip the motherboard over.
-


Cancelar: No complete esta guía.
2 personas más completaron esta guía.
Equipo

Linn Benton Community College, Team S1-G3, Karnes Fall 2018 Miembro de Linn Benton Community College, Team S1-G3, Karnes Fall 2018
LBCC-KARNES-F18S1G3
4 Miembros
7 Guías creadas