Introducción
Use this guide to remove the laser lens in your Sony BDP-SX1000.
Qué necesitas
-
Paso 1 How To Open The Device
Aviso: los pasos 1-2 provienen de una guía que está marcada como "En progreso".
-
Flip the Sony BDP-SX1000 over so that the underside is facing up.
-
Remove the four 2mm Phillips #0 screws at the top of the device.
-
Remove the rest of the J0mm Phillips #0 screws from the device.
-
-
-
Take out the seals at the bottom and at the corners with edge of screwdriver. Remove the J0mm Phillips #0 screws under the seals.
-
Remove the back lid of the Sony BDP-SX1000 so that you can now see the inside of the device. The two lids are attached by two wires. The small wire on right side of the top lid goes on right side of bottom lid or on the black connector. The big wire on left side of the top lid goes on left side of the bottom lid or on white connector.
-
-
-
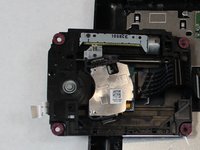
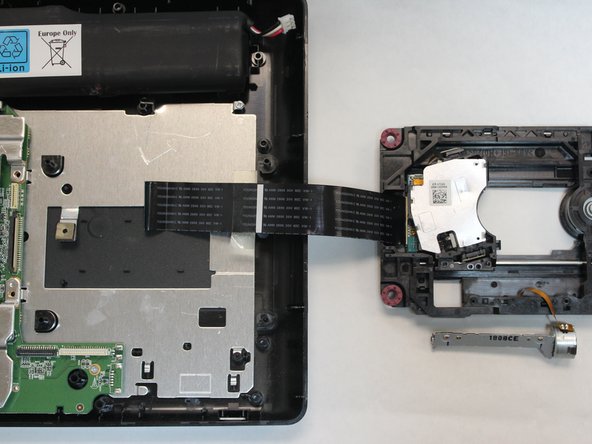
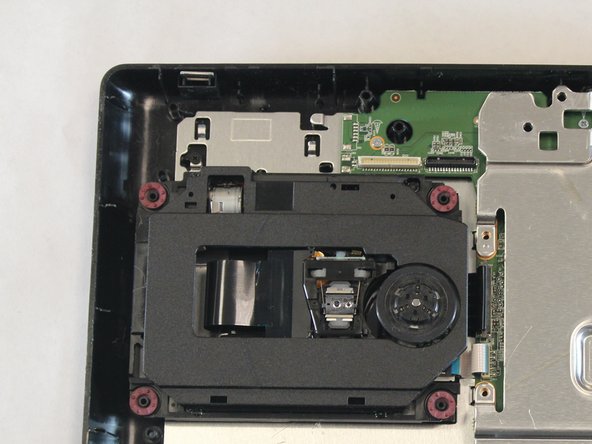
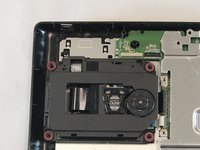
The ribbon cable is circled in the first photo. The tray identified by the rectangular frame holds the ribbon cable, laser lens, and capstan motor which rotates the disk. The tray is connected by the white ribbon, with blue stripes, to the white connector which is also circled in first picture.
-
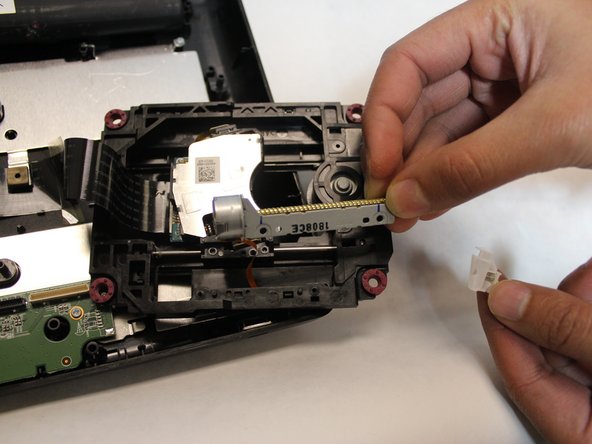
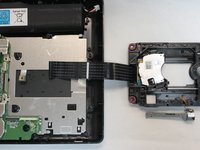
Detach the tray from the bottom cover by taking the small white ribbon out of the white connector.
-
-
-
-
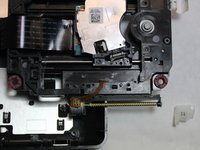
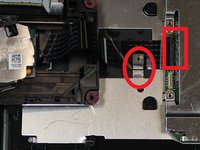
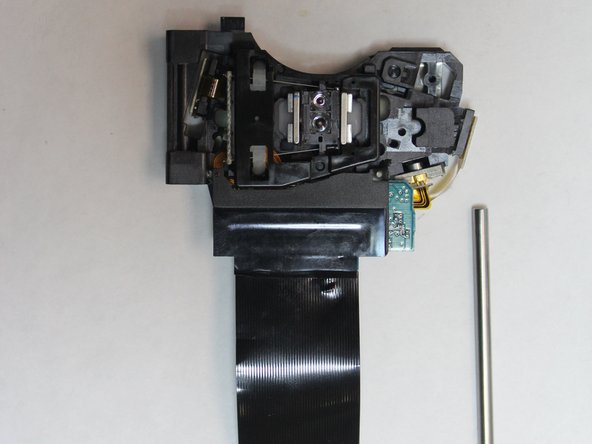
Using your finger flip up the black tab of the ribbon cable connector (this is shown by rectangular box in picture one).
-
Gently remove the ribbon. (Don't use screwdrivers to open ribbon connectors because that can cause damage to the pins).
-
Now remove the ribbon from underneath the metal circled in red.
-
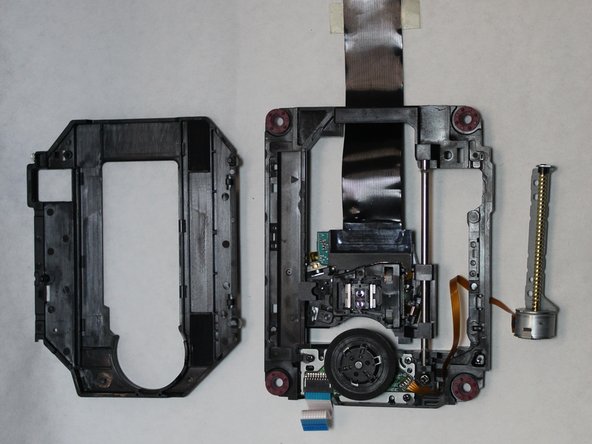
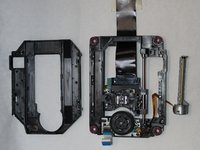
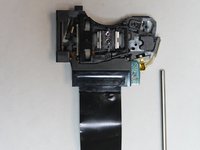
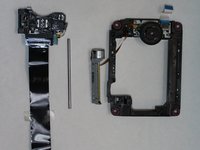
Remove the lid of the tray from the top as shown in image three.
-
-
-
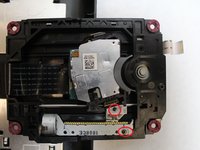
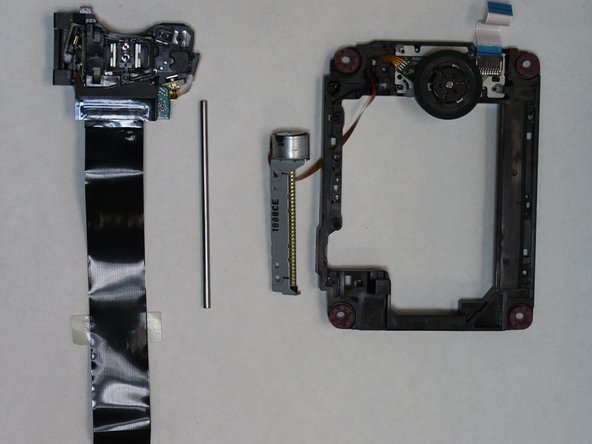
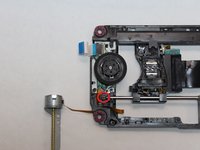
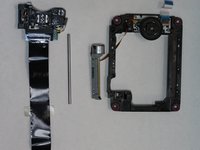
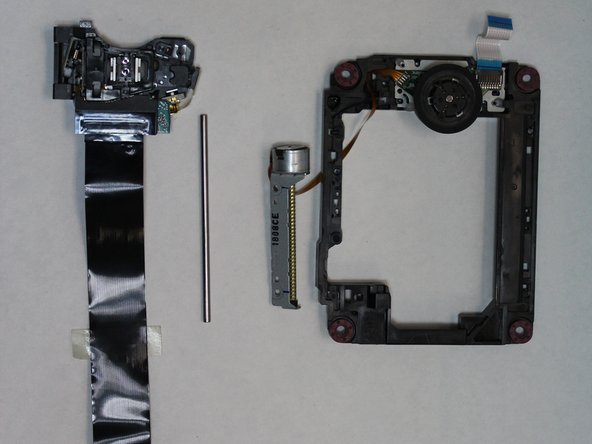
Remove the J0mm Phillips #0 screw which is shown in image one. This screw keeps the metal bar from sliding out. The laser lens is attached to this metal bar on one side and on the other side is the sliding motor.
-
Slide out the rod from its placement. This will detach the laser lens and the ribbon cable from the tray.
-
-
-
In going through the steps to replace ribbon cable, you have gone through the necessary steps to remove the laser lens.
-
You can now remove the laser lens.
-


To reassemble your device, follow these instructions in reverse order.
To reassemble your device, follow these instructions in reverse order.

Equipo

UC Davis, Team S4-G2, Lore Fall 2018 Miembro de UC Davis, Team S4-G2, Lore Fall 2018
UCD-LORE-F18S4G2
Miembros de 3
3 Guías creadas