Esta versión puede contener ediciones incorrectas. Cambie a la última instantánea verificada.
Qué necesitas
-
Este paso está sin traducir. Ayuda a traducirlo
-
Press down the release button on the bottom left corner of the face plate.
-
Then remove the face plate carefully.
-
-
Este paso está sin traducir. Ayuda a traducirlo
-
Using the Phillips #0 Screwdriver, unscrew the 3 screws (length - 7.5mm) on the front of the device.
-
-
Este paso está sin traducir. Ayuda a traducirlo
-
Using the Phillips #1 Screwdriver, unscrew the 2 thick screws (length - 7.69mm) located on both sides of the stereo.
-
Remove side-metal plates gently.
-
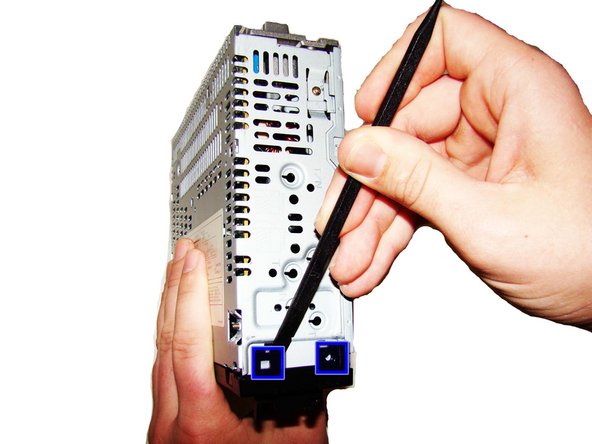
Use the Heavy-duty Spudger, insert the flat end under each of the black flaps indicated in the picture. Use leverage to pry and pop them loose.
-
-
-
Este paso está sin traducir. Ayuda a traducirlo
-
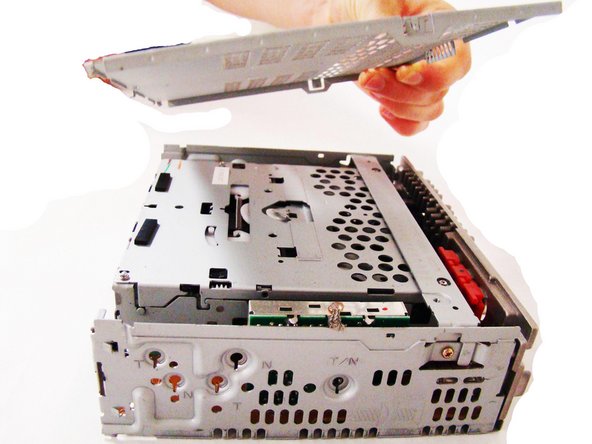
Using the Phillips #0 Screwdriver, unscrew the 1 gold screw (height - 7.47mm) on the top of the stereo.
-
Lift off the top plate.
-
-
Este paso está sin traducir. Ayuda a traducirlo
-
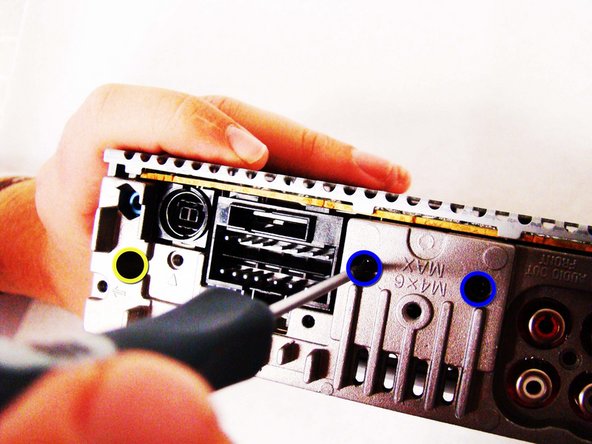
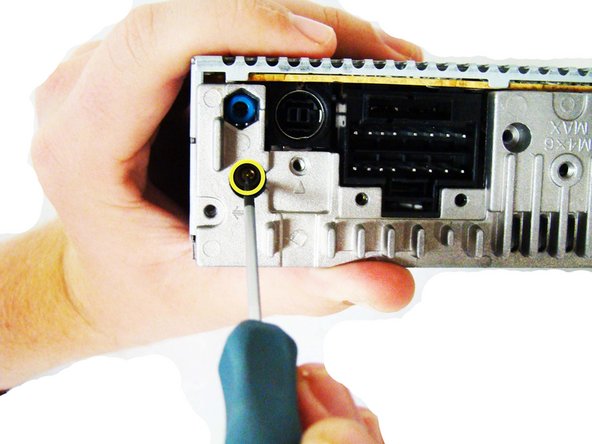
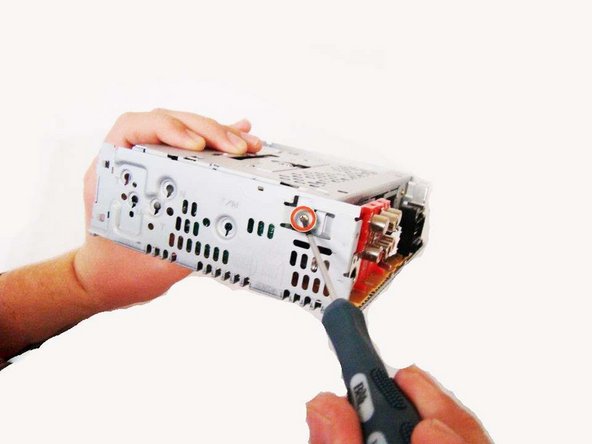
Using the Phillips #0 Screwdriver, unscrew the 8 gold screws (length - 9.26mm), located on the back side of the stereo.
-
Using the Phillips #0 Screwdriver, unscrew the 2 black screws (length - 13.27mm), also located on the back of the stereo.
-
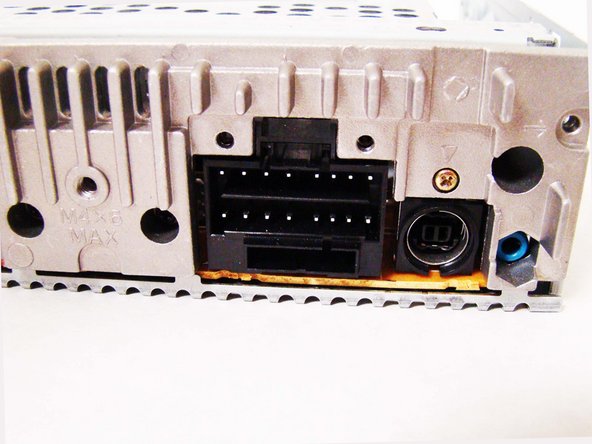
Using the Phillips #0 Screwdriver, unscrew the 1 gold screw (length - 9.3mm), located on the bottom of a hole as noted in pictures (2) and (3).
-
-
Este paso está sin traducir. Ayuda a traducirlo
-
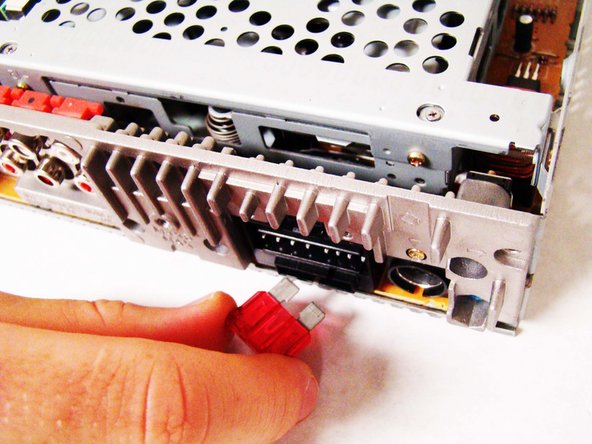
Carefully pull the fuse out of the back of the stereo.
-
-
Este paso está sin traducir. Ayuda a traducirlo
-
Firmly grip the body of the stereo and pull off the silver back plate.
-
-
Este paso está sin traducir. Ayuda a traducirlo
-
Using the Phillips #0 Screwdriver, unscrew the 4 dark-silver screws (length - 3.71mm).
-
-
Este paso está sin traducir. Ayuda a traducirlo
-
Using the Phillips #0 Screwdriver, unscrew the 2 gold screws (length - 7.34mm) found on both sides of the stereo.
-
-
Este paso está sin traducir. Ayuda a traducirlo
-
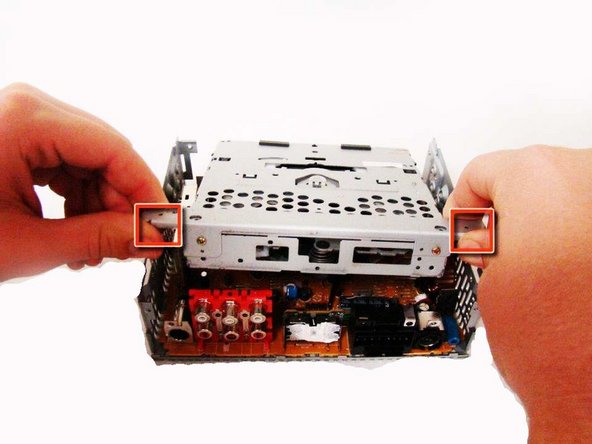
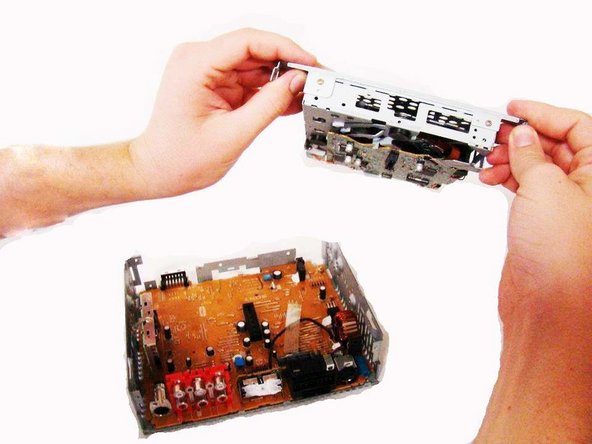
Grip the top portion of the stereo, where the CD-Drive is located, and gently pull up to release it, but you will not be able to lift it all the way out.
-
Grab the two tabs located near the back of the stereo, and gently pull the CD-drive front the rest of the device.
-
-
Este paso está sin traducir. Ayuda a traducirlo
-
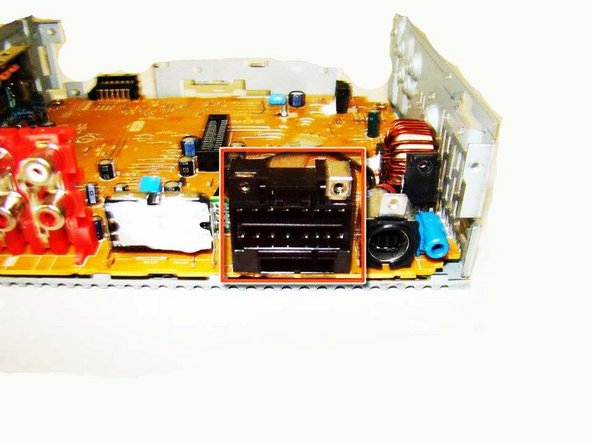
Remove the power supply on the circuit board. Please follow the iFixit soldering guide to assist you.
-
Cancelar: No complete esta guía.
2 personas más completaron esta guía.


