Saltar al contenido principal

Sony Xperia Z3 Dual Main flex Replacement

Qué necesitas

  1. Sony Xperia Z3 Dual Main flex Replacement, Main flex: paso 1, imagen 1 de 2 Sony Xperia Z3 Dual Main flex Replacement, Main flex: paso 1, imagen 2 de 2
    • Heat to soften back cover sticker.

    • Place suction cup and pull open a gap.

    اريد المنتج هذا المرن الرئيسي

    H ammody - Contestar

  2. Sony Xperia Z3 Dual Main flex Replacement: paso 2, imagen 1 de 3 Sony Xperia Z3 Dual Main flex Replacement: paso 2, imagen 2 de 3 Sony Xperia Z3 Dual Main flex Replacement: paso 2, imagen 3 de 3
    • Insert into guitar pick, slide and cut the sticker. Finally, remove the back cover.

  3. Sony Xperia Z3 Dual Main flex Replacement: paso 3, imagen 1 de 3 Sony Xperia Z3 Dual Main flex Replacement: paso 3, imagen 2 de 3 Sony Xperia Z3 Dual Main flex Replacement: paso 3, imagen 3 de 3
    • Remove the battery.

  4. Sony Xperia Z3 Dual Main flex Replacement: paso 4, imagen 1 de 3 Sony Xperia Z3 Dual Main flex Replacement: paso 4, imagen 2 de 3 Sony Xperia Z3 Dual Main flex Replacement: paso 4, imagen 3 de 3
    • Twist off two screws here.

    • Release all the connectors connecting with loudspeaker assembly.

    • Remove vibrator securing bracket.

  5. Sony Xperia Z3 Dual Main flex Replacement: paso 5, imagen 1 de 2 Sony Xperia Z3 Dual Main flex Replacement: paso 5, imagen 2 de 2
    • Remove loudspeaker assembly cover and assembly itself.

  6. Sony Xperia Z3 Dual Main flex Replacement: paso 6, imagen 1 de 3 Sony Xperia Z3 Dual Main flex Replacement: paso 6, imagen 2 de 3 Sony Xperia Z3 Dual Main flex Replacement: paso 6, imagen 3 de 3
    • Pry up the MIC. It's a part of the main flex.

    • Release the connector with LCD screen flex and the connector with motherboard.

  7. Sony Xperia Z3 Dual Main flex Replacement: paso 7, imagen 1 de 3 Sony Xperia Z3 Dual Main flex Replacement: paso 7, imagen 2 de 3 Sony Xperia Z3 Dual Main flex Replacement: paso 7, imagen 3 de 3
    • Push the upper power button & volume button flex branch bracket as the direction marked, and then remove it easily.

    • Pry up the lower shutter button flex branch bracket carefully. It's different from the upper one, it's come with the flex together but the upper one not.

  8. Sony Xperia Z3 Dual Main flex Replacement: paso 8, imagen 1 de 3 Sony Xperia Z3 Dual Main flex Replacement: paso 8, imagen 2 de 3 Sony Xperia Z3 Dual Main flex Replacement: paso 8, imagen 3 de 3
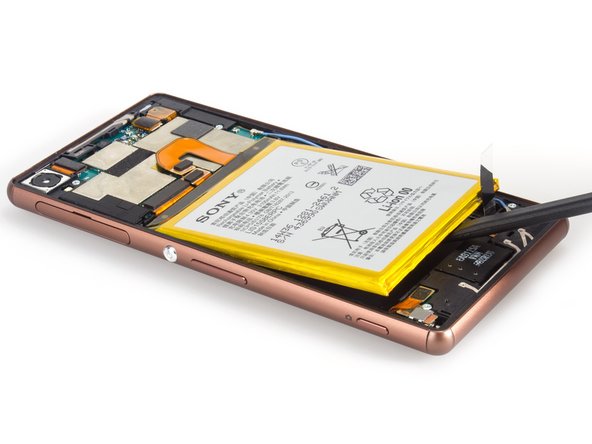
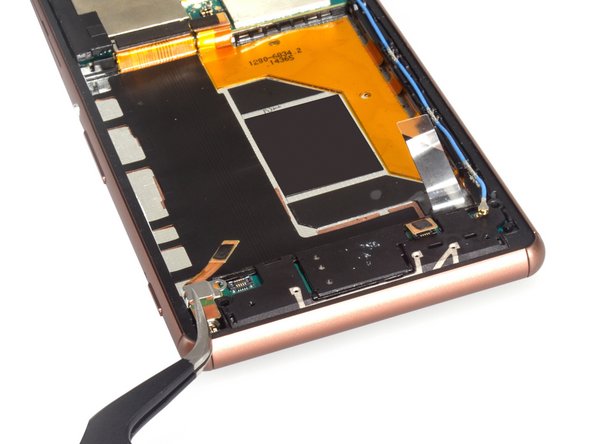
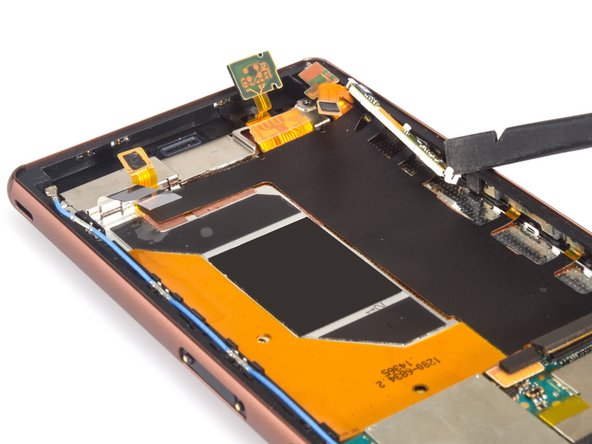
    • Get the flex from the sticker underneath carefully.

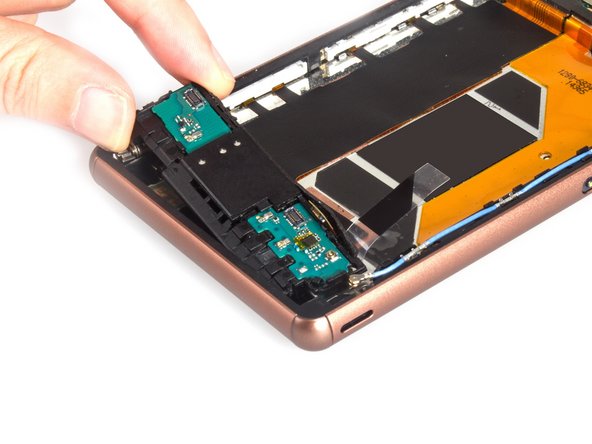
    • And then, take the power button & volume button flex branch out from the slot.

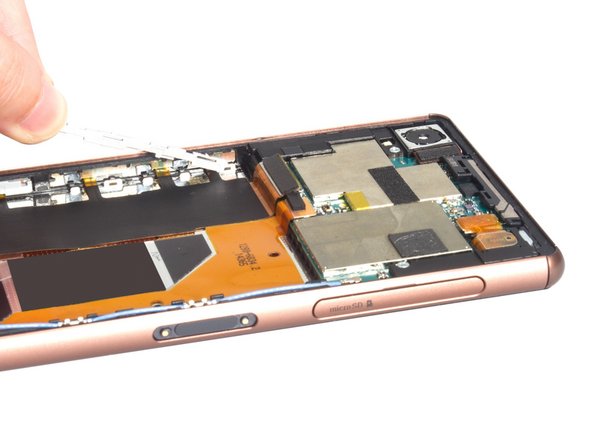
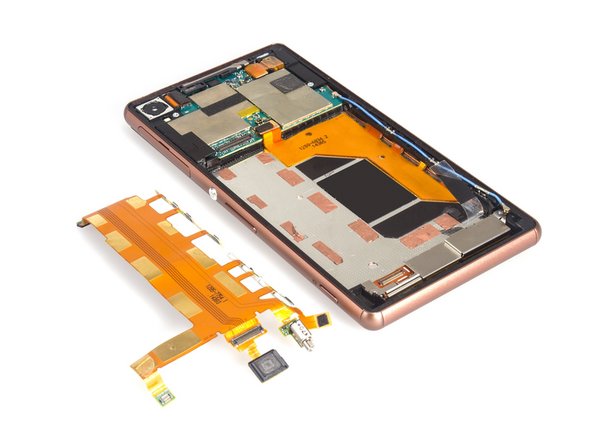
    • Finally, remove the whole main flex.

    Is it ok to remove the small copper stickers under the flex?

    Miguel Damayo - Contestar

Conclusión

To reassemble your device, follow these instructions in reverse order.

16 personas más completaron esta guía.

Sophia

Miembro Desde 03/25/14

43,810 Reputación

62 Guías creadas

4 comentarios

Hello

I changed my power, but I felt the power button action do you think the problem of what can be

Thanks

mehdi ghanbarian - Contestar

Is it ok to remove the small copper stickers under the flex?

Miguel Damayo - Contestar

اريد المنتج هذا

H ammody - Contestar

Agregar Comentario

Ver Estadísticas:

Ultimas 24 horas: 1

Ultimos 7 días: 4

Ultimos 30 días: 21

Todo El Tiempo: 9,796