Introducción
If the Sony Xperia XA2 Ultra is not showing any sign of being connected to a set of corded headphones or an auxiliary cord, then the headphone jack might need to be replaced.
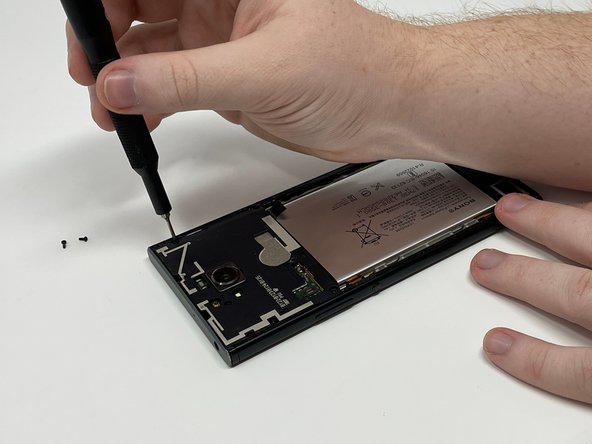
Before taking any steps to open the phone, make sure that it is turned completely off.
Be aware that when using a heat gun (or something similar) that the device will heat up. Continue with caution.
Qué necesitas
-
-
Remove the SIM card tray on the left side of the phone using a SIM card eject tool.
-
-


To reassemble your device, follow these instructions in reverse order.
To reassemble your device, follow these instructions in reverse order.

Equipo

Utah Tech University, Team 1-1, Randazzo Fall 2023 Miembro de Utah Tech University, Team 1-1, Randazzo Fall 2023
UTAHTECH-RANDAZZO-F23S1G1
1 Miembro
8 Guías creadas