Introducción
This guide will help you disassemble your phone to the camera, and then it will teach you how to replace the camera.
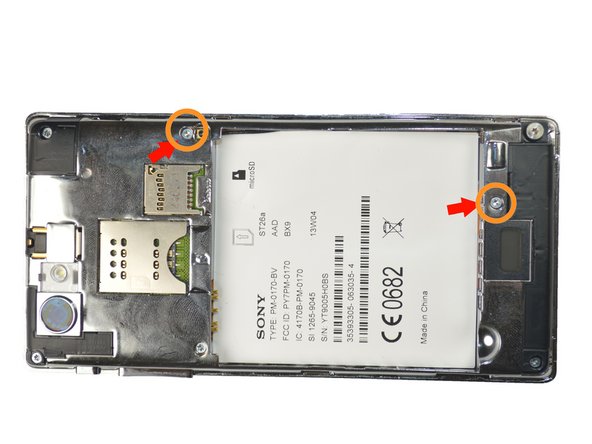
The battery should be removed before working on the phone internals.
Qué necesitas
-
-
You will need a Torx T5 screwdriver, plastic opening tool, and a pincet for this operation.
-
-
-
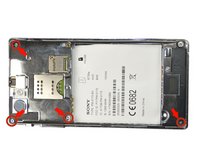
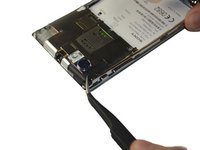
Using the tweezers remove the black plate at the bottom of the phone. First insert the tweezers tip at the intersection between the black plate and phone, then just pull the plate up.
-
Repeat the same steps to remove the black plates located at the top left, and top right of the phone.
-
-
-
Herramienta utilizada en este paso:Tweezers$4.99
-
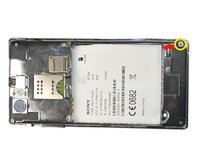
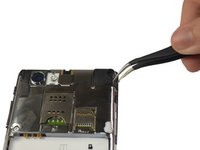
Using the tweezers remove the clip located at the top of the phone. It should snap right off without too much pressure.
-
-
-
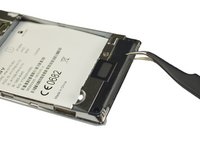
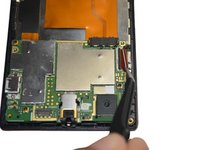
Using the tweezers lift the plate out of the clamps, from left to right.
-
Then remove the whole plate off the phone.
-
-
-
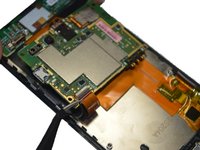
Using the tweezers, slowly peel the white sticker off from the top right corner to the left bottom corner.
-
-
-
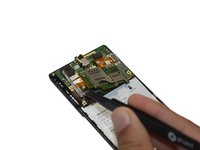
Once the sticker is off, unclip the clip on the top left side(below the camera). Then slide out the wide orange cable below the clip.
-
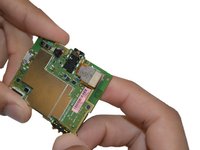
Then lift up the board carefully and remove the clip and cable on the back.
-
-
-
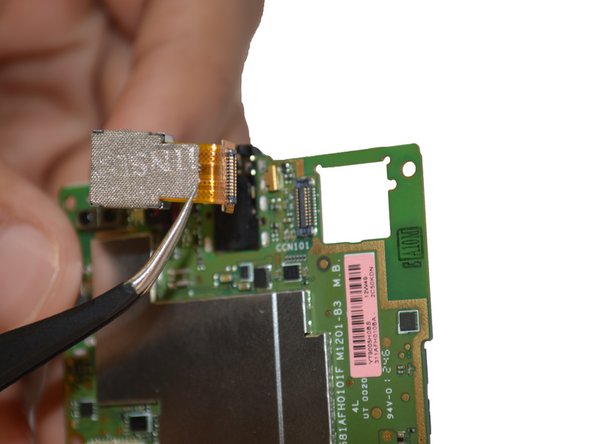
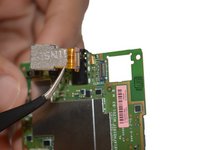
Pop the camera out using your fingers, and then unclip it off the board using tweezers.
-


To reassemble your device, follow these instructions in reverse order.
Cancelar: No complete esta guía.
2 personas más completaron esta guía.
Equipo

USF Tampa, Team 4-3, Brown Winter 2015 Miembro de USF Tampa, Team 4-3, Brown Winter 2015
USFT-BROWN-W15S4G3
Miembros de 3
6 Guías creadas