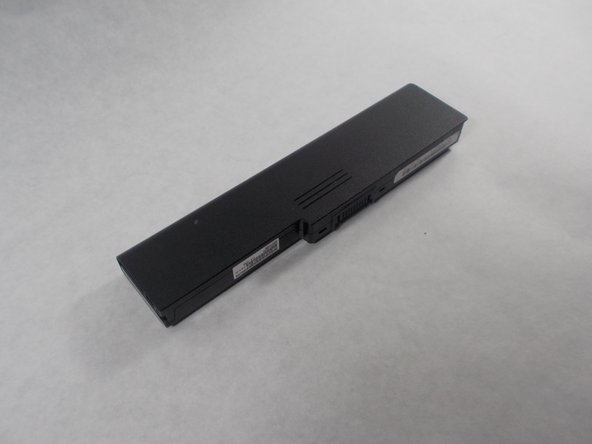
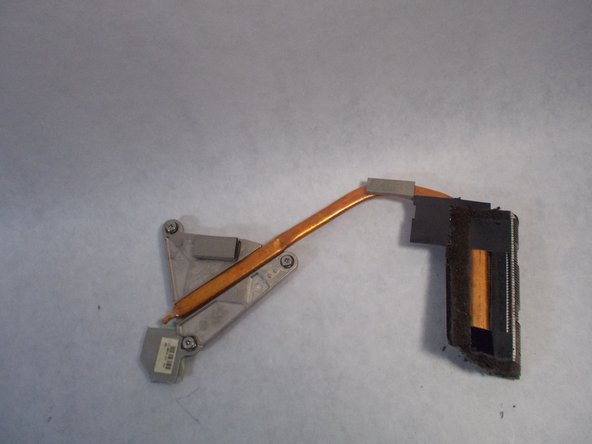
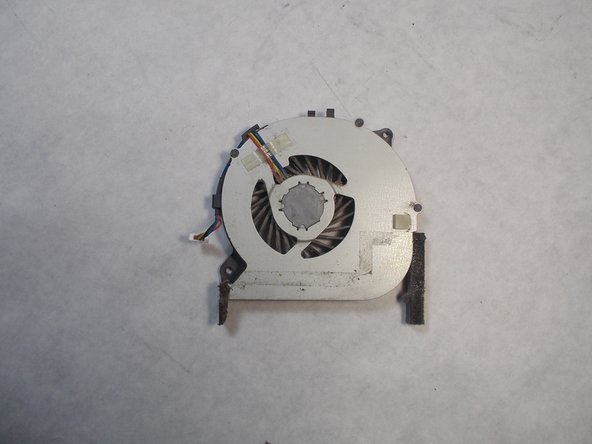
Saltar al contenido principal

Sony Vaio VPCEG26FX Fan Replacement

Qué necesitas

  1. Sony Vaio VPCEG26FX Fan Replacement, Battery: paso 1, imagen 1 de 1
    • Flip the laptop so the bottom is facing up with the model number visible.

  2. Sony Vaio VPCEG26FX Fan Replacement: paso 2, imagen 1 de 2 Sony Vaio VPCEG26FX Fan Replacement: paso 2, imagen 2 de 2
    • Slide the lock switch down until you hear a click to unlock the battery.

  3. Sony Vaio VPCEG26FX Fan Replacement: paso 3, imagen 1 de 2 Sony Vaio VPCEG26FX Fan Replacement: paso 3, imagen 2 de 2
    • Slide the release slider up and simultaneously push the battery upwards away from the device until it falls out of place.

  4. Sony Vaio VPCEG26FX Fan Replacement: paso 4, imagen 1 de 2 Sony Vaio VPCEG26FX Fan Replacement: paso 4, imagen 2 de 2
    • Remove the battery from the battery compartment.

  5. Sony Vaio VPCEG26FX Fan Replacement, Back Panel: paso 5, imagen 1 de 1
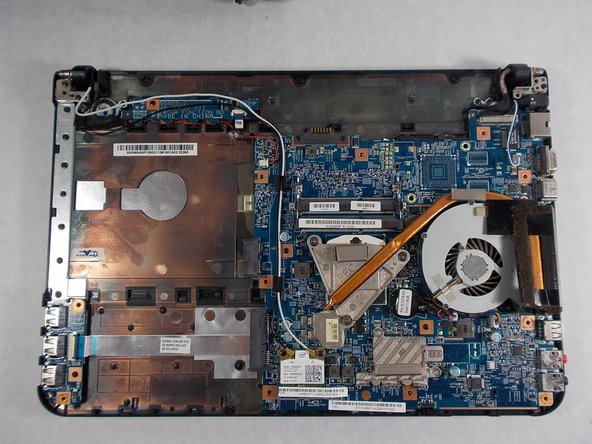
    • Remove the remaining eleven 7mm screws from back panel using the JIS #0 screwdriver.

  6. Sony Vaio VPCEG26FX Fan Replacement: paso 6, imagen 1 de 2 Sony Vaio VPCEG26FX Fan Replacement: paso 6, imagen 2 de 2
    • Remove the back panel from the device.

  7. Sony Vaio VPCEG26FX Fan Replacement, Fan: paso 7, imagen 1 de 1
    • Remove the three 7mm screws attached to the fan using the JIS #0 screwdriver.

  8. Sony Vaio VPCEG26FX Fan Replacement: paso 8, imagen 1 de 3 Sony Vaio VPCEG26FX Fan Replacement: paso 8, imagen 2 de 3 Sony Vaio VPCEG26FX Fan Replacement: paso 8, imagen 3 de 3
    • Unplug and remove the Fan.

Conclusión

To reassemble your device, follow these instructions in reverse order.

Sara Alfaro

Miembro Desde 03/08/19

531 Reputación

5 Guías creadas

Equipo

0 comentarios

Agregar Comentario

Ver Estadísticas:

Ultimas 24 horas: 0

Ultimos 7 días: 4

Ultimos 30 días: 8

Todo El Tiempo: 423