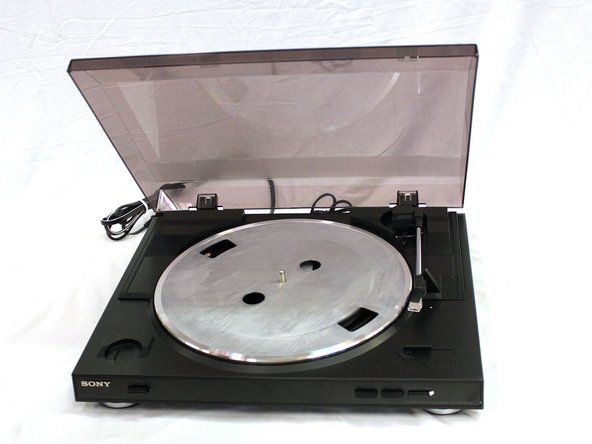
Saltar al contenido principal

Sony PS-LX300USB Gears Replacement

Qué necesitas

  1. Sony PS-LX300USB Gears Replacement, Drive Belt: paso 1, imagen 1 de 2 Sony PS-LX300USB Gears Replacement, Drive Belt: paso 1, imagen 2 de 2
    • Lift the rubber mat, and put it to the side. It should be easy to remove, because it simply rests on a metal platter without anything securing it down.

  2. Sony PS-LX300USB Gears Replacement: paso 2, imagen 1 de 1
    • Turn the platter so that the motor pulley can be seen through one of the two outer holes in the platter.

    • If the drive belt is hooked around the motor pulley, unhook it.

    • When reassembling to device, don't forget to hook the new drive belt to the motor pulley.

  3. Sony PS-LX300USB Gears Replacement: paso 3, imagen 1 de 1
    • Grasping the platter by its two inner holes, lift it upwards.

    • Removing the platter may take a small amount of force. If the pulley is unhooked and the tone arm is safely to the side, don’t fear using a small amount of force in lifting the platter.

    • If you haven’t yet unhooked the drive belt, the motor pulley and the belt could sustain damage.

  4. Sony PS-LX300USB Gears Replacement: paso 4, imagen 1 de 2 Sony PS-LX300USB Gears Replacement: paso 4, imagen 2 de 2
    • Peel the drive belt from the inner ridge of the metal platter and put it to the side.

    • Sometimes, the drive belt can fall off the platter during deconstruction. If this is the case, simply take it out of the device wherever it is.

  5. Sony PS-LX300USB Gears Replacement, Gears: paso 5, imagen 1 de 1
    • Use screwdriver to remove the four Phillips #2 screws holding in the gears.

    • Remove the large gear.

  6. Sony PS-LX300USB Gears Replacement: paso 6, imagen 1 de 1
    • Desolder the ground wire from its base.

    • Remove the small gear and its base.

  7. Sony PS-LX300USB Gears Replacement: paso 7, imagen 1 de 1
    • Place the replacement small gear in its position.

    • Push and hold the metal knob close to the spring.

  8. Sony PS-LX300USB Gears Replacement: paso 8, imagen 1 de 1
    • While holding the knob back, place the large gear inside with the open part of the gear facing away from the small gear.

    • Release the knob and spin the large gear counterclockwise.

Conclusión

To reassemble your device, follow solder the wire back, screw the gears back in, and step one in reverse order.

Una persona más ha completado esta guía.

Equipo

Cal Poly, Team S8-G3, Banghart Fall 2017 Miembro de Cal Poly, Team S8-G3, Banghart Fall 2017

CPSU-BANGHART-F17S8G3

5 Miembros

5 Guías creadas

Un comentario

The directions in this guide work for the PS-LX310BT and the spindle assembly replacement part works with it as well. I can confirm this, I ordered a replacement spindle assembly because mine was bent and it worked perfectly.

Cr4shMyCar - Contestar

Agregar Comentario

Ver Estadísticas:

Ultimas 24 horas: 1

Ultimos 7 días: 8

Ultimos 30 días: 29

Todo El Tiempo: 2,967