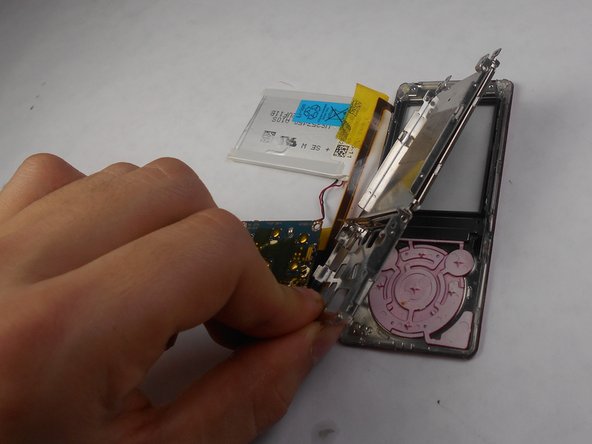
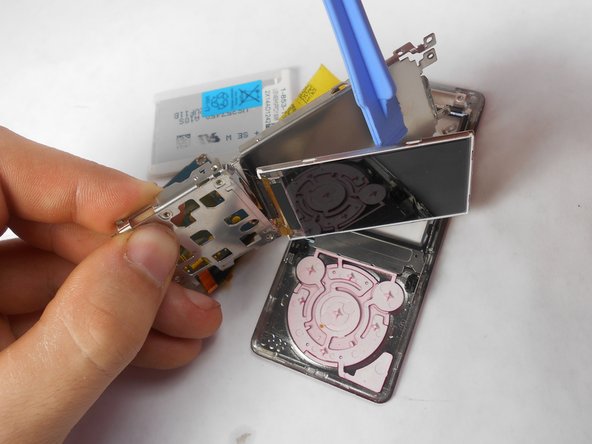
Saltar al contenido principal

Sony NWZ-E473 Screen Replacement

Qué necesitas

  1. Sony NWZ-E473  Screen Replacement, Back Panel: paso 1, imagen 1 de 1
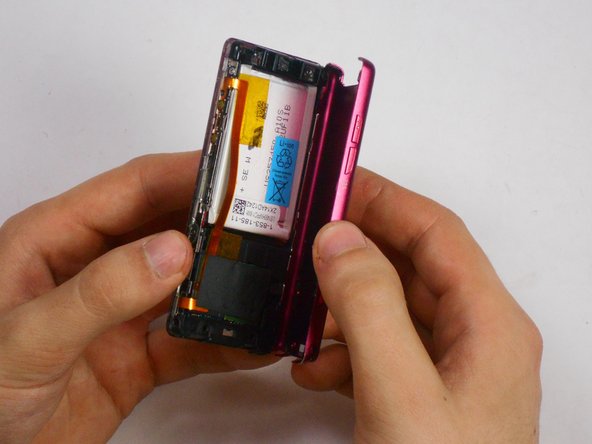
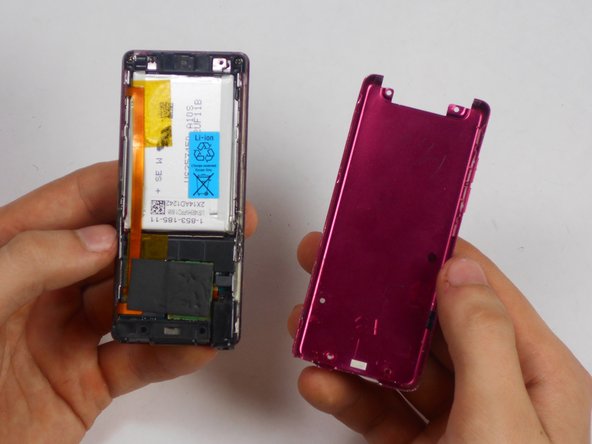
    • Use a Phillips #00 screwdriver to unscrew the two 5 mm screws located on the bottom of the back of the device.

  2. Sony NWZ-E473  Screen Replacement: paso 2, imagen 1 de 1
    • Use a plastic opening tool to loosen the bottom portion of device.

  3. Sony NWZ-E473  Screen Replacement: paso 3, imagen 1 de 1
    • Use a plastic opening tool to loosen the top panel of the device.

  4. Sony NWZ-E473  Screen Replacement: paso 4, imagen 1 de 1
    • Use a Phillips #00 screwdriver to remove the two 3 mm screws located on the portion under the top panel of the device.

  5. Sony NWZ-E473  Screen Replacement: paso 5, imagen 1 de 3 Sony NWZ-E473  Screen Replacement: paso 5, imagen 2 de 3 Sony NWZ-E473  Screen Replacement: paso 5, imagen 3 de 3
    • Remove the back plate from the device.

  6. Sony NWZ-E473  Screen Replacement, Screen: paso 6, imagen 1 de 1
    Herramienta utilizada en este paso:
    Tweezers
    $4.99
    Comprar
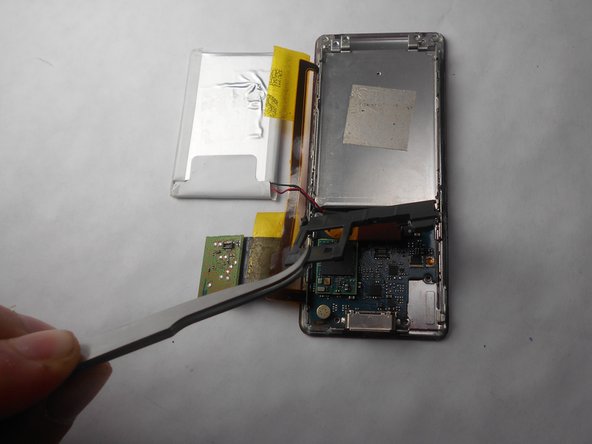
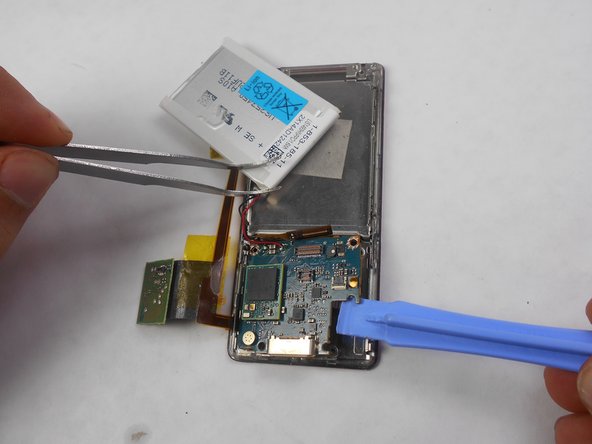
    • Use a nylon spudger or tweezers to remove the plastic USB cover.

  7. Sony NWZ-E473  Screen Replacement: paso 7, imagen 1 de 1
    • Use a Phillips #00 screwdriver to unscrew two 2 mm screws located on the top corners of the device.

  8. Sony NWZ-E473  Screen Replacement: paso 8, imagen 1 de 1
    • Use a nylon spudger or tweezers to remove the plastic protective plate at the top of device.

  9. Sony NWZ-E473  Screen Replacement: paso 9, imagen 1 de 2 Sony NWZ-E473  Screen Replacement: paso 9, imagen 2 de 2
    • Remove the plastic protective frame located over the motherboard with tweezers and a spudger.

  10. Sony NWZ-E473  Screen Replacement: paso 10, imagen 1 de 1
    • Remove screen connection from motherboard using tweezers and spudger.

  11. Sony NWZ-E473  Screen Replacement: paso 11, imagen 1 de 1
    • Use a Phillips #00 screwdriver to remove two 3 mm screws at the bottom sides and two 1 mm screws at top sides of the device.

  12. Sony NWZ-E473  Screen Replacement: paso 12, imagen 1 de 2 Sony NWZ-E473  Screen Replacement: paso 12, imagen 2 de 2
    • Use a Phillips #00 screwdriver to unscrew two 2 mm screws, and remove the motherboard from the device with tweezers and a plastic opening tool.

  13. Sony NWZ-E473  Screen Replacement: paso 13, imagen 1 de 2 Sony NWZ-E473  Screen Replacement: paso 13, imagen 2 de 2
    • Disconnect the metal shielding plate from the front panel with tweezers or a plastic opening tool.

  14. Sony NWZ-E473  Screen Replacement: paso 14, imagen 1 de 2 Sony NWZ-E473  Screen Replacement: paso 14, imagen 2 de 2
    • Use a plastic opening tool to remove the screen from metal back plate.

Conclusión

To reassemble your device, follow these instructions in reverse order.

Matthew Hintz

Miembro Desde 01/16/15

327 Reputación

3 Guías creadas

Equipo

USF Tampa, Team 17-6, Watkins Winter 2015 Miembro de USF Tampa, Team 17-6, Watkins Winter 2015

USFT-WATKINS-W15S17G6

4 Miembros

7 Guías creadas

Un comentario

Agregar Comentario

Ver Estadísticas:

Ultimas 24 horas: 1

Ultimos 7 días: 2

Ultimos 30 días: 19

Todo El Tiempo: 936