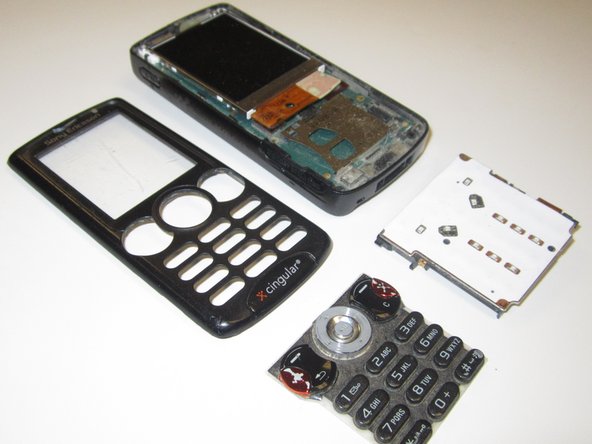
Saltar al contenido principal

Sony Ericsson W810I Keypad Replacement

Guía Archivada
Esta guía se mantiene únicamente para fines históricos. Utiliza la última versión de la guía para llevar a cabo tu reparación.

Qué necesitas

  1. Sony Ericsson W810I Keypad Replacement, Keypad: paso 1, imagen 1 de 1
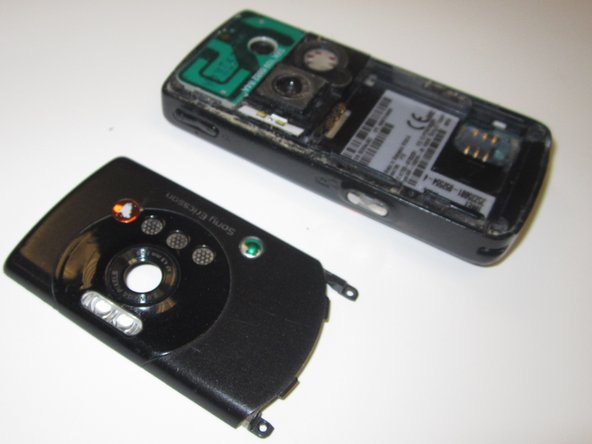
    • Make sure phone is off, and press down firmly against the Cingular icon with your thumb

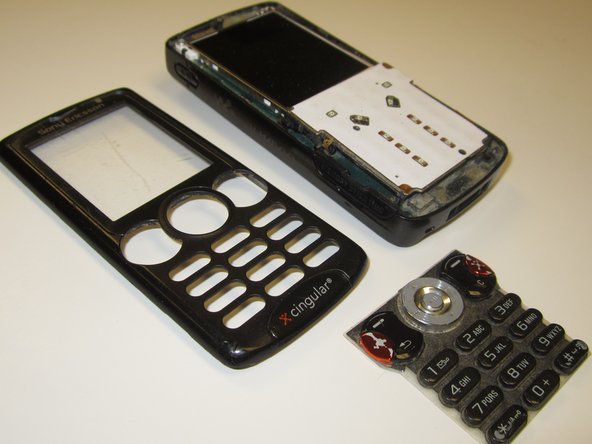
    • Slide the panel down and remove latch

  2. Sony Ericsson W810I Keypad Replacement: paso 2, imagen 1 de 2 Sony Ericsson W810I Keypad Replacement: paso 2, imagen 2 de 2
    • Lift and Pull battery out

    • Remove the SIM card too if you have one

  3. Sony Ericsson W810I Keypad Replacement: paso 3, imagen 1 de 1
    • Remove the two outer screws using a T-7 head for a screwdriver

  4. Sony Ericsson W810I Keypad Replacement: paso 4, imagen 1 de 1
    • Remove the two smaller inner screws with the Mini-Phillips screwdriver head

  5. Sony Ericsson W810I Keypad Replacement: paso 5, imagen 1 de 2 Sony Ericsson W810I Keypad Replacement: paso 5, imagen 2 de 2
    • Remove the Back (camera side) Faceplate with the blue hand-wedge

  6. Sony Ericsson W810I Keypad Replacement: paso 6, imagen 1 de 3 Sony Ericsson W810I Keypad Replacement: paso 6, imagen 2 de 3 Sony Ericsson W810I Keypad Replacement: paso 6, imagen 3 de 3
    • Flip phone over and pry off the Front (Keypad side) Faceplate with multiple blue hand-wedges

    • Separate keypad from logic board by turning it upside down and allowing it to fall off

Conclusión

To reassemble your device, follow these instructions in reverse order.

Una persona más ha completado esta guía.

Ben Micucci

Miembro Desde 10/14/11

186 Reputación

5 Guías creadas

Equipo

James Madison, Team 2-2, Allen Fall 2011 Miembro de James Madison, Team 2-2, Allen Fall 2011

JMU-ALLEN-F11S2G2

2 Miembros

10 Guías creadas

0 comentarios

Agregar Comentario

Ver Estadísticas:

Ultimas 24 horas: 0

Ultimos 7 días: 0

Ultimos 30 días: 5

Todo El Tiempo: 1,577