Qué necesitas
-
-
Place the plastic opening tool in the bottom corner of the phone in the crevice between the flap to remove the cover.
-
-
-
Place the phone face down on a flat smooth surface so that the camera, logos, and speaker face up.
-
Using the provided notch on the bottom of the back cover, insert a plastic opening tool and lift upwards to remove the back cover of the phone.
-
-
-
-
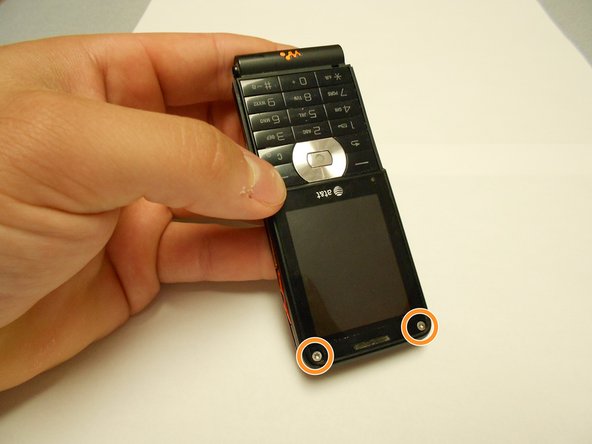
Flip the phone over and remove the Sony Ericsson sticker that is over the phone's ear speaker.
-
Using a T5 screwdriver, loosen and remove the two screws under the Sony Ericsson sticker by turning them counterclockwise.
-
-
-
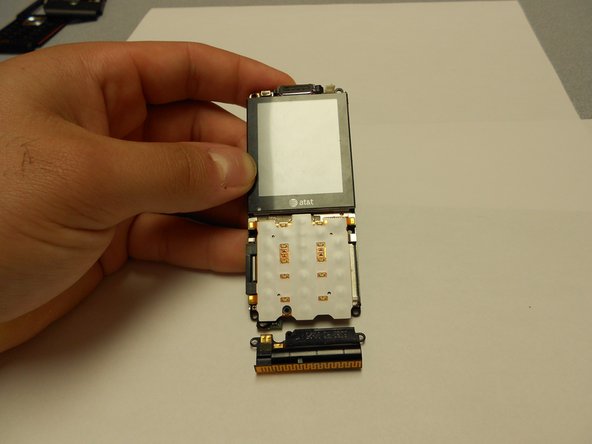
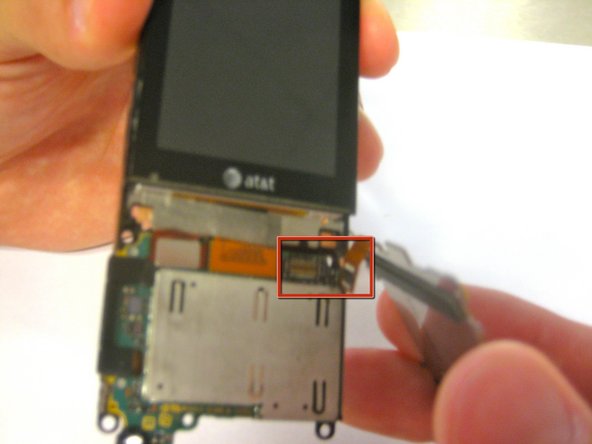
Disconnect the ribbon cable from its connection until the keypad "pops" off.
-
Remove the keypad from the phone.
-
-
-
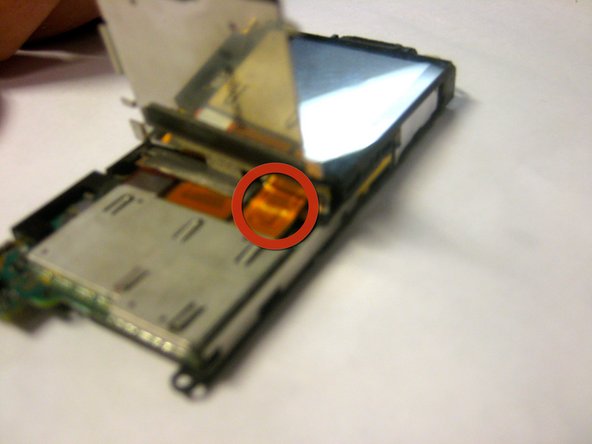
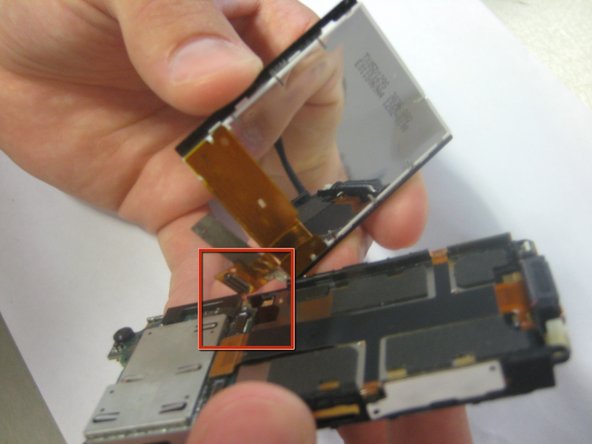
After removing the keypad, gently pry apart the screen from the frame of the phone using your fingers and thumbs on opposite sides as shown.
-
Even though the screen is detached from the frame, it will still be electronically connected in a similar fashion as the keypad. This connection is shown in the second picture. To sever this connection, gently pull the wire tape until the male member pops out of its counterpart of the phone.
-
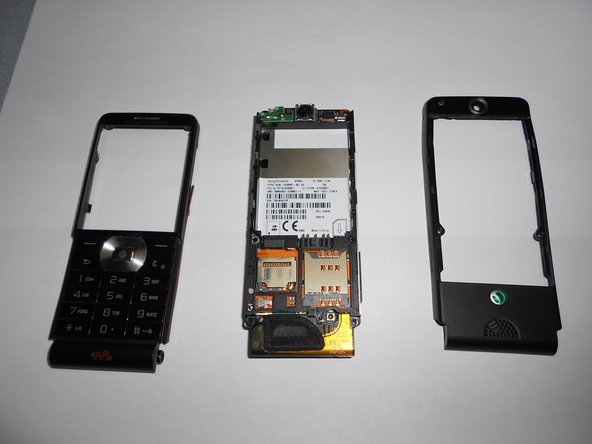
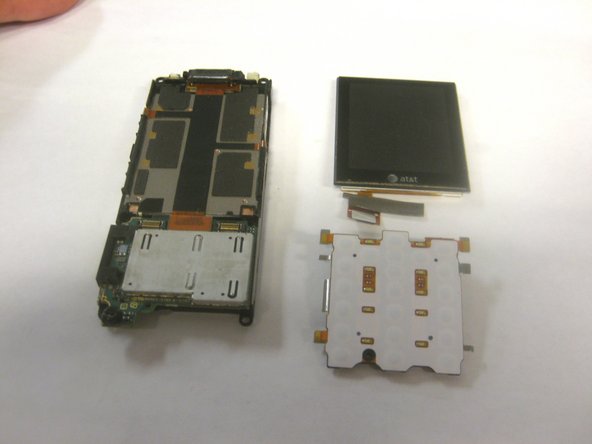
Once the screen and keypad are removed, the assembly of the phone should be as shown in the third picture.
-


To reassemble your device, follow these instructions in reverse order.
To reassemble your device, follow these instructions in reverse order.
Equipo

Clemson, Team 1-4, Benson Spring 2012 Miembro de Clemson, Team 1-4, Benson Spring 2012
CLEM-BENSON-S12S1G4
4 Miembros
14 Guías creadas