Esta versión puede contener ediciones incorrectas. Cambiar a la última instantánea verificada.
Qué necesitas
-
Este paso está sin traducir. Ayuda a traducirlo
-
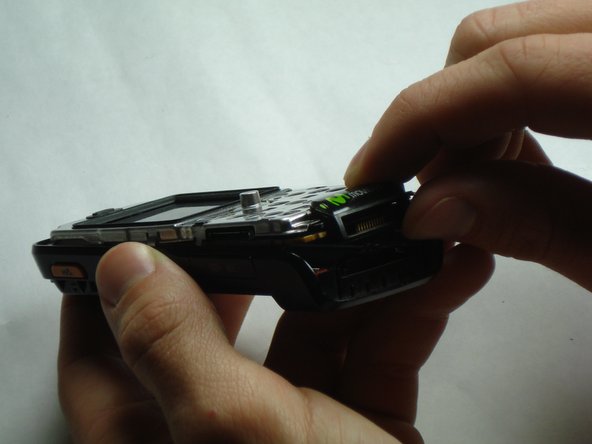
Insert the plastic opening tool in between the front case and the back case.
-
Apply downward pressure to make the case lift upwards, thus popping the front case off.
-
-
-
Este paso está sin traducir. Ayuda a traducirlo
-
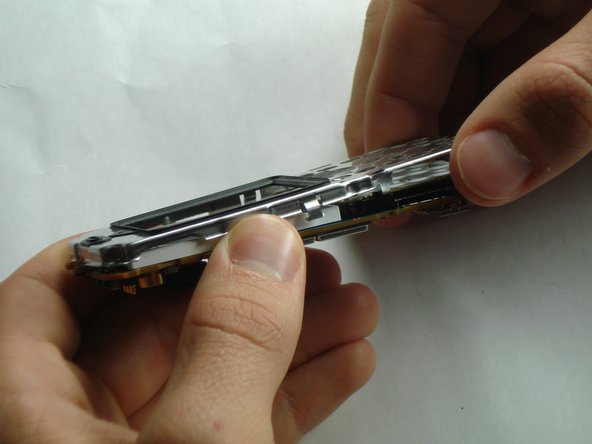
Remove the 4 screws in the corners of the front of the phone using a T6 screwdriver.
-
-
Este paso está sin traducir. Ayuda a traducirlo
-
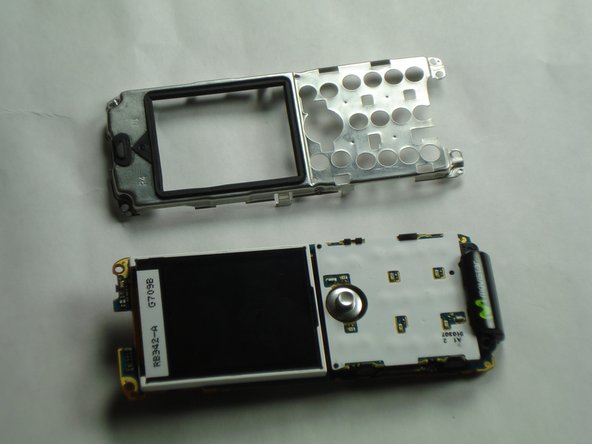
There is a black tab in the top left corner holding the core in place.
-
Remove the core by pulling straight up to prevent breaking the tab.
-
-
Este paso está sin traducir. Ayuda a traducirlo
-
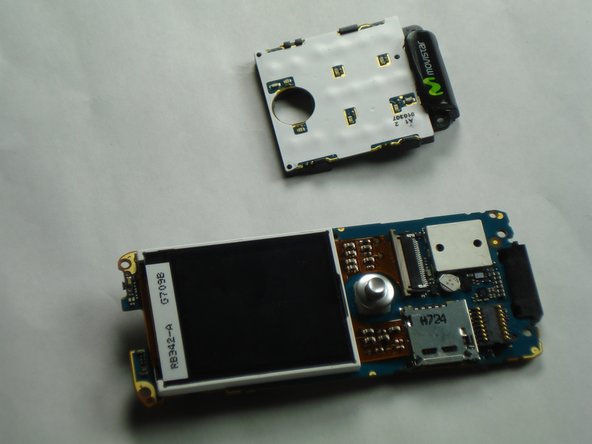
Undo the metal clip on each side of the core using the plastic opening tool.
-
-
Este paso está sin traducir. Ayuda a traducirlo
-
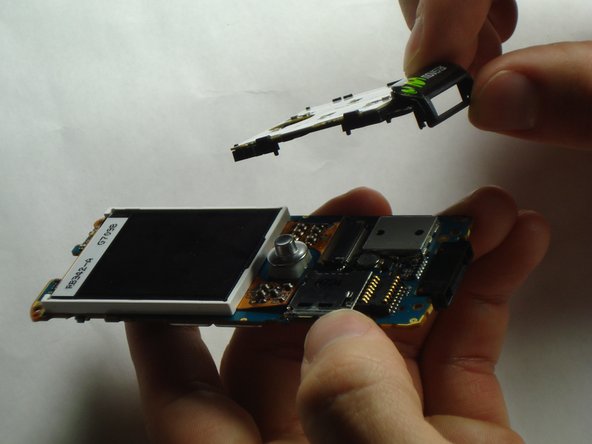
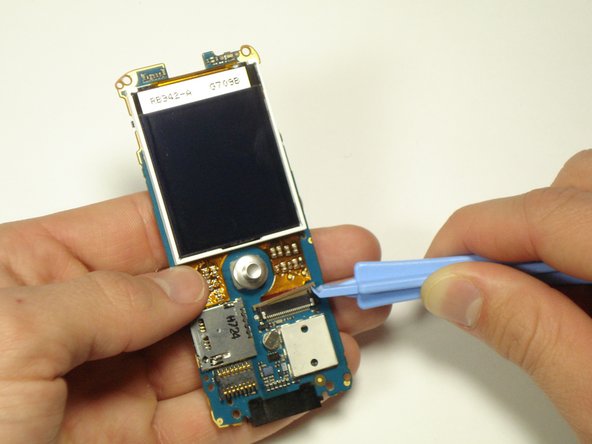
Gently pull the white keyboard and charging port away from the motherboard and off the phone.
-
-
Este paso está sin traducir. Ayuda a traducirlo
-
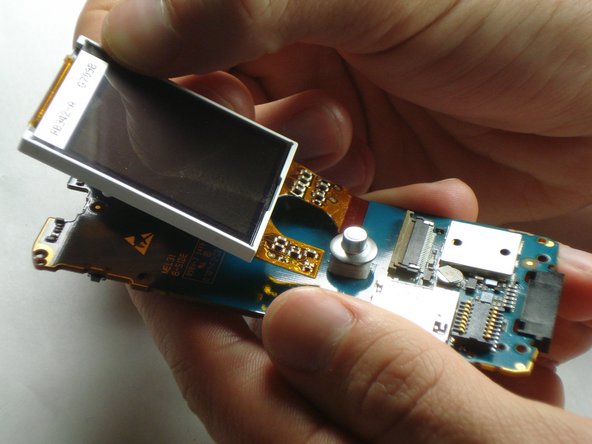
Undo the grey clip that holds the LCD ribbon in place by loosening one side of the clip with the plastic opening tool, then gently separate the other side of the clip from the holder.
-


Cancelar: No complete esta guía.
2 personas más completaron esta guía.

Equipo

Cal Poly, Team 14-10, Forte Winter 2011 Miembro de Cal Poly, Team 14-10, Forte Winter 2011
CPSU-FORTE-W11S14G10
5 Miembros
16 Guías creadas