Saltar al contenido principal

Esta versión puede contener ediciones incorrectas. Cambie a la última instantánea verificada.

Qué necesitas

  1. Este paso está sin traducir. Ayuda a traducirlo

    : paso 1, imagen 1 de 2 : paso 1, imagen 2 de 2
    • Remove the battery from the back.

  2. Este paso está sin traducir. Ayuda a traducirlo

    : paso 2, imagen 1 de 3 : paso 2, imagen 2 de 3 : paso 2, imagen 3 de 3
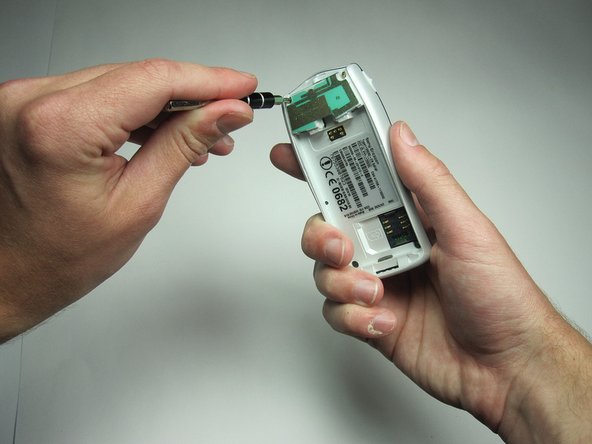
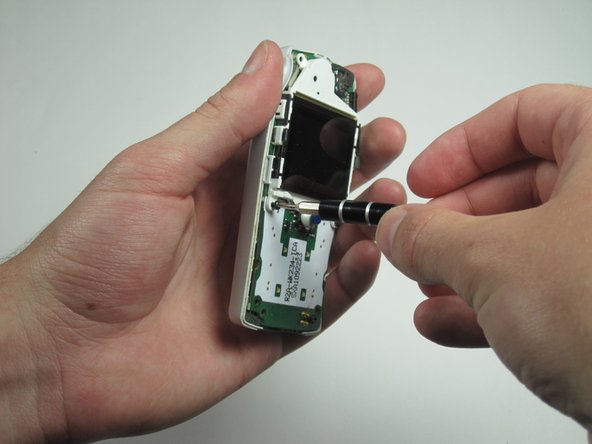
    • Pry off the plastic cover from the top with a thin plastic shim, then remove it from the two bottom clips.

    • Do not bend it too far down, or else you risk breaking the two bottom clips.

  3. Este paso está sin traducir. Ayuda a traducirlo

    : paso 3, imagen 1 de 3 : paso 3, imagen 2 de 3 : paso 3, imagen 3 de 3
    • Unscrew all four Torx T6 screws.

    • Keep in a safe place.

  4. Este paso está sin traducir. Ayuda a traducirlo

    : paso 4, imagen 1 de 3 : paso 4, imagen 2 de 3 : paso 4, imagen 3 de 3
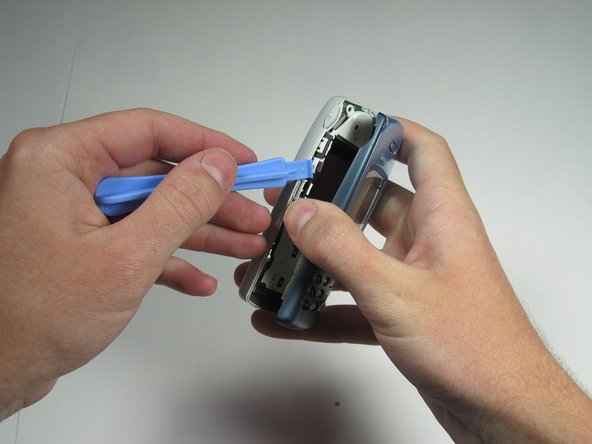
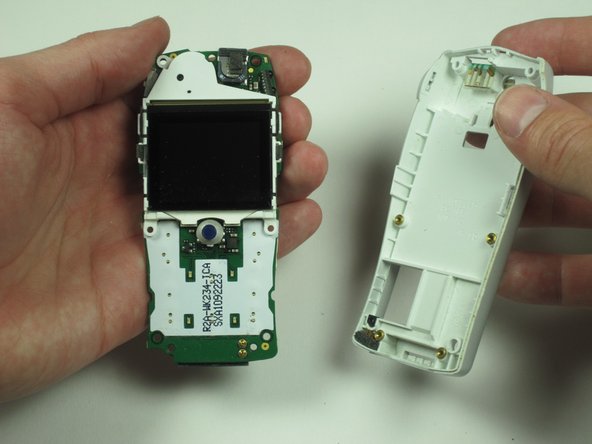
    • After removing the screws, the two halves will separate. If not, then pry them gently apart.

  5. Este paso está sin traducir. Ayuda a traducirlo

    : paso 5, imagen 1 de 3 : paso 5, imagen 2 de 3 : paso 5, imagen 3 de 3
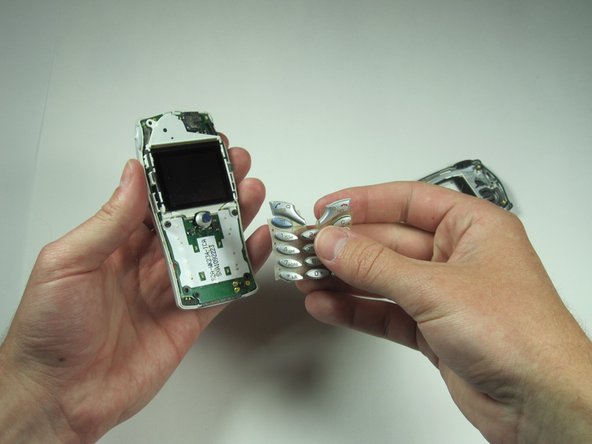
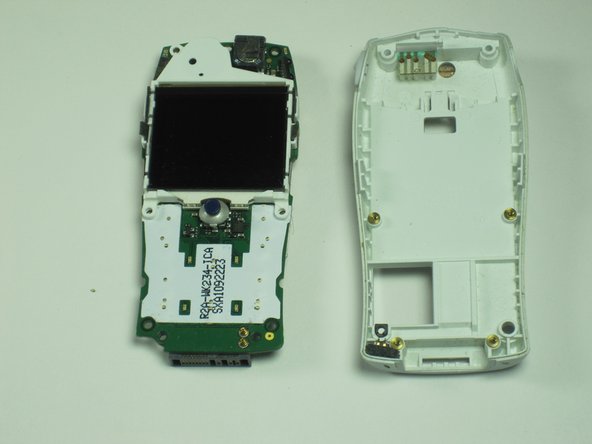
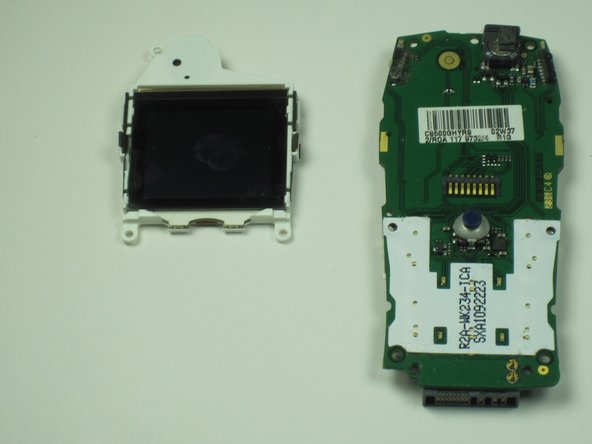
    • Remove the circuit board and screen from the device.

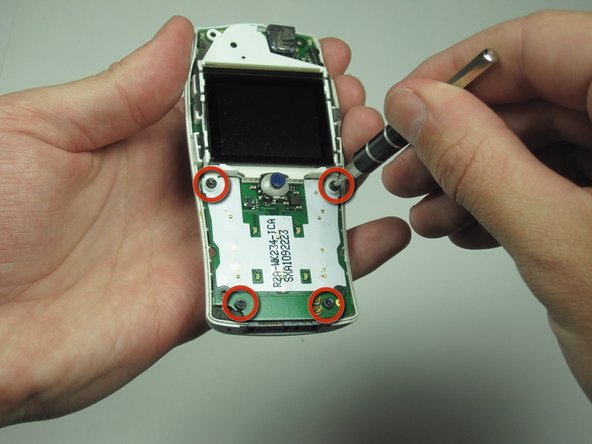
    • Use your T6 to remove the 4 screws.

  6. Este paso está sin traducir. Ayuda a traducirlo

    : paso 6, imagen 1 de 3 : paso 6, imagen 2 de 3 : paso 6, imagen 3 de 3
    • Remove the board and screen.

  7. Este paso está sin traducir. Ayuda a traducirlo

    : paso 7, imagen 1 de 3 : paso 7, imagen 2 de 3 : paso 7, imagen 3 de 3
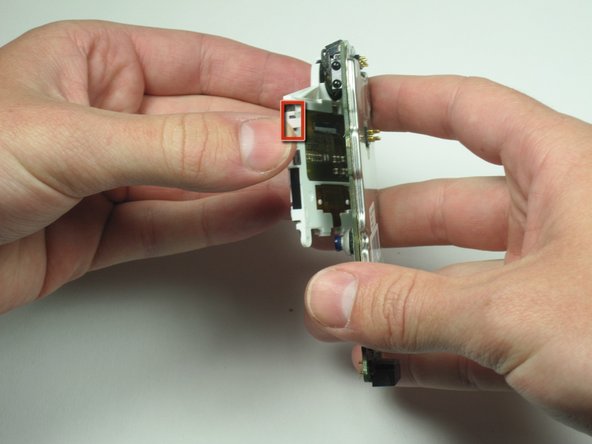
    • Carefully remove the plastic clips holding the screen on the board.

Linea de Meta

Tim Dascomb

Miembro Desde 04/13/10

159 Reputación

7 Guías creadas

Equipo

Cal Poly, Team 26-34, Regan Spring 2010 Miembro de Cal Poly, Team 26-34, Regan Spring 2010

CPSU-REGAN-S10S26G34

4 Miembros

13 Guías creadas

0 comentarios

Agregar Comentario

Ver Estadísticas:

Ultimas 24 horas: 1

Ultimos 7 días: 8

Ultimos 30 días: 13

Todo El Tiempo: 1,721