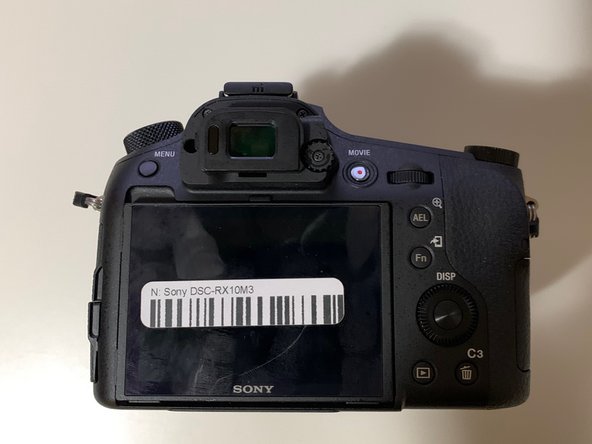
Saltar al contenido principal

Sony DSC-RX10M3 Back and Right Panel Replacement

Qué necesitas

  1. Sony DSC-RX10M3 Back and Right Panel Replacement, Battery Replacement: paso 1, imagen 1 de 1
    • Turn off the Device by scrolling the tab to "OFF" indicated by the arrow.

  2. Sony DSC-RX10M3 Back and Right Panel Replacement: paso 2, imagen 1 de 3 Sony DSC-RX10M3 Back and Right Panel Replacement: paso 2, imagen 2 de 3 Sony DSC-RX10M3 Back and Right Panel Replacement: paso 2, imagen 3 de 3
    • Remove the battery located at the bottom of the device.

  3. Sony DSC-RX10M3 Back and Right Panel Replacement, Back and Right Panel: paso 3, imagen 1 de 1
    • Remove the twelve 0.7mm Phillips #000 screws from the bottom case.

  4. Sony DSC-RX10M3 Back and Right Panel Replacement: paso 4, imagen 1 de 2 Sony DSC-RX10M3 Back and Right Panel Replacement: paso 4, imagen 2 de 2
    • Remove the two 0.7mm screws that secure the right side of the camera.

    • Remove the two 0.7mm screws that secure the left side of the camera, near the Wi-Fi logo and charging port.

  5. Sony DSC-RX10M3 Back and Right Panel Replacement: paso 5, imagen 1 de 2 Sony DSC-RX10M3 Back and Right Panel Replacement: paso 5, imagen 2 de 2
    • Gently pull off the plastic eye guard.

  6. Sony DSC-RX10M3 Back and Right Panel Replacement: paso 6, imagen 1 de 2 Sony DSC-RX10M3 Back and Right Panel Replacement: paso 6, imagen 2 de 2
    • Use a Phillips #000 screwdriver to remove the four 0.4mm screws located under the rubber eye guard.

    • Use a plastic opening tool to detach the back panel of the camera.

  7. Sony DSC-RX10M3 Back and Right Panel Replacement: paso 7, imagen 1 de 1
    Herramienta utilizada en este paso:
    Tweezers
    $4.99
    Comprar
    • This is a tight spot; make sure you use minimal force when removing the cover.

    • Using tweezers, disconnect the ribbon cable connecting the LCD to the circuit board.

  8. Sony DSC-RX10M3 Back and Right Panel Replacement: paso 8, imagen 1 de 1
    • This step is only needed if you wish to remove the right side panel.

    • Use a plastic openeing tool to gently detach the right panel.

Conclusión

To reassemble your device, follow these instructions in reverse order.

2 personas más completaron esta guía.

Salman Hersi

Miembro Desde 01/14/20

333 Reputación

2 Guías creadas

Equipo

0 comentarios

Agregar Comentario

Ver Estadísticas:

Ultimas 24 horas: 2

Ultimos 7 días: 9

Ultimos 30 días: 37

Todo El Tiempo: 960