Introducción
Opening the boombox case and removing the parts requires various Phillips screwdrivers and tweezers. Make sure there are no batteries in the boombox, and that it is not plugged in before starting the procedure.
Qué necesitas
-
-
Remove the battery cover on the back of the boombox by applying downward pressure to the two clamps.
-
-
-
Hold the boombox handle at an angle to access the screws behind the CD player.
-
Use a Phillips #1 screwdriver to unscrew the top two 14 mm screws. You may need a flashlight to see the screws.
-
-
-
Remove four 14 mm screws using a Phillips #1 screwdriver. Two of these screws are at the bottom of the boombox and the other two are on either side of the boombox as highlighted in the related images.
-
All four screws have black arrows (not visible in the photo) indicating their location on the boombox.
-
-
-
Gently separate the front panel from the back panel.
-
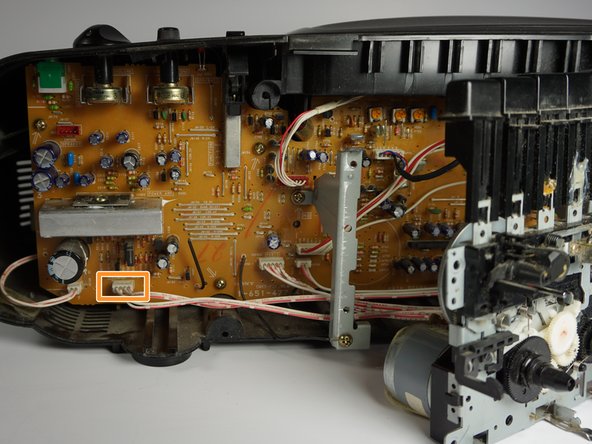
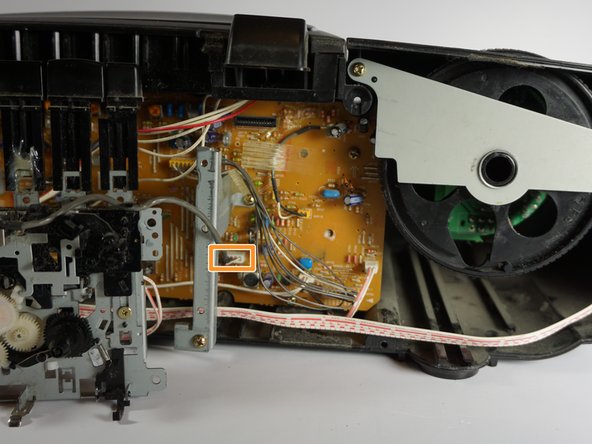
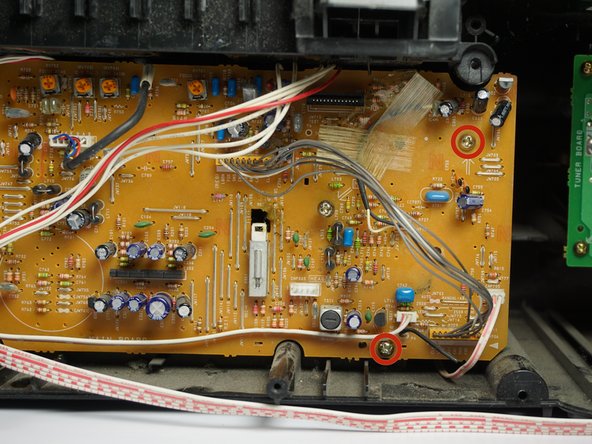
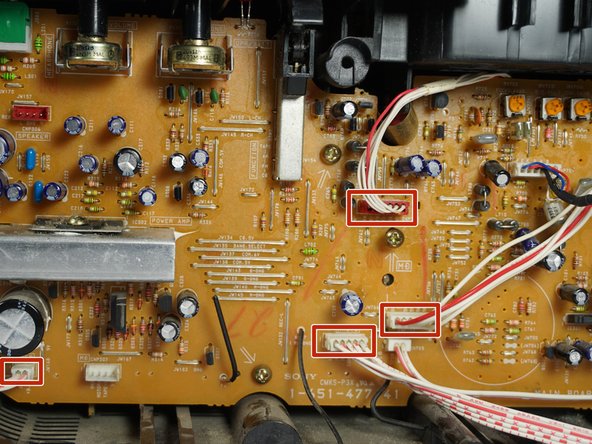
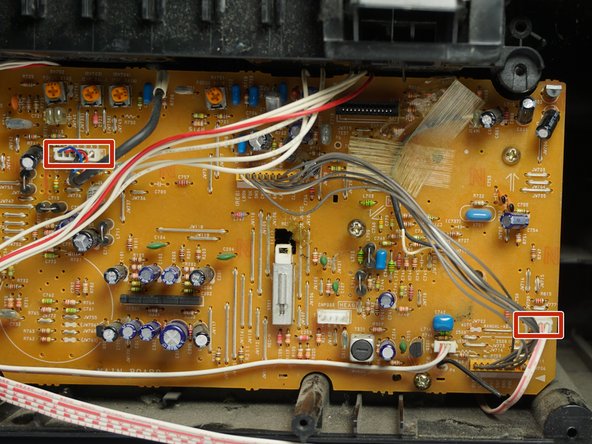
Remove the two connections holding the front panel to boombox.
-
One connection is located on the upper left hand side of the main circuit board.
-
The other is a large white strip slightly to the right of the cassette player.
-
Remove the front panel.
-
-
-
-
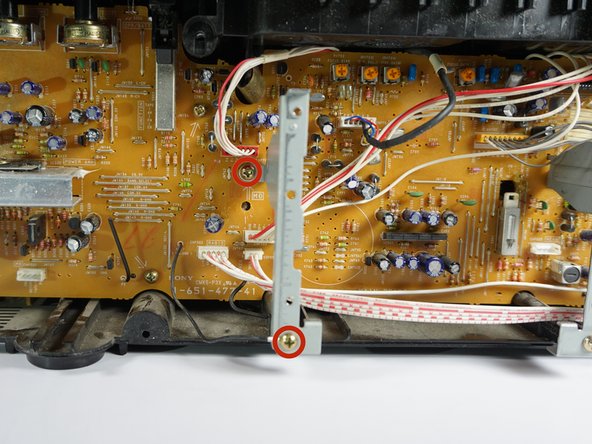
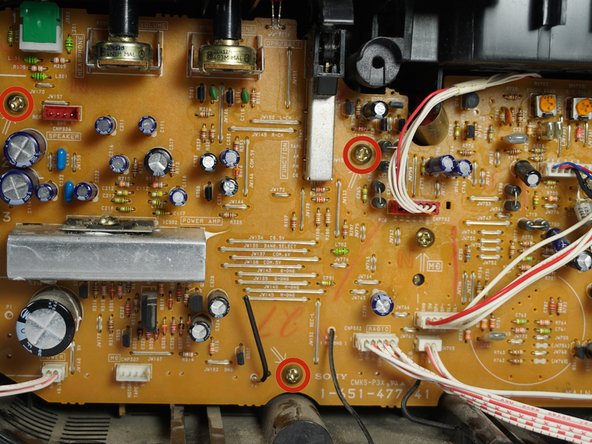
Use a Phillips #1 screwdriver to unscrew the four 12 mm screws that connect the cassette motor to the brackets.
-
Wiggle the cassette motor to remove it from the two brackets. Do not remove the motor completely, only separate the motor from the two brackets.
-
Remove the two wire sets that connect the cassette motor to the main circuit board. Then gently remove the motor.
-


Follow these instructions in reverse order to reassemble your device.
Follow these instructions in reverse order to reassemble your device.
Cancelar: No complete esta guía.
2 personas más completaron esta guía.
Equipo

Cal Poly, Team 10-38, Amido Fall 2014 Miembro de Cal Poly, Team 10-38, Amido Fall 2014
CPSU-AMIDO-F14S10G38
5 Miembros
7 Guías creadas