Introducción
Replace the main power board that connects all the components of the lantern.
Qué necesitas
-
-
Flip the lantern upside down.
-
Remove the four Phillips screws from the base.
-
Remove the base.
-
-
-
-
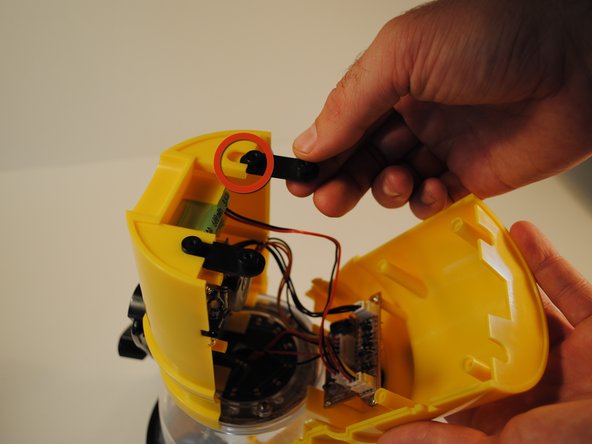
To disassemble the main body, grip the lantern so that the front half of the body with the power button on it is in your right hand and the back half with the hand crank is in your left.
-
Pinch the front half of the body on both sides with your thumb and index finger just below the first extruding rim of the front plate while simultaneously pulling the back half away. This may take some effort to do.
-
-
-
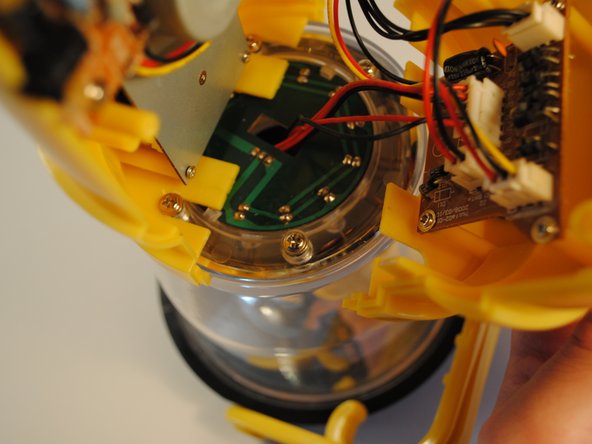
Disconnect all the wires from the main power board by removing the white clips from their corresponding sockets mounted on the board.
-
LED.
-
DC-in board.
-
Battery.
-
Crank.
-
With the Philips #0 screwdriver, unscrew the four screws mounting the board to the front plate. Remove the board from the front plate. Set aside screws for reassembly.
-


To reassemble your device, follow these instructions in reverse order.
To reassemble your device, follow these instructions in reverse order.
Equipo

Cal Poly, Team 18-38, Regan Fall 2012 Miembro de Cal Poly, Team 18-38, Regan Fall 2012
CPSU-REGAN-F12S18G38
4 Miembros
4 Guías creadas