Saltar al contenido principal
Únete a la Comunidad de Reparación - Crear Cuenta

Soft Leather Journal Cover Replacement

Vistas: 797

Ver estadísticas:

Últimas 24 horas:
1
Últimos 7 días:
27
Últimos 30 días:
93
Todo El Tiempo:
797
Comentarios: 0

Nadie ha escrito comentarios en esta guía. ¿Quieres escribir el primero?

Go to guide comments
Completado: 0

Nadie ha marcado esta guía como "completada". ¿Quieres marcarla tú?

Favoritos: 0

Nadie ha marcado como "Favorita" ni se ha suscrito a esta guía. ¿Quieres hacerlo tú?

Tiempo Requerido: 50 Minuto
Dificultad: Fácil
Guía de Estudiante Destacada

Esta guía fue realizada gracias al duro trabajo de nuestros fantásticos estudiantes y ha sido valorada como excepcionalmente genial por el personal de iFixit.

Soft Leather Journal Cover Replacement

Introducción

Ir al paso 1 ↓

Use this guide to replace the cover of a soft leather journal.

You will cut off the old cover, reinforce the spine, and glue new leather on. This material can be thrifted for cost efficiency.

Journals hold sentimental value. However, when they fall apart—especially if the leather crumbles and causes a mess—users tend to abandon them only half-filled. This is especially wasteful when the journal or pages are of good quality. Quick fixes like electrical tape can be unsightly and unsustainable (due to peeling and frequent replacing).

When attaching the new cover, you will glue it directly to the front and back sheets of the journal. Take a picture if you want to preserve its contents.

Qué necesitas

Partes

Herramientas

    1. Soft Leather Journal Cover Replacement, Cover: paso 1, imagen 1 de 2 Soft Leather Journal Cover Replacement, Cover: paso 1, imagen 2 de 2
      • Gather your old journal, required tools and parts, and a large item that can be used as a weight.

      • Your stiff fabric will reinforce the spine, and your scrap leather will become your new cover. They can be different materials as long as they serve a similar function.

      Pregunta a FixBot

      Agregar Comentario

    2. Soft Leather Journal Cover Replacement: paso 2, imagen 1 de 3 Soft Leather Journal Cover Replacement: paso 2, imagen 2 de 3 Soft Leather Journal Cover Replacement: paso 2, imagen 3 de 3
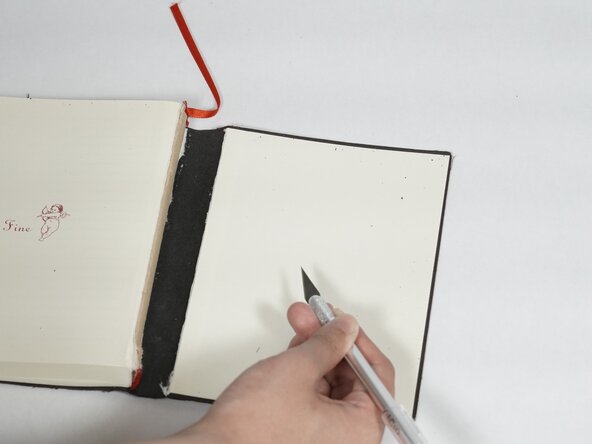
      • Cut the cover and spine off from the main journal body with an X-ACTO knife.

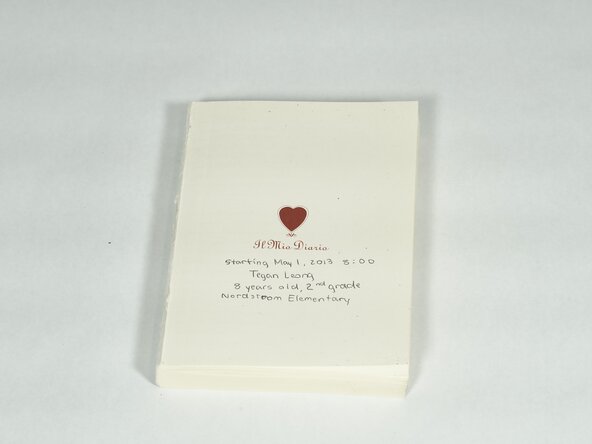
      • Keep the main block of pages intact.

      • Save the cover for Step 5.

      Pregunta a FixBot

      Agregar Comentario

    3. Soft Leather Journal Cover Replacement: paso 3, imagen 1 de 1
      • Create the spine reinforcement:

      • Measure the height and width of the journal's spine onto your stiff fabric.

      • Subtract one inch from your height, and add two inches to your width.

      Pregunta a FixBot

      Agregar Comentario

    4. Soft Leather Journal Cover Replacement: paso 4, imagen 1 de 1
      • Cut the stiff fabric into a small rectangle with your modified measurements.

      Pregunta a FixBot

      Agregar Comentario

    5. Soft Leather Journal Cover Replacement: paso 5, imagen 1 de 3 Soft Leather Journal Cover Replacement: paso 5, imagen 2 de 3 Soft Leather Journal Cover Replacement: paso 5, imagen 3 de 3
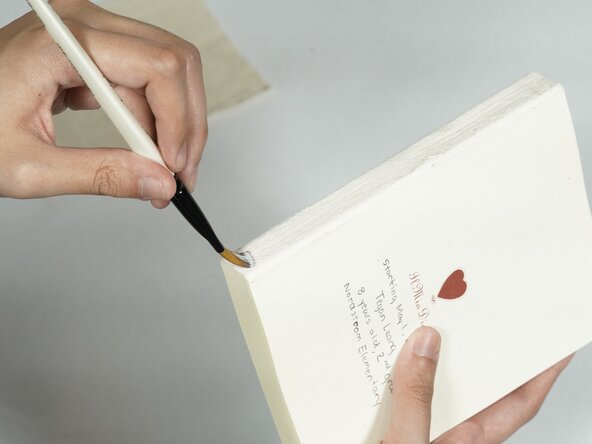
      • Apply a thin layer of PVA glue to the spine of the journal with a paintbrush.

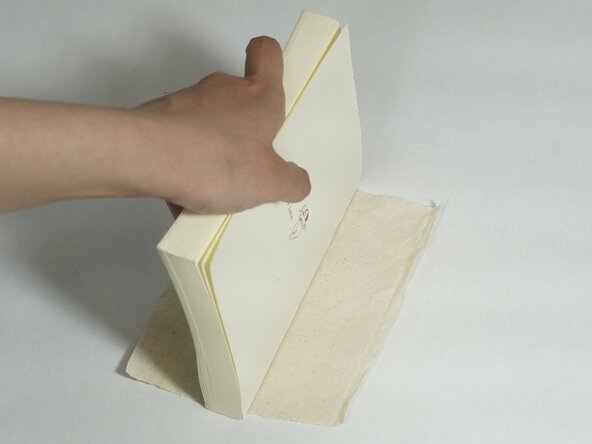
      • Press the spine firmly into the center of the stiff fabric for one minute.

      • PVA glue dries fast, so work quickly.

      Pregunta a FixBot

      Agregar Comentario

    6. Soft Leather Journal Cover Replacement: paso 6, imagen 1 de 3 Soft Leather Journal Cover Replacement: paso 6, imagen 2 de 3 Soft Leather Journal Cover Replacement: paso 6, imagen 3 de 3
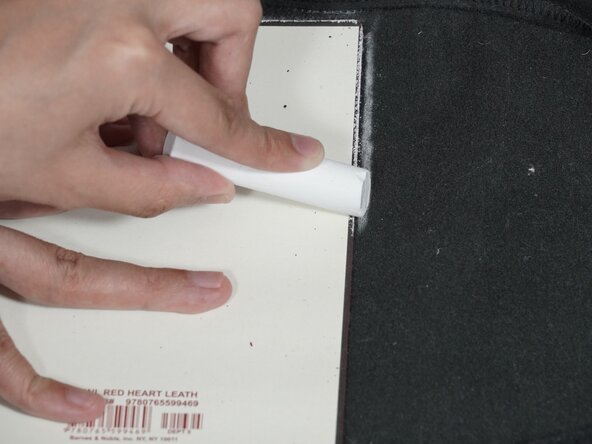
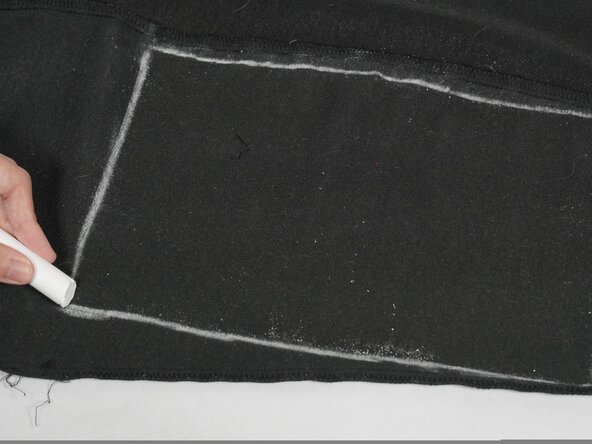
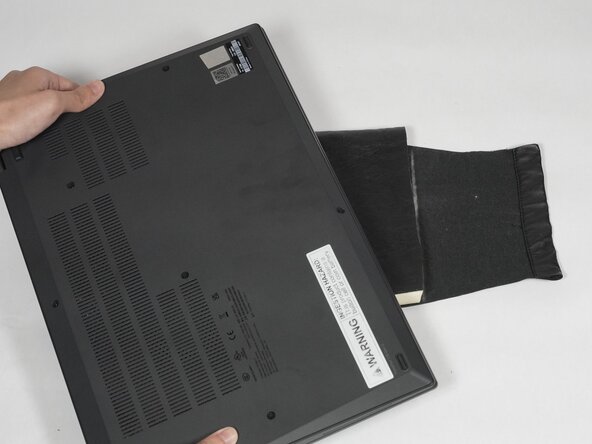
      • Create the new cover:

      • Press the original cover flat onto the interior of your scrap leather.

      • Trace around the original cover with chalk.

      Pregunta a FixBot

      Agregar Comentario

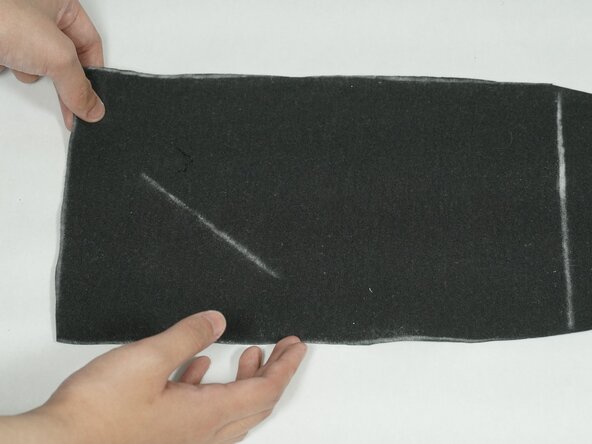
    7. Soft Leather Journal Cover Replacement: paso 7, imagen 1 de 3 Soft Leather Journal Cover Replacement: paso 7, imagen 2 de 3 Soft Leather Journal Cover Replacement: paso 7, imagen 3 de 3
      • Cut on the chalk outline with scissors, extending the length beyond the right side by four inches.

      • This extra length will become the cover flap.

      Pregunta a FixBot

      Agregar Comentario

    8. Soft Leather Journal Cover Replacement: paso 8, imagen 1 de 3 Soft Leather Journal Cover Replacement: paso 8, imagen 2 de 3 Soft Leather Journal Cover Replacement: paso 8, imagen 3 de 3
      • Roll the journal onto the new cover to ensure a correct fit.

      Pregunta a FixBot

      Agregar Comentario

    9. Soft Leather Journal Cover Replacement: paso 9, imagen 1 de 2 Soft Leather Journal Cover Replacement: paso 9, imagen 2 de 2
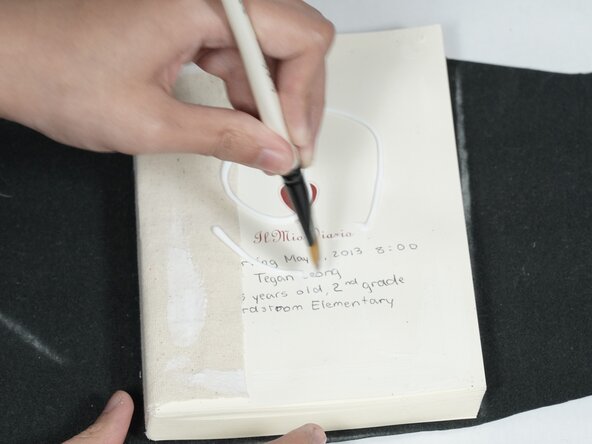
      • Spread a thin, even layer of PVA glue onto the front and back of the journal.

      • Make sure to coat the overhang of the stiff fabric, but DO NOT glue the spine.

      Pregunta a FixBot

      Agregar Comentario

    10. Soft Leather Journal Cover Replacement: paso 10, imagen 1 de 3 Soft Leather Journal Cover Replacement: paso 10, imagen 2 de 3 Soft Leather Journal Cover Replacement: paso 10, imagen 3 de 3
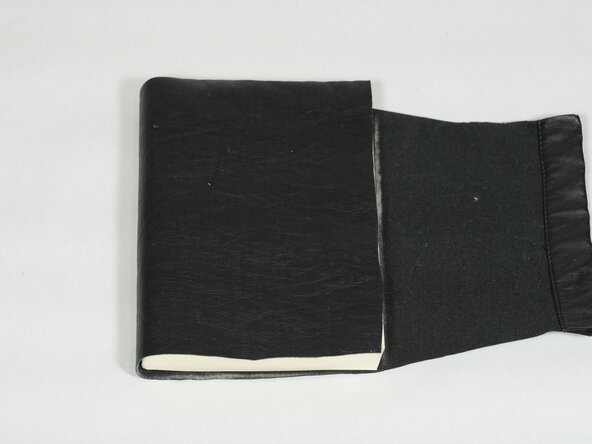
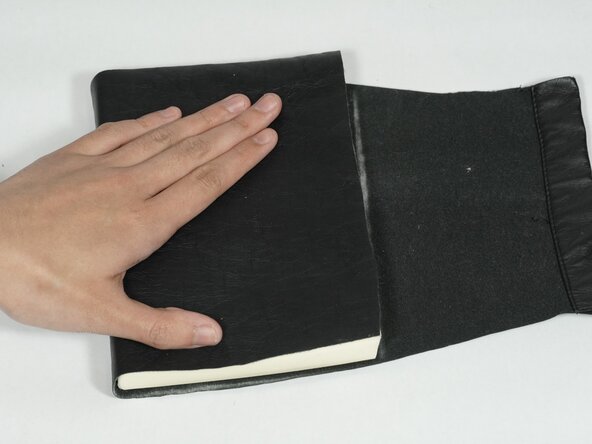
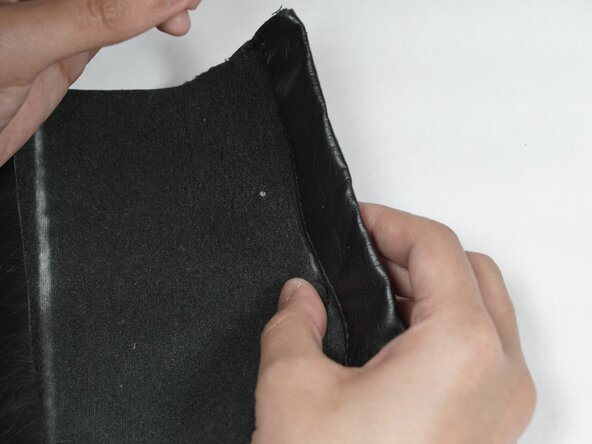
      • Left align the journal (front-side down) onto the interior of your new cover, spine facing towards the center.

      • Gently roll the journal onto its back sheet until it meets the chalk line.

      • Place a weight on top of the journal for at least 30 minutes.

      Pregunta a FixBot

      Agregar Comentario

    11. Soft Leather Journal Cover Replacement: paso 11, imagen 1 de 3 Soft Leather Journal Cover Replacement: paso 11, imagen 2 de 3 Soft Leather Journal Cover Replacement: paso 11, imagen 3 de 3
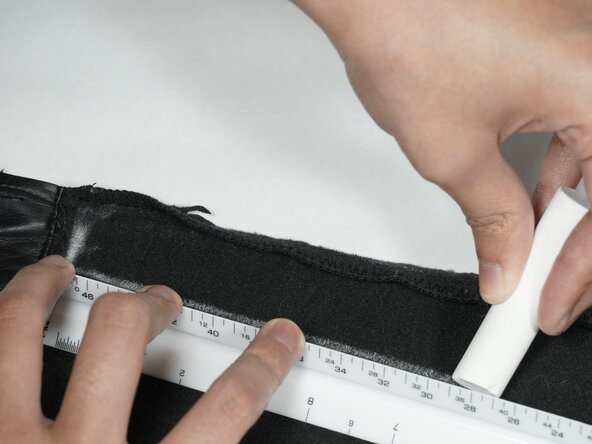
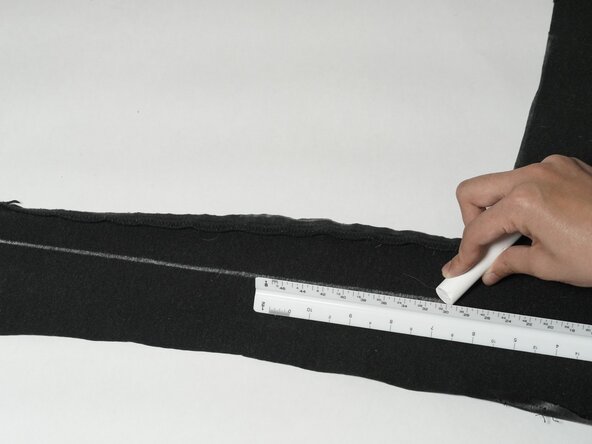
      • Create the string closure:

      • Trace an 18-inch long by half-inch tall rectangle onto the interior of your excess scrap leather.

      Pregunta a FixBot

      Agregar Comentario

    12. Soft Leather Journal Cover Replacement: paso 12, imagen 1 de 2 Soft Leather Journal Cover Replacement: paso 12, imagen 2 de 2
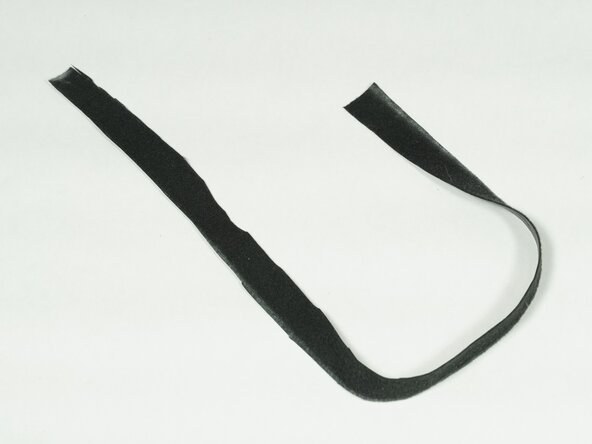
      • Cut on the chalk outline.

      Pregunta a FixBot

      Agregar Comentario

    13. Soft Leather Journal Cover Replacement: paso 13, imagen 1 de 2 Soft Leather Journal Cover Replacement: paso 13, imagen 2 de 2
      • Cut two, half-inch tall vertical slits into the front flap of the new cover. Center them with one inch between each slit.

      Pregunta a FixBot

      Agregar Comentario

    14. Soft Leather Journal Cover Replacement: paso 14, imagen 1 de 3 Soft Leather Journal Cover Replacement: paso 14, imagen 2 de 3 Soft Leather Journal Cover Replacement: paso 14, imagen 3 de 3
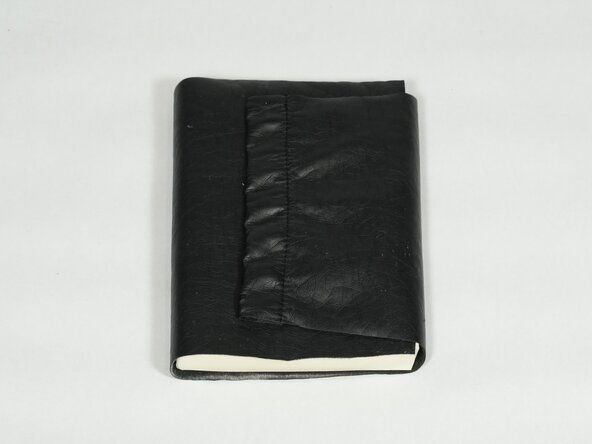
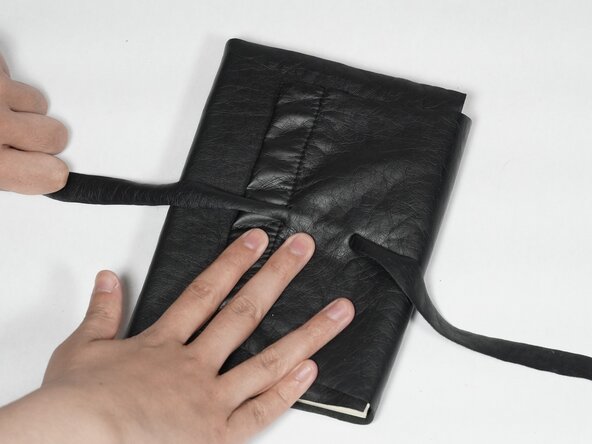
      • Thread the string closure through the slits so that the ends sit on top of the cover flap.

      • Pull until two inches remain on the left side.

      • Gently tie the journal closed.

      Pregunta a FixBot

      Agregar Comentario

    15. Soft Leather Journal Cover Replacement: paso 15, imagen 1 de 1
      • Congratulations! Your new journal is ready to use.

      Pregunta a FixBot

      Agregar Comentario

Linea de Meta

Cancelar: No complete esta guía.

Willow Tinsman

Miembro Desde 02/19/25

241 Reputación

1 Guía escrita

Equipo

UC Davis, Team 2-1, Andersen Winter 2025 Miembro de UC Davis, Team 2-1, Andersen Winter 2025

UCD-ANDERSEN-W25S2G1

Miembros de 3

12 Guías creadas

0Guía Comentarios

Agregar Comentario

Ver Estadísticas:

Ultimas 24 horas: 1

Ultimos 7 días: 27

Ultimos 30 días: 93

Todo El Tiempo: 797