Introducción
Smeg kettle was having a faulty connection. Eventually gave up.
Pretty and expensive, not ready for the landfill. So here is a fix guide
I noticed the connector on the jug had the pin pushed in and damaged.
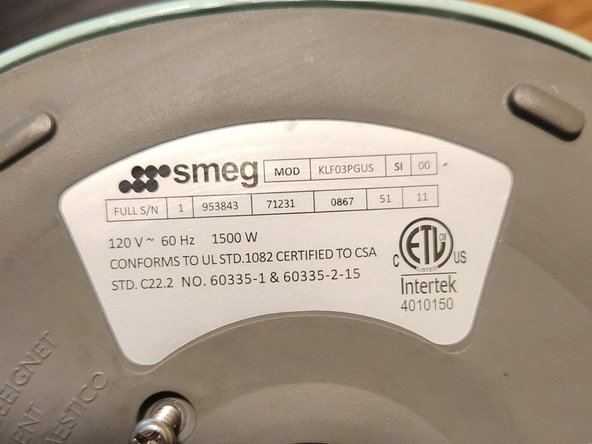
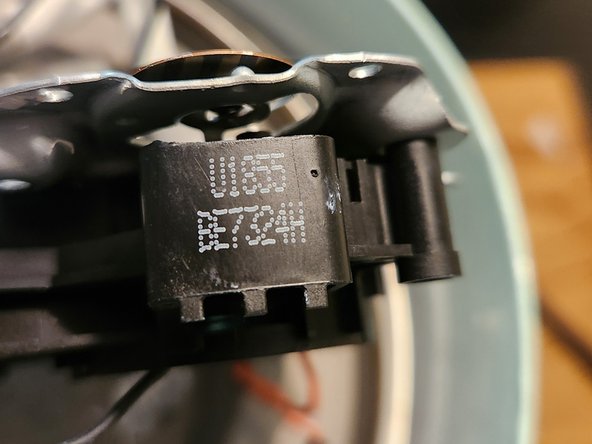
Ordered the part STRIX U1855 after opening it and noting the part number
I have found the part on Ebay, AllyExpress and Amazon.ca with a range of prices between $12 to $50 canadian dollars
Qué necesitas
-
-
Remove 3 Philips screws at the bottom.
-
The plastic cover should come off easily. Pry softly on the side to wiggle it out with a pry pick
-
-
-
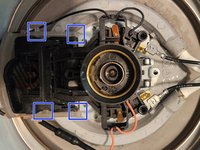
Remove the 3 screws that that attached to the main body of the kettle (Red Circles)
-
Disconnect the heating element cables. They slide pretty easily without tools. (Green Arrows)
-
-
-
-
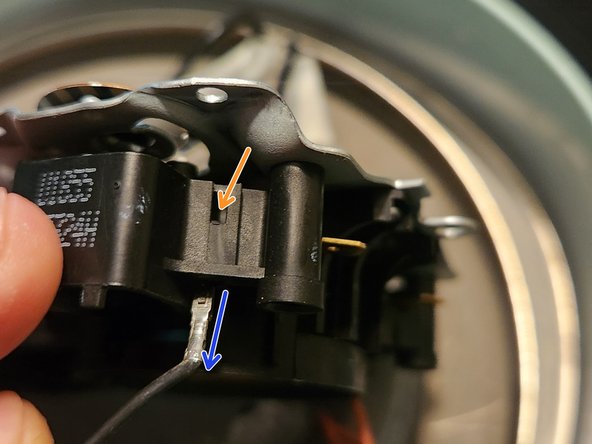
We need to disconnect the external switch mechanism from the temp sensor assembly. They are connected with a hinge (clear plastic to black plastic) in 4 points.(blue squares on image)
-
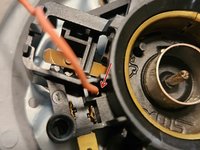
Carefully dissemble the clear plastic hinge from the temp sensor. Easy soft plastic to push away
-
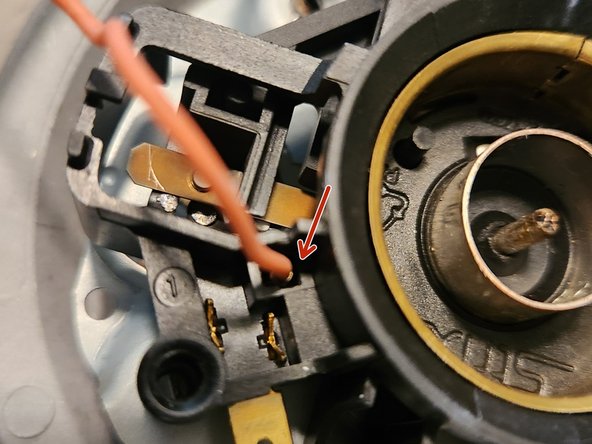
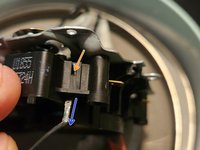
With thin tweezers or a toothpick disconnect RED and Black cables from the thermal sensor. They have thin connectors so be gentle to not snap them.
-
The black one has a side gap to push the spring connector out easier. Red does too, but it is but hidden and hard to press. Bend paper clip did the trick for me
-


To reassemble your device, follow these instructions in reverse order.
To reassemble your device, follow these instructions in reverse order.
