Saltar al contenido principal

Smartab STJR700 Home Button Replacement

Qué necesitas

  1. Smartab STJR700 Home Button Replacement, Home Button: paso 1, imagen 1 de 2 Smartab STJR700 Home Button Replacement, Home Button: paso 1, imagen 2 de 2
    • Power off device. Place it face down. Unscrew the four perimeter screws using a PH000.

  2. Smartab STJR700 Home Button Replacement: paso 2, imagen 1 de 1
    • Using a plastic opening tool or metal spudger, begin to gently pry the rear case down and away from the display. Slowly wiggle the tool up and down to pry open the tablet. Once the rear case is fully removed, place it to the side.

  3. Smartab STJR700 Home Button Replacement: paso 3, imagen 1 de 3 Smartab STJR700 Home Button Replacement: paso 3, imagen 2 de 3 Smartab STJR700 Home Button Replacement: paso 3, imagen 3 de 3
    Herramienta utilizada en este paso:
    Tweezers
    $4.99
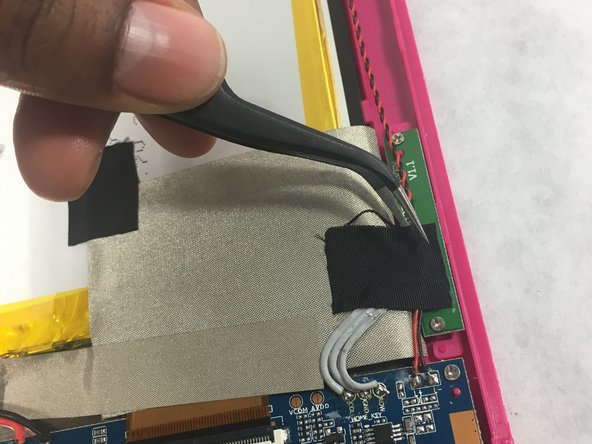
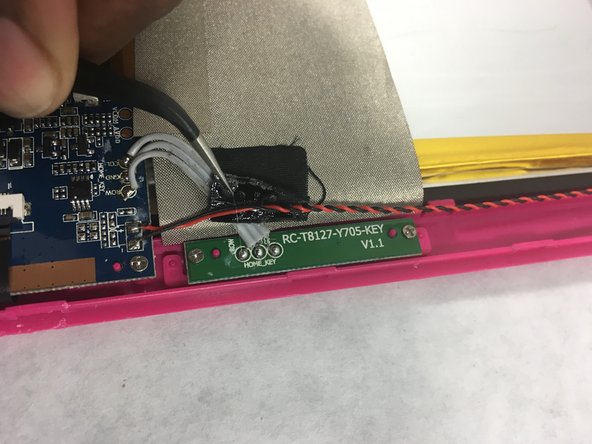
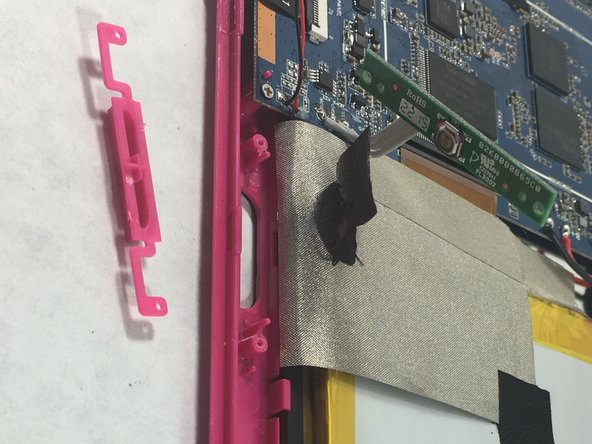
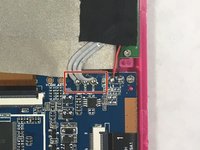
    • Using tweezers, carefully remove the tape that is holding the black and red intertwined cables to the motherboard. Place tape to the side as it will be needed for reassembly.

  4. Smartab STJR700 Home Button Replacement: paso 4, imagen 1 de 1
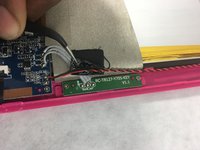
    • Remove the two Phillips #000 screws holding the home button board to the front panel.

  5. Smartab STJR700 Home Button Replacement: paso 5, imagen 1 de 2 Smartab STJR700 Home Button Replacement: paso 5, imagen 2 de 2
    • Using tweezers, slowly and carefully remove the end of the cable that connects the home button to the main motherboard.

Conclusión

To ensure a successful replacement make sure to follow all steps carefully .

Moriah Wiggins

Miembro Desde 03/08/17

201 Reputación

2 Guías creadas

Equipo

0 comentarios

Agregar Comentario

Ver Estadísticas:

Ultimas 24 horas: 0

Ultimos 7 días: 0

Ultimos 30 días: 1

Todo El Tiempo: 326