Saltar al contenido principal

Sharp EL-520X Loose Circuit Board Wire Fix

Qué necesitas

  1. Sharp EL-520X Loose Circuit Board Wire Fix, Sharp EL-520X Loose Circuit Board Wire Fix: paso 1, imagen 1 de 1
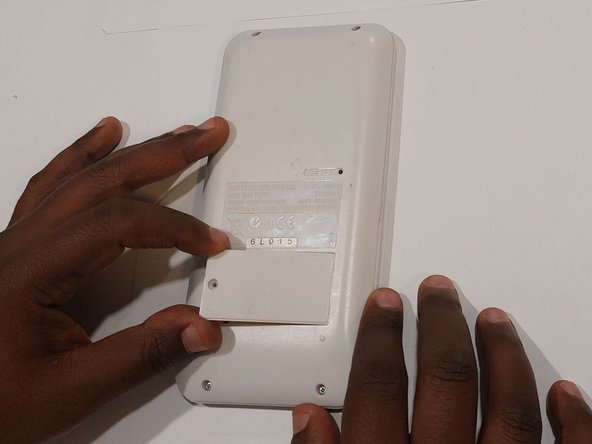
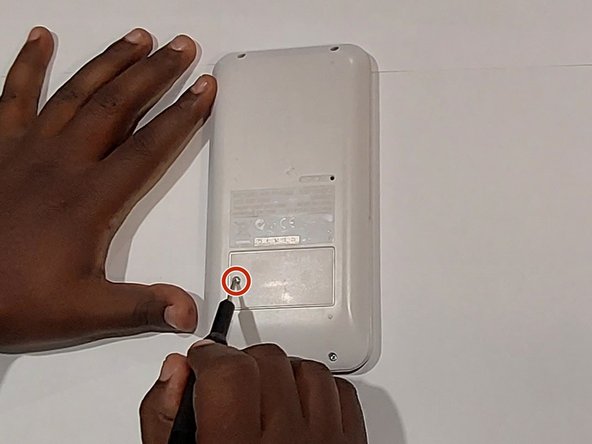
    • Remove the single screw from the battery door using a Phillips #00 screwdriver.

    • Remove the battery door.

  2. Sharp EL-520X Loose Circuit Board Wire Fix: paso 2, imagen 1 de 2 Sharp EL-520X Loose Circuit Board Wire Fix: paso 2, imagen 2 de 2
    • Remove two screws inside the battery compartment using a Phillips #00 screwdriver.

    • Remove the four screws in the corners of the calculator using a Phillips #00 screwdriver.

  3. Sharp EL-520X Loose Circuit Board Wire Fix: paso 3, imagen 1 de 1
    • Flip the calculator to the front panel and use an opening pick to pry around the sides of the panel to pop it open.

    • Gently lay it open to reveal the circuit board inside.

  4. Sharp EL-520X Loose Circuit Board Wire Fix: paso 4, imagen 1 de 1
    • Using a de-soldering braid, remove the old solder on the area where the loose solar cell wire will be fixed to.

    • Be careful not to damage your circuit board with the hot soldering iron. Do not place the soldering iron tip near the circuit board for long periods of time.

    • Use a soldering iron rest, so you don't directly place the hot soldering iron on your working surfaces which may lead to damages.

  5. Sharp EL-520X Loose Circuit Board Wire Fix: paso 5, imagen 1 de 1
    • Place the loose solar cell wire on to the de-soldered area of the circuit board and apply new solder on to that area.

    • Be careful not to damage your circuit board with the hot soldering iron. Do not place the soldering iron tip near the circuit board for long periods of time.

    • Use a soldering iron rest, so you don't directly place the hot soldering iron on your working surfaces which may lead to damages.

  6. Sharp EL-520X Loose Circuit Board Wire Fix: paso 6, imagen 1 de 1
    • Carefully place the back panel back on to the calculator.

  7. Sharp EL-520X Loose Circuit Board Wire Fix: paso 7, imagen 1 de 3 Sharp EL-520X Loose Circuit Board Wire Fix: paso 7, imagen 2 de 3 Sharp EL-520X Loose Circuit Board Wire Fix: paso 7, imagen 3 de 3
    • Secure the back panel with the screws you removed in Steps 1 and 2 using a Phillips #00 screwdriver.

Linea de Meta

2 personas más completaron esta guía.

Mohamad Mohamad

Miembro Desde 01/18/21

436 Reputación

3 Guías creadas

Equipo

0 comentarios

Agregar Comentario

Ver Estadísticas:

Ultimas 24 horas: 0

Ultimos 7 días: 4

Ultimos 30 días: 33

Todo El Tiempo: 340