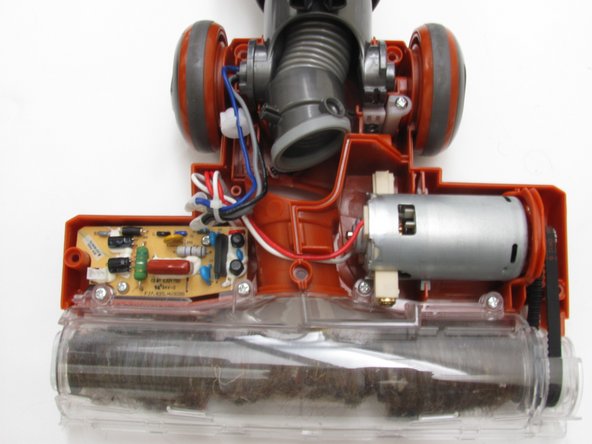
Saltar al contenido principal

Shark Rocket HV301 Rotary Belt Replacement

Qué necesitas

  1. Shark Rocket HV301 Rotary Belt Replacement, Rotary Brush: paso 1, imagen 1 de 3 Shark Rocket HV301 Rotary Belt Replacement, Rotary Brush: paso 1, imagen 2 de 3 Shark Rocket HV301 Rotary Belt Replacement, Rotary Brush: paso 1, imagen 3 de 3
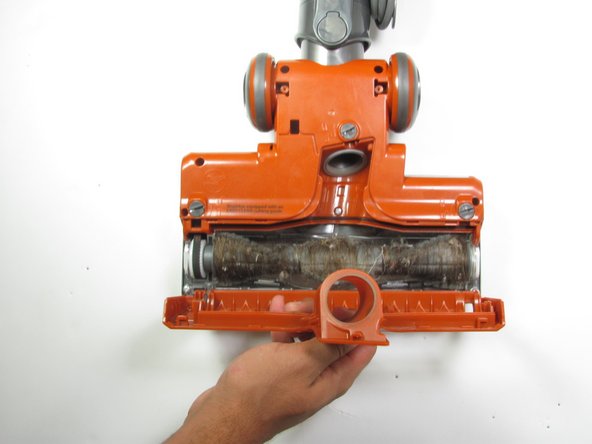
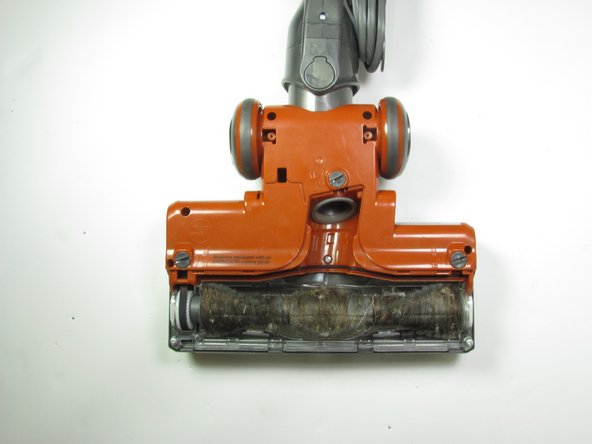
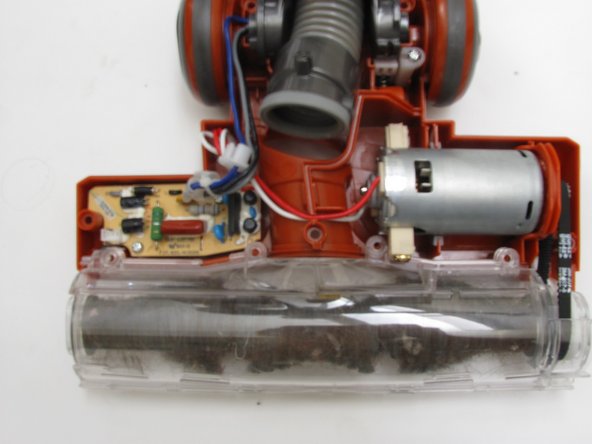
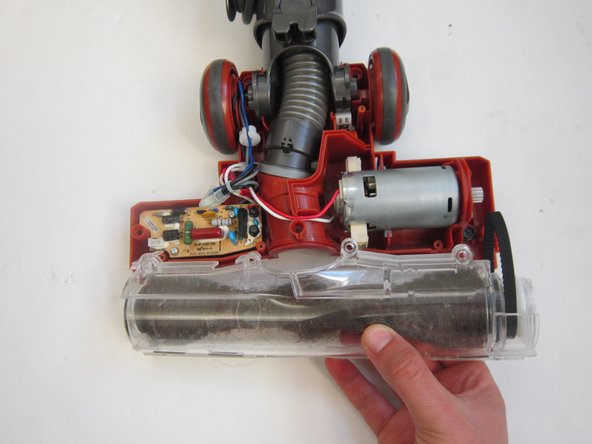
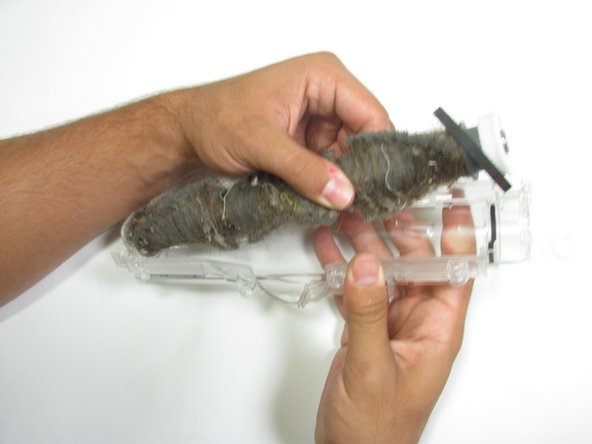
    • Flip the vacuum so the bottom base is visible.

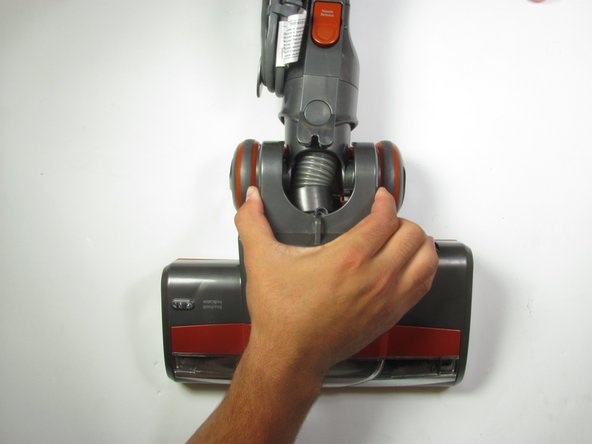
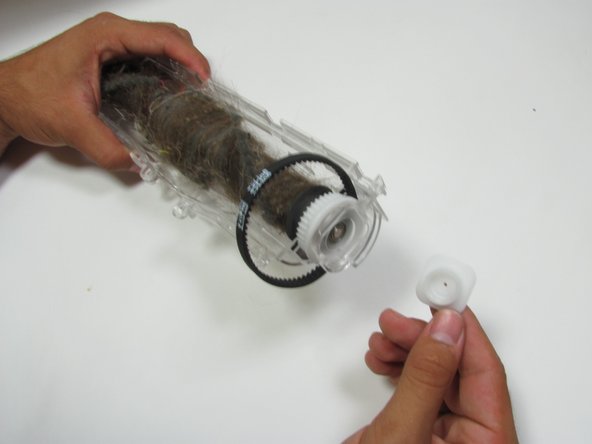
    • Gently pry the bottom two wheels off with a plastic opening tool.

  2. Shark Rocket HV301 Rotary Belt Replacement: paso 2, imagen 1 de 3 Shark Rocket HV301 Rotary Belt Replacement: paso 2, imagen 2 de 3 Shark Rocket HV301 Rotary Belt Replacement: paso 2, imagen 3 de 3
    • Remove five visible screws with a Phillips #2 screwdriver.

    • Locate and twist the three plastic screws to the unlock position with a quarter or flathead screwdriver.

  3. Shark Rocket HV301 Rotary Belt Replacement: paso 3, imagen 1 de 3 Shark Rocket HV301 Rotary Belt Replacement: paso 3, imagen 2 de 3 Shark Rocket HV301 Rotary Belt Replacement: paso 3, imagen 3 de 3
    • Remove plate covering the roller brush.

  4. Shark Rocket HV301 Rotary Belt Replacement: paso 4, imagen 1 de 2 Shark Rocket HV301 Rotary Belt Replacement: paso 4, imagen 2 de 2
    • Use a Phillips #2 screwdriver to extract the three screws revealed from removing the plate.

  5. Shark Rocket HV301 Rotary Belt Replacement: paso 5, imagen 1 de 3 Shark Rocket HV301 Rotary Belt Replacement: paso 5, imagen 2 de 3 Shark Rocket HV301 Rotary Belt Replacement: paso 5, imagen 3 de 3
    • Turn the vacuum over so the rotary brush is on the ground.

    • Grab the vacuum on both sides of the hose and pull up to remove the top of the vacuum halfway.

  6. Shark Rocket HV301 Rotary Belt Replacement: paso 6, imagen 1 de 2 Shark Rocket HV301 Rotary Belt Replacement: paso 6, imagen 2 de 2
    • Gently pinch the head of the cable and pull upwards until the casing disconnects from the vacuum.

    • Proceed with removing the upper casing.

  7. Shark Rocket HV301 Rotary Belt Replacement: paso 7, imagen 1 de 2 Shark Rocket HV301 Rotary Belt Replacement: paso 7, imagen 2 de 2
    • Use a Phillips #2 screwdriver to remove the four visible screws securing the rotary brush to the vacuum.

  8. Shark Rocket HV301 Rotary Belt Replacement: paso 8, imagen 1 de 3 Shark Rocket HV301 Rotary Belt Replacement: paso 8, imagen 2 de 3 Shark Rocket HV301 Rotary Belt Replacement: paso 8, imagen 3 de 3
    • Remove the rotary belt on right side of vacuum from the bearing.

    • Gently lift the casing to remove the belt and brush from the vacuum.

  9. Shark Rocket HV301 Rotary Belt Replacement: paso 9, imagen 1 de 3 Shark Rocket HV301 Rotary Belt Replacement: paso 9, imagen 2 de 3 Shark Rocket HV301 Rotary Belt Replacement: paso 9, imagen 3 de 3
    • Gently pry off the plastic casing on both sides of rotary brush.

    • Lift the clear plastic shell from the rotary brush.

  10. Shark Rocket HV301 Rotary Belt Replacement: paso 10, imagen 1 de 1
    • Remove the rotary belt attached to the brush and replace it if needed.

  11. Shark Rocket HV301 Rotary Belt Replacement, Rotary Belt: paso 11, imagen 1 de 1
    • Replace belt if torn or damaged.

Conclusión

To reassemble your device, follow these instructions in reverse order.

16 personas más completaron esta guía.

Trey Nahhas

Miembro Desde 10/06/16

791 Reputación

1 Guía escrita

Equipo

Cal Poly, Team 10-5, Livingston Fall 2016 Miembro de Cal Poly, Team 10-5, Livingston Fall 2016

CPSU-LIVINGSTON-F16S10G5

4 Miembros

14 Guías creadas

4 comentarios

Where can I find the rotary belt for the Shark Duo?

oneupchallenges - Contestar

I could not get it out without removing the brush roll motor. So I am putting it back together and I need to know if the motor has a top and bottom. What I mean is does it matter ? Thank you

Jennifer Dalton - Contestar

Thanks for the guide it came in super handy

SYSTEM 855 - Contestar

I just wish there were instructions on how to put the vacuum cleaner back together. I have memory issues and have a hard time going in reverse when I look at the dissembly process.

The Instructions were on the spot and even someone like me was able to disassemble the Shark Rocket.

Now to figure out how to reassemble it.

Thank you,

John

John Bartkowski - Contestar

Agregar Comentario

Ver Estadísticas:

Ultimas 24 horas: 11

Ultimos 7 días: 32

Ultimos 30 días: 185

Todo El Tiempo: 33,491