Saltar al contenido principal

Shark Navigator Lightweight Upright Brush Head Replacement

Qué necesitas

  1. Shark Navigator Lightweight Upright Brush Head Replacement, Head Shell: paso 1, imagen 1 de 2 Shark Navigator Lightweight Upright Brush Head Replacement, Head Shell: paso 1, imagen 2 de 2
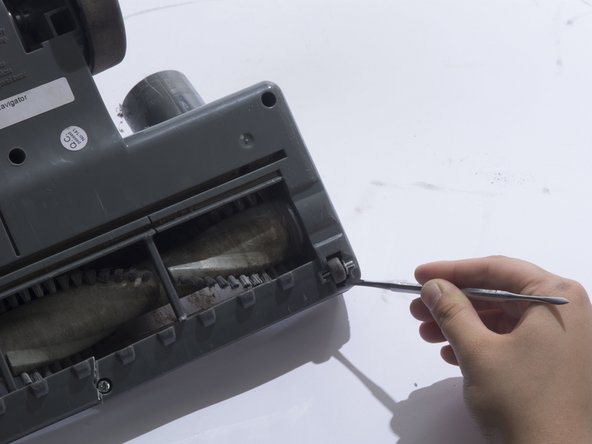
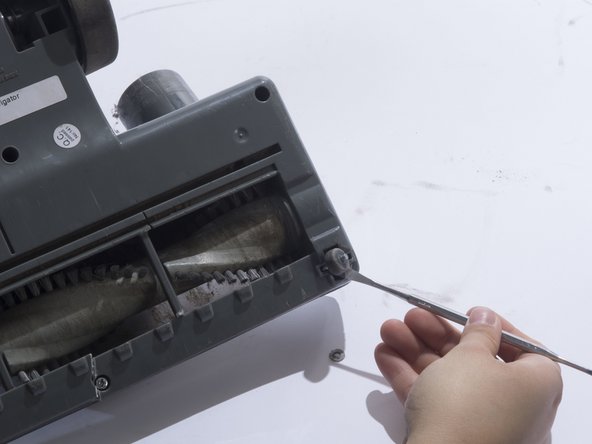
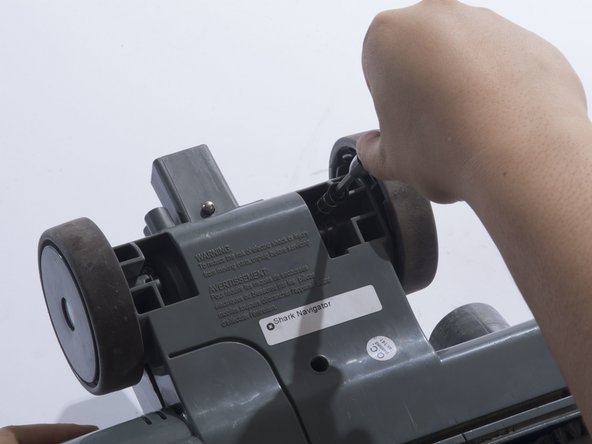
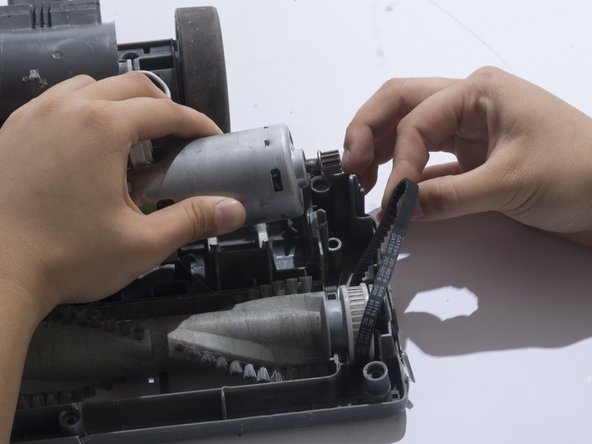
    • Detach the hose connected on the bottom of the vacuum by pulling it out of the casing.

  2. Shark Navigator Lightweight Upright Brush Head Replacement: paso 2, imagen 1 de 2 Shark Navigator Lightweight Upright Brush Head Replacement: paso 2, imagen 2 de 2
    • Lay the vacuum on its side.

    • Press in the black, rubberish button located on the back of the vacuum to detach the vacuum head from the body.

  3. Shark Navigator Lightweight Upright Brush Head Replacement: paso 3, imagen 1 de 1
    • Flip over the vacuum head so the brush head is facing up.

  4. Shark Navigator Lightweight Upright Brush Head Replacement: paso 4, imagen 1 de 3 Shark Navigator Lightweight Upright Brush Head Replacement: paso 4, imagen 2 de 3 Shark Navigator Lightweight Upright Brush Head Replacement: paso 4, imagen 3 de 3
    • Remove the small front wheels with a metal spudger by inserting the metal spudger in front of the wheel and slowly prying up. This will free the wheel and reveal the screw beneath it.

    • Repeat this for the other wheel.

  5. Shark Navigator Lightweight Upright Brush Head Replacement: paso 5, imagen 1 de 2 Shark Navigator Lightweight Upright Brush Head Replacement: paso 5, imagen 2 de 2
    • Remove the two 18mm screws with a JIS 1 screwdriver.

  6. Shark Navigator Lightweight Upright Brush Head Replacement: paso 6, imagen 1 de 2 Shark Navigator Lightweight Upright Brush Head Replacement: paso 6, imagen 2 de 2
    • Remove the four 18mm screws located on the top corners and the bottom/middle of the vacuum head using a JIS 1 screwdriver.

  7. Shark Navigator Lightweight Upright Brush Head Replacement: paso 7, imagen 1 de 2 Shark Navigator Lightweight Upright Brush Head Replacement: paso 7, imagen 2 de 2
    • Remove the two 18mm screws located on the inside of the large wheels using a JIS 1 screwdriver.

  8. Shark Navigator Lightweight Upright Brush Head Replacement: paso 8, imagen 1 de 3 Shark Navigator Lightweight Upright Brush Head Replacement: paso 8, imagen 2 de 3 Shark Navigator Lightweight Upright Brush Head Replacement: paso 8, imagen 3 de 3
    • Remove the plastic cover by prying the plastic cover up using a plastic opening tool.

    • Prying in multiple locations may be necessary to create separation.

  9. Shark Navigator Lightweight Upright Brush Head Replacement, Brush Head: paso 9, imagen 1 de 3 Shark Navigator Lightweight Upright Brush Head Replacement, Brush Head: paso 9, imagen 2 de 3 Shark Navigator Lightweight Upright Brush Head Replacement, Brush Head: paso 9, imagen 3 de 3
    • Remove the belt, found on the right hand side, from the motor gear.

  10. Shark Navigator Lightweight Upright Brush Head Replacement: paso 10, imagen 1 de 3 Shark Navigator Lightweight Upright Brush Head Replacement: paso 10, imagen 2 de 3 Shark Navigator Lightweight Upright Brush Head Replacement: paso 10, imagen 3 de 3
    • Lift up the brush head from the plastic housing, slight force may be needed.

    • Remove the band from the brush head.

  11. Shark Navigator Lightweight Upright Brush Head Replacement: paso 11, imagen 1 de 3 Shark Navigator Lightweight Upright Brush Head Replacement: paso 11, imagen 2 de 3 Shark Navigator Lightweight Upright Brush Head Replacement: paso 11, imagen 3 de 3
    • Remove the plastic caps on each end of the brush head.

Conclusión

To reassemble your device, follow these instructions in reverse order.

5 personas más completaron esta guía.

Suzie

Miembro Desde 10/02/17

527 Reputación

4 Guías creadas

Equipo

Cal Poly, Team S4-G6, Livingston Fall 2017 Miembro de Cal Poly, Team S4-G6, Livingston Fall 2017

CPSU-LIVINGSTON-F17S4G6

3 Miembros

12 Guías creadas

2 comentarios

Thank you very much Suzie, posting the exact information needed visually to boot is

just what I needed to replace my brush roller. Manuals usually frustrate me as well as over chatty

tutorials that get me lost.. Thanks again ! Happy Holidays ! Leigh Clement

brushed1 - Contestar

Taking the thing apart is one thing, but identifying the part numbers (motor, belt, brush) to replace the old worn stuff is another. I haven't found the part numbers for these things (or the exploded parts view for the vacuum itself or either of the two power heads. Does anyone know whereabouts these things can be found?

Richard C - Contestar

Agregar Comentario

Ver Estadísticas:

Ultimas 24 horas: 1

Ultimos 7 días: 11

Ultimos 30 días: 79

Todo El Tiempo: 3,723