Introducción
A roller brush aims to agitate carpets and floors to loosen dirt and debris, making it easier for the vacuum's suction to pick them up. It also helps direct debris towards the suction opening for efficient cleaning.
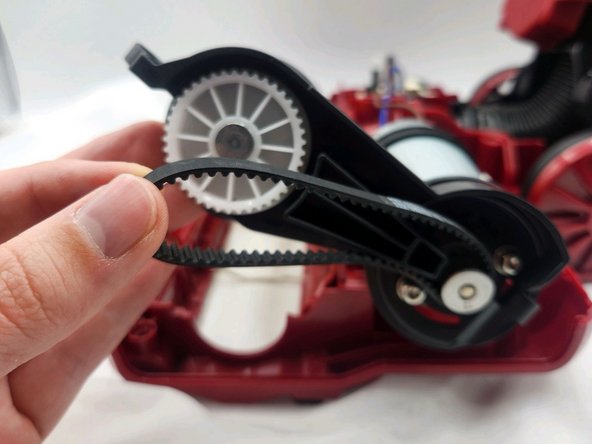
Use this guide to replace your roller brush. A roller brush may need to be replaced due to wear and tear, damage, irreversible clogging, or adjacent belt issues.
For help repairing the vacuum belt, click here.
Make sure the vacuum is not connected to power before proceeding.
Qué necesitas
-
-
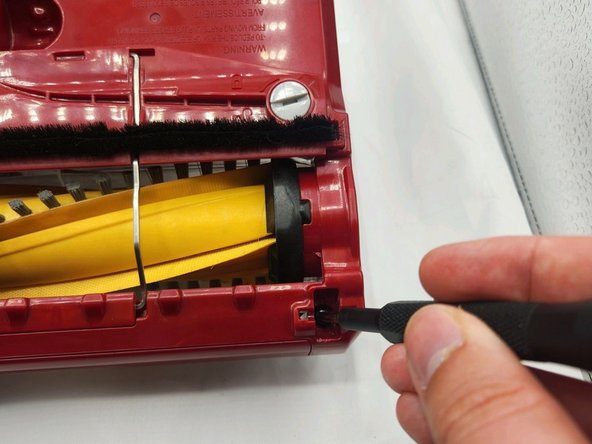
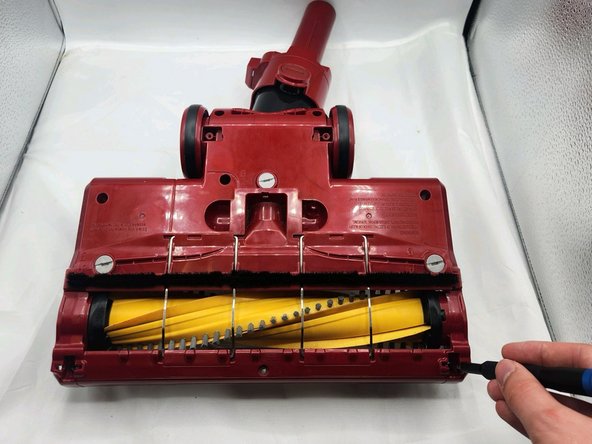
Use any object with an edge to twist the three locks counterclockwise to the "unlocked" position.
-
-


To reassemble your device, follow these instructions in reverse order.
To reassemble your device, follow these instructions in reverse order.

Equipo

University of North Texas, Team 3-4, Kilpatrick Spring 2024 Miembro de University of North Texas, Team 3-4, Kilpatrick Spring 2024
UNT-KILPATRICK-S24S3G4
4 Miembros
5 Guías creadas