Saltar al contenido principal

Shark Matrix RV2310 Brushroll Replacement

Qué necesitas

  1. Shark Matrix RV2310 Brushroll Replacement, Battery: paso 1, imagen 1 de 3 Shark Matrix RV2310 Brushroll Replacement, Battery: paso 1, imagen 2 de 3 Shark Matrix RV2310 Brushroll Replacement, Battery: paso 1, imagen 3 de 3
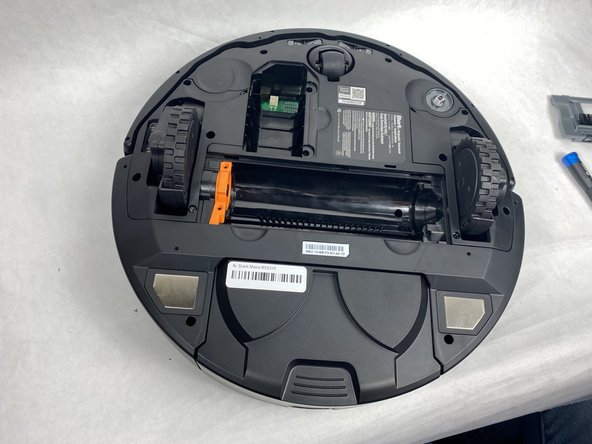
    • Remove the two 11 mm Phillips screws holding the battery plate in place.

    • Remove the battery plate.

  2. Shark Matrix RV2310 Brushroll Replacement: paso 2, imagen 1 de 3 Shark Matrix RV2310 Brushroll Replacement: paso 2, imagen 2 de 3 Shark Matrix RV2310 Brushroll Replacement: paso 2, imagen 3 de 3
    • Remove the battery from the compartment.

    • Disconnect the electrical cable connection from the battery to the robot.

  3. Shark Matrix RV2310 Brushroll Replacement, Brushroll: paso 3, imagen 1 de 2 Shark Matrix RV2310 Brushroll Replacement, Brushroll: paso 3, imagen 2 de 2
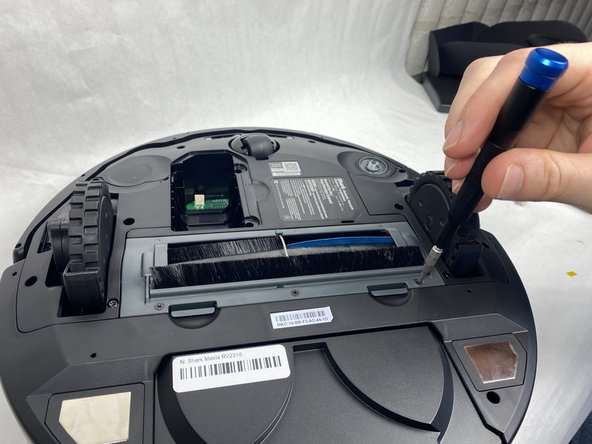
    • Remove the three 8 mm Phillips screws from the plastic plate holding the brushroll in.

    • Make sure the device's battery has been fully removed from the device before proceeding. Failure to do so could potentially result in minor/moderate injuries.

  4. Shark Matrix RV2310 Brushroll Replacement: paso 4, imagen 1 de 3 Shark Matrix RV2310 Brushroll Replacement: paso 4, imagen 2 de 3 Shark Matrix RV2310 Brushroll Replacement: paso 4, imagen 3 de 3
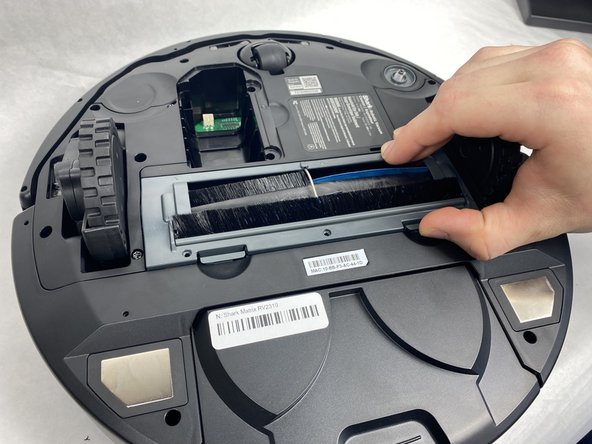
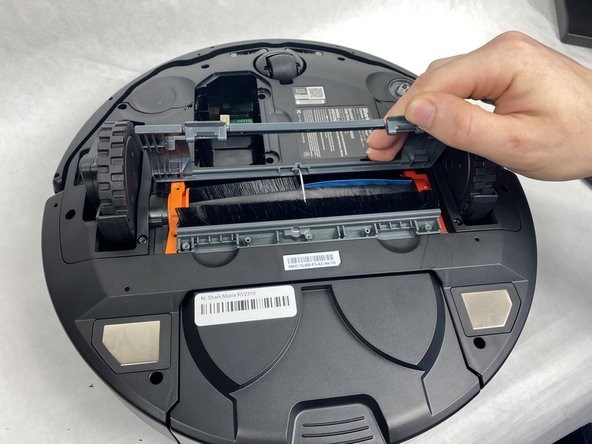
    • Press in the two tabs on the side of the plate and pull upward to remove it.

  5. Shark Matrix RV2310 Brushroll Replacement: paso 5, imagen 1 de 3 Shark Matrix RV2310 Brushroll Replacement: paso 5, imagen 2 de 3 Shark Matrix RV2310 Brushroll Replacement: paso 5, imagen 3 de 3
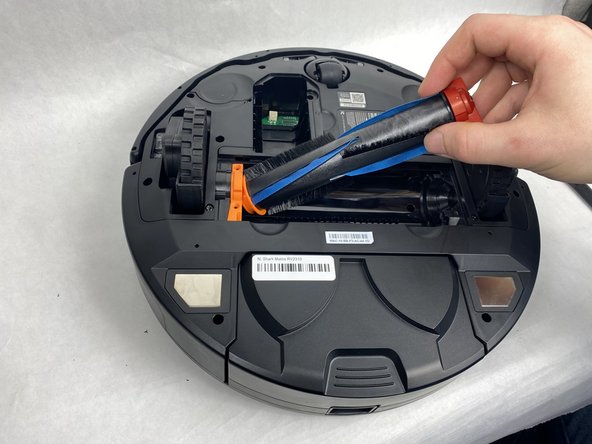
    • Pull up on the darker orange side of the brushroll to remove it.

Conclusión

To reassemble your device, follow these instructions in reverse order.

Joshua Correia

Miembro Desde 03/22/24

607 Reputación

5 Guías creadas

Equipo

0 comentarios

Agregar Comentario

Ver Estadísticas:

Ultimas 24 horas: 0

Ultimos 7 días: 0

Ultimos 30 días: 5

Todo El Tiempo: 27