Introducción
Sustituir un botón es una de las reparaciones más comunes de la ropa. Afortunadamente, también es una de las más fáciles. Esta guía le mostrará cómo volver a colocar un botón estándar de cuatro agujeros con una aguja e hilo. En esta guía utilizamos hilo de contraste para que sea más visible, pero cuando llegue el momento de realizar tu proyecto real, querrás utilizar hilo que coincida con el color de tu tela.
Qué necesitas
-
-
Consigue un trozo de hilo, más o menos el largo de un brazo debería ser más que suficiente.
-
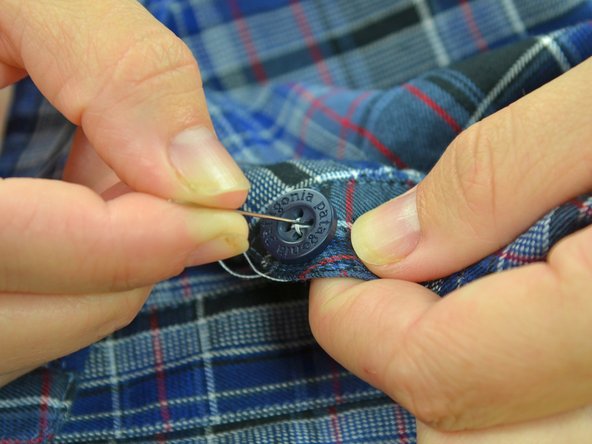
Enhebra una aguja.
You can use common cotton thread found in most basic sewing kits, but for a stronger, more durable repair you might consider "button thread". It is a cotton-blend thread that is a bit thicker and stronger due to the polyester content.
It can be found in any good craft or fabric shop and is only about 50 cents more than the average spool of common thread.
Thread color: if you have many too a choose from pick a thread similar to that in the other buttons. But if not then use any thread at hand on the spot, you can always redo the button later.
-
-
-
-
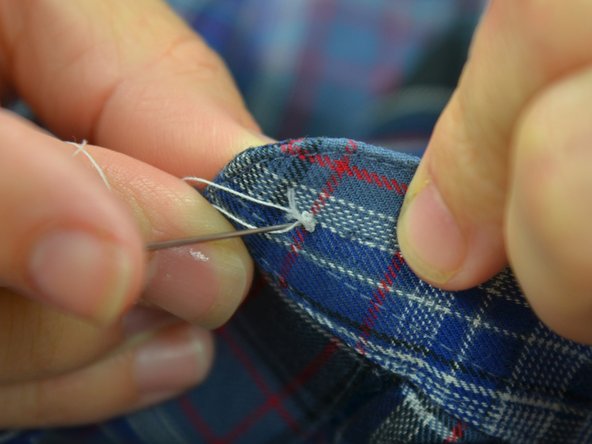
Pasa la aguja por el ojal directamente opuesto al que ya ha enhebrado.
-
Asegúrate de atravesar solo el botón, no la tela.
Which order to go up/down through the button holes: This can vary (diagonally vs one step to the side) so just look at the shirt's existing buttons and mimic that to get the most consistent look.
-


Cancelar: No complete esta guía.
56 personas más completaron esta guía.
Un agradecimiento especial a estos traductores:
100%

¡ Mariana Roca nos está ayudando a reparar el mundo! ¿Quieres contribuir?
Empezar a traducir ›


5 comentarios
What helps after the last step 14 is to wrap the thread around and around a few times underneath the button itself (binding all the threads together) and making one last pass through the cloth before the final knot. This makes the repair much more durable.
Wrapping the threads underneath the button to create a shank is useful for coat buttons where the fabric is thick and you don’t want the fabric to pucker. As noted, it adds durability to the button attachment. On a shirt collar, as seen here, it would create too much bulk where you need the button to lie quite flat, so this method is quite sufficient.
Thanks Jonathan. Great insight.
Tailor's chalk is optional. Unnecessary to buy if you don't have it already. You can mark the location on the underside with your finger or lightly with any pointy object such as a pen. Stick the needle through a little and double check the location. If off then pull the needle back and retry, no harm done.
The parts list should also include: Needle.
Fixbert Fixstein - Contestar