Introducción
Although the running belt is pre-adjusted to the running deck, after prolonged use it can stretch and require adjustments.
If your SereneLife Treadmill Belt (model SLFTRD20) has begun to stretch and slip after extended use and requires an adjustment, follow this guide.
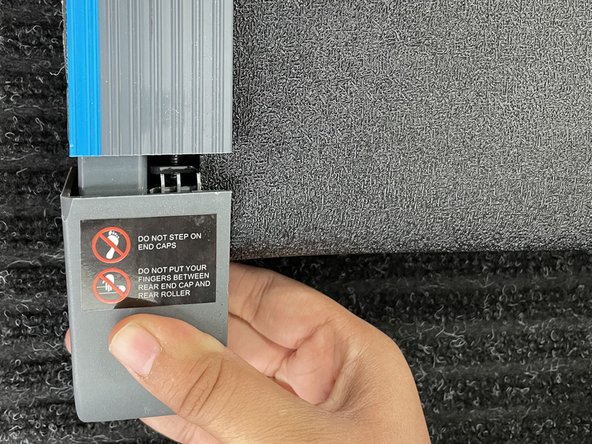
The running belt is the most important component that must constantly be centered in order to utilize the Treadmill. If the running belt starts to slide or extend to the side, the treadmill is rendered useless.
Step 2 requires you to ensure that the treadmill belt is running at the lowest speed possible, or else the belt will not be centered. However in step 6, it shows that Treadmill should be turned off before tightening the belt, so don't try to mix up both of these steps.
Qué necesitas


To reassemble your device, follow these instructions in reverse order.
To reassemble your device, follow these instructions in reverse order.
Cancelar: No complete esta guía.
2 personas más completaron esta guía.
Equipo

York University, Team S2-G2, Melo-Thaiss Summer 2021 Miembro de York University, Team S2-G2, Melo-Thaiss Summer 2021
YORK-MELO-THAISS-SU21S2G2
1 Miembro
1 Guía escrita